Introduction
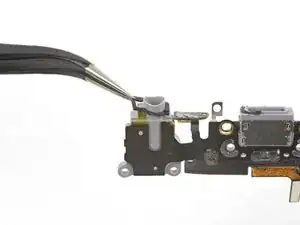
If you've tried cleaning the lightning port to no avail, follow the steps in this guide to replace the Lightning connector flex cable in an iPhone. This flex cable includes the Lightning connector, headphone jack, dual microphones, and spring contacts for the Taptic Engine and loudspeaker.
Tools
Parts
-
-
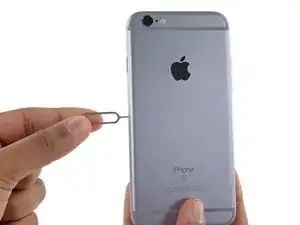
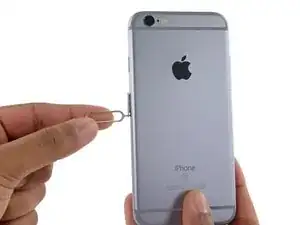
Insert a SIM card eject tool or a paperclip into the small hole in the SIM card tray.
-
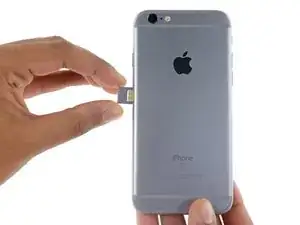
Press to eject the tray.
-
-
-
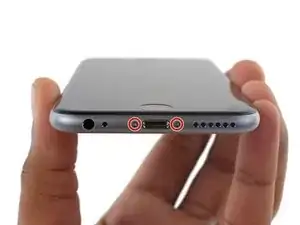
Remove the two 3.4 mm P2 Pentalobe screws on the bottom edge of the iPhone, on either side of the Lightning connector.
-
-
-
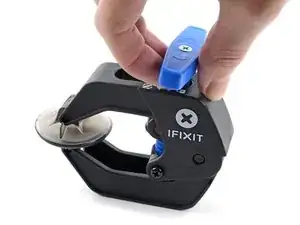
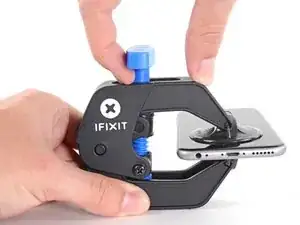
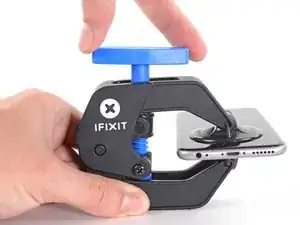
Pull the blue handle backwards to unlock the Anti-Clamp's arms.
-
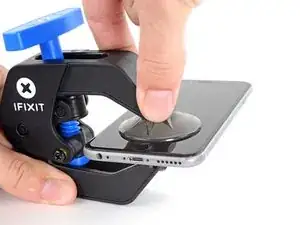
Slide the arms over either the left or right edge of your iPhone.
-
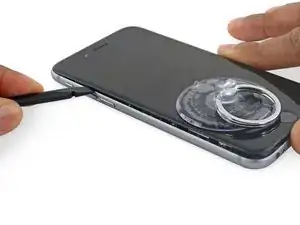
Position the suction cups near the bottom edge of the iPhone just above the home button—one on the front, and one on the back.
-
Squeeze the cups together to apply suction to the desired area.
-
-
-
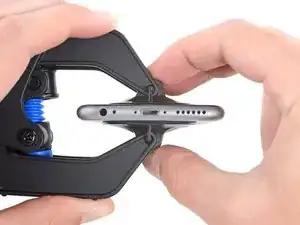
Pull the blue handle forwards to lock the arms.
-
Turn the handle clockwise 360 degrees or until the cups start to stretch.
-
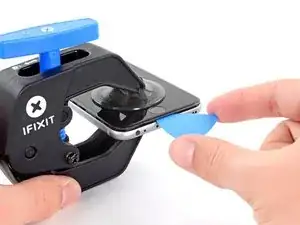
Insert an opening pick under the screen when the Anti-Clamp creates a large enough gap.
-
Skip the next three steps.
-
-
-
If you don't have an Anti-Clamp, follow the next three steps to use a suction handle.
-
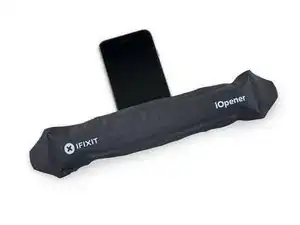
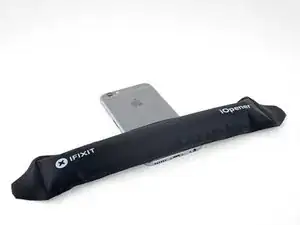
Apply mild heat to the lower edge of the iPhone using an iOpener or hair dryer for about a minute.
-
-
-
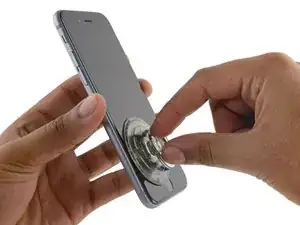
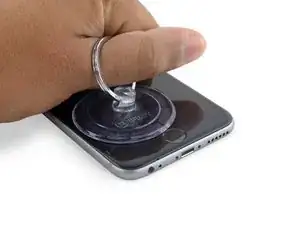
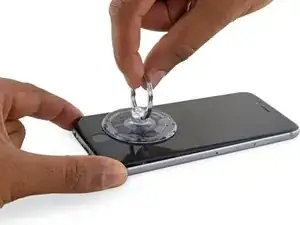
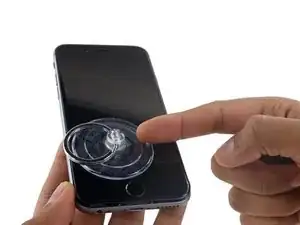
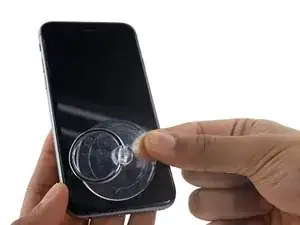
Apply a suction cup to the lower left corner of the display assembly.
-
Take care not to place the suction cup over the home button.
-
-
-
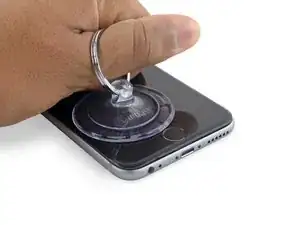
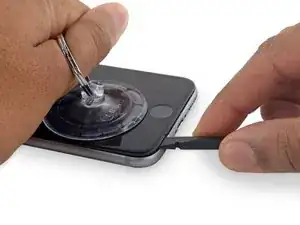
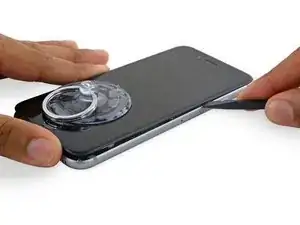
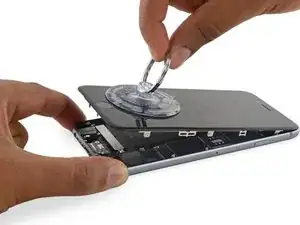
Pull up on the suction cup with firm, constant pressure to create a slight gap between the front panel and rear case.
-
-
-
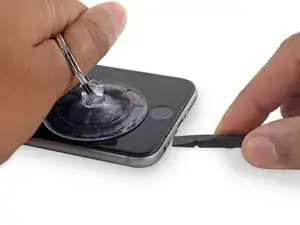
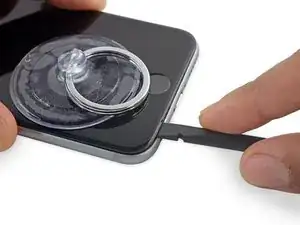
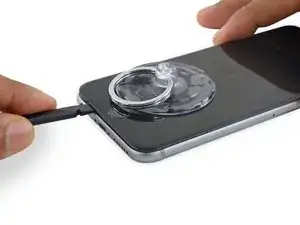
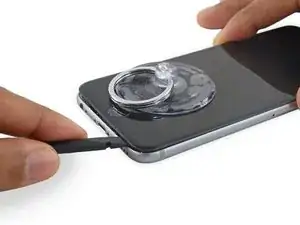
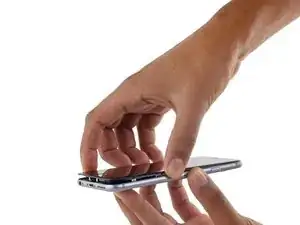
Place the flat edge of a spudger into the gap between the screen and rear case, directly above the headphone jack.
-
-
-
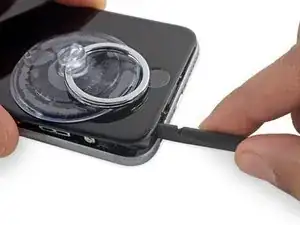
Twist the spudger to widen the gap between the front panel assembly and the rest of the phone.
-
-
-
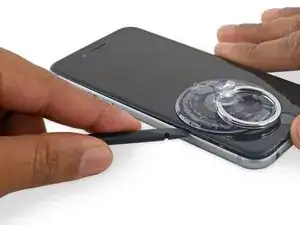
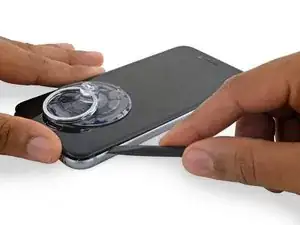
Insert the flat end of the spudger on the left side of the phone, between the display assembly and rear case.
-
Slide the spudger up the side of the phone to separate the adhesive and pop the clips free.
-
-
-
Remove the spudger and reinsert it on the bottom edge, where you pried the phone open.
-
Slide the spudger to the right, along the bottom edge of the phone.
-
-
-
Slide the spudger up the right side to continue separating the adhesive and popping the display clips free from the iPhone.
-
-
-
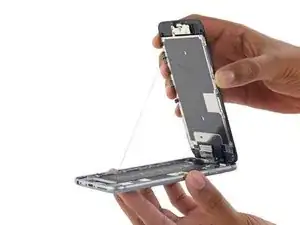
Gently grasp the display assembly and lift it up to open the phone, using the clips at the top of the front panel as a hinge.
-
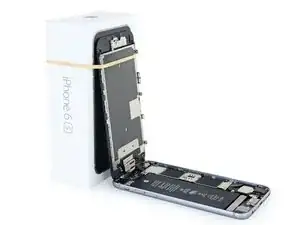
Open the display to about a 90º angle, and lean it against something to keep it propped up while you're working on the phone.
-
Add a rubber band to keep the display securely in place while you work. This prevents undue strain on the display cables.
-
-
-
Remove two Phillips screws securing the battery connector bracket, of the following lengths:
-
One 2.9 mm screw
-
One 2.2 mm screw
-
-
-
Use the point of a spudger to disconnect the battery connector by prying it straight up from the logic board.
-
-
-
Push the battery connector away from the logic board until it stays separated from its socket, so as to avoid any accidental connection to the battery while you work.
-
-
-
Remove the following four Phillips screws securing the display cable bracket:
-
Three 1.2 mm screws
-
One 2.8 mm screw
-
-
-
Use a spudger or a clean fingernail to disconnect the front camera flex cable by prying it straight up from its socket on the logic board.
-
-
-
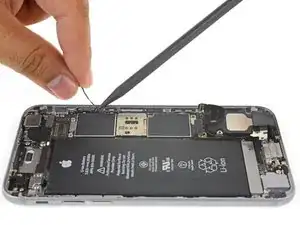
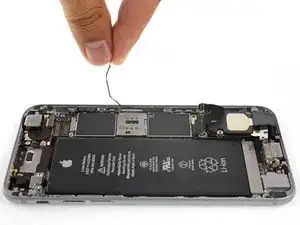
Use the point of a spudger to lift and disconnect the antenna cable from the bottom end of the logic board.
-
-
-
Use the point of a spudger to lift up and disconnect the Lightning connector ribbon cable from its socket on the logic board.
-
-
-
Use the point of a spudger to lift and disconnect the antenna cable from its socket near the top of the logic board.
-
-
-
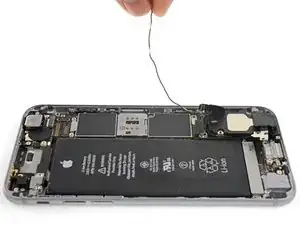
Carefully lift the antenna cable and de-route it from the edge of the phone. Use the point of a spudger to help lift the cable to free it from the retaining clips.
-
-
-
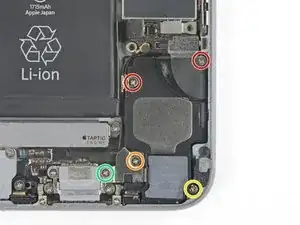
Remove the following Phillips screws securing the speaker to the rear case:
-
Two 2.6 mm screws
-
One 2.3 mm screw
-
One 2.3 mm screw
-
One 3.0 mm screw
-
-
-
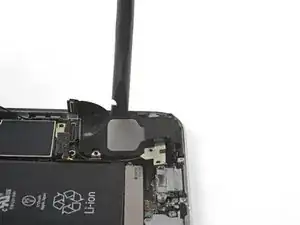
Insert the flat end of a spudger between the long edge of the speaker module and the case wall.
-
Pry gently to loosen the speaker module.
-
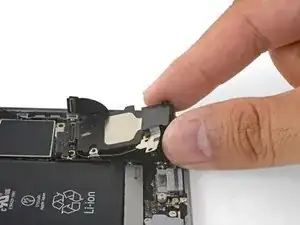
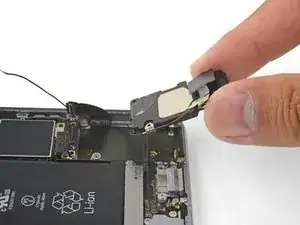
Once the module is loose, lift and remove the speaker module from the phone.
-
-
-
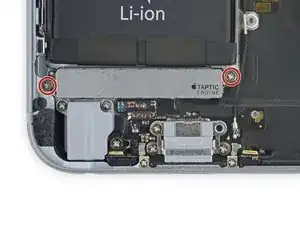
Remove the two 1.5 mm Phillips screws securing the Taptic Engine to the rear case.
-
Remove the Taptic Engine.
-
-
-
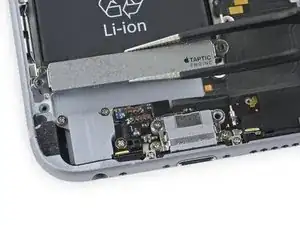
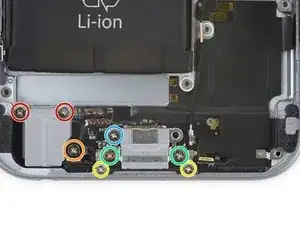
Remove the following eight Phillips screws:
-
Two 2.9 mm screws over the headphone jack
-
One 3.7 mm screw over the headphone jack bracket
-
Two 1.4 mm screws on the edge of the iPhone
-
Two 1.9 mm screws on either side of the Lighting connector
-
One 3.0 mm screw to the left of the connector
-
-
-
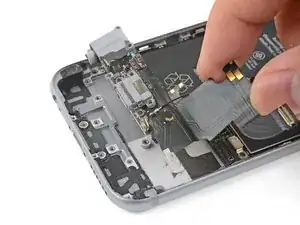
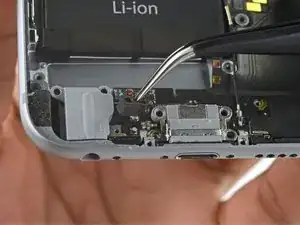
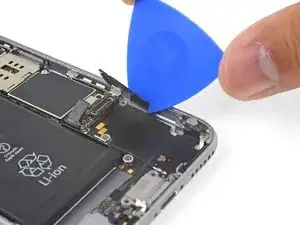
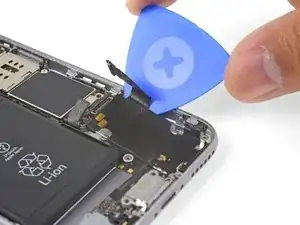
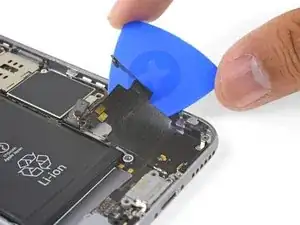
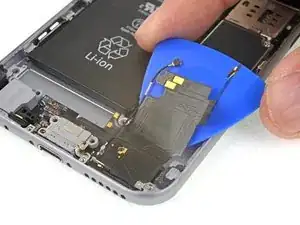
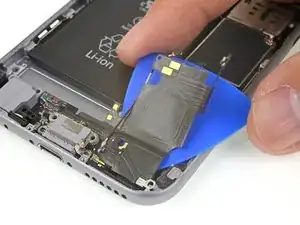
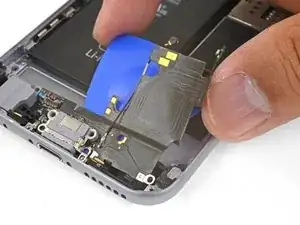
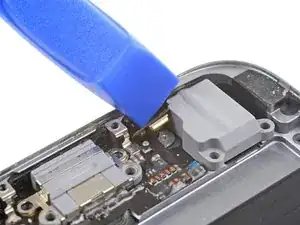
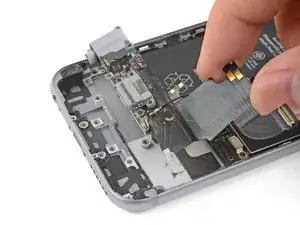
Insert a plastic opening pick between the edge of the rear case and the Lightning connector flex cable.
-
Press the pick underneath the flex cable to break up the adhesive holding it in place.
-
-
-
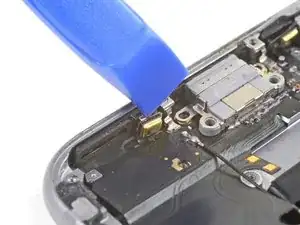
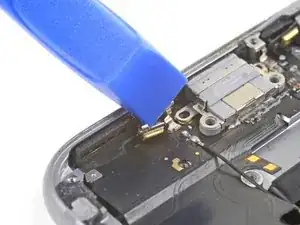
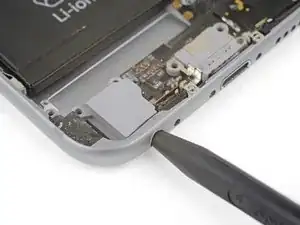
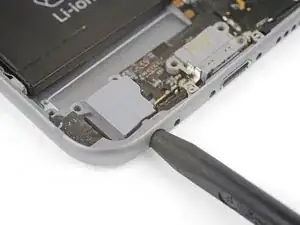
Insert the flat end of a spudger between the Lightning connector assembly and rear case to break up the remaining adhesive.
-
-
-
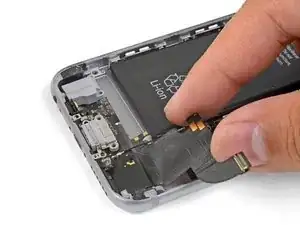
Insert the point of a spudger into the headphone jack and push to loosen the jack from the rear case.
-
Compare your new replacement part to the original part. You may need to transfer remaining components or remove adhesive backings from the new part before installing.
To reassemble your device, follow these instructions in reverse order.
Take your e-waste to an R2 or e-Stewards certified recycler.
Repair didn’t go as planned? Check out our iPhone 6s Answers community for troubleshooting help.
47 comments
the reason is the antenna is connected to the loud speaker but you can lay it out of the way, remember do not rip the cable that is attached to the speaker
Can you just plug the new assembly in to check it, before going through the whole installation?
ya man, just be careful, make sure battery is disconnected before connecting or disconnecting anything
Andrew -
I did this repair and everything went fine. The user now has issues with callers hearing them. Is there a cover/sticker over the microphone on the ifixit replacement part? Speaker works and he can talk on speaker phone with no issues. Any ideas?
Did you pull the old adhesive off before reinstalling using the new adhesive? Did you align each mic correctly?
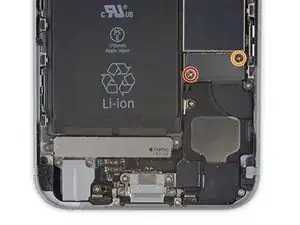
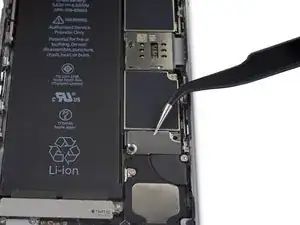
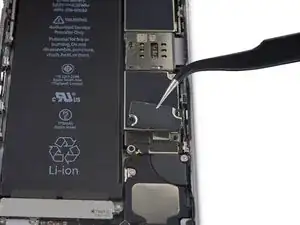
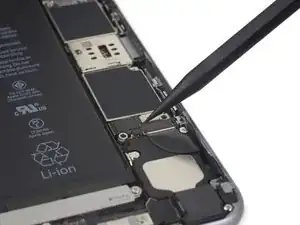
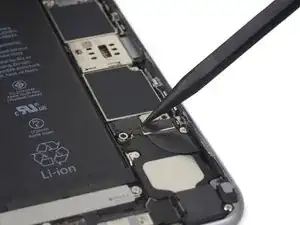
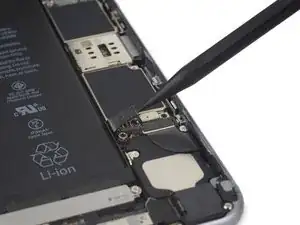
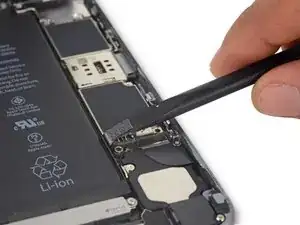
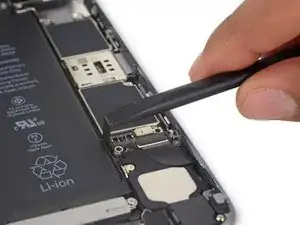
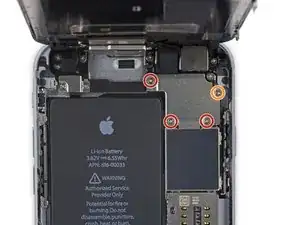
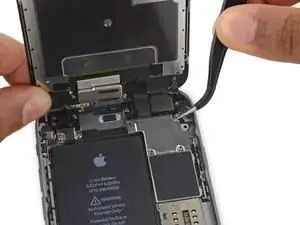
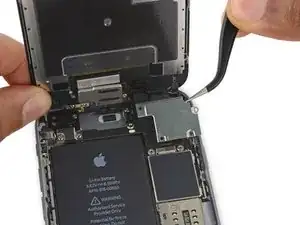
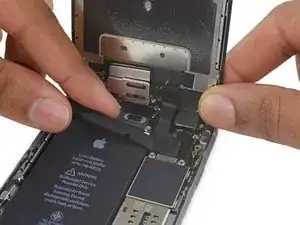
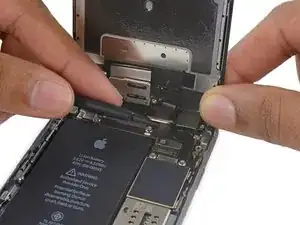
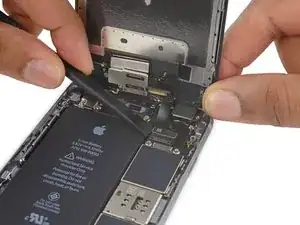
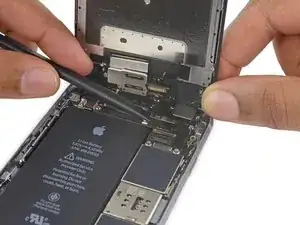
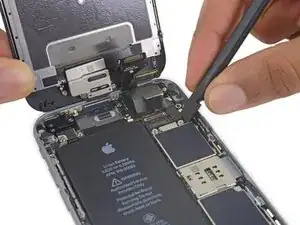
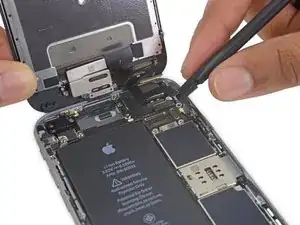
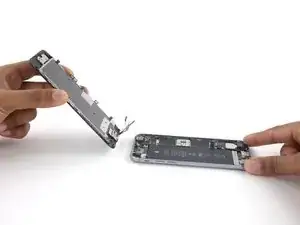
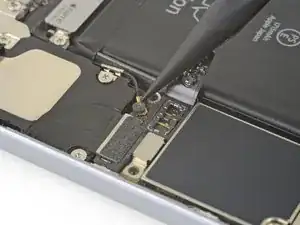
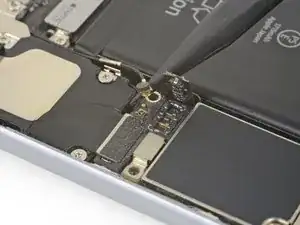
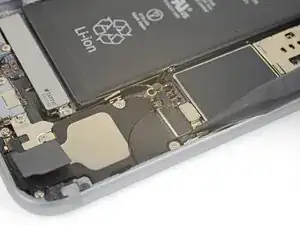
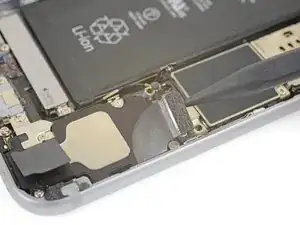
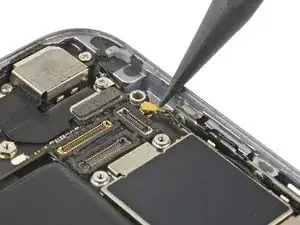
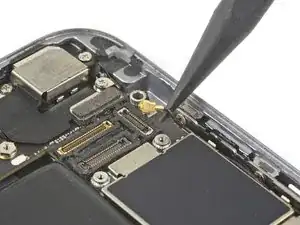

Anyone ever have the lever on these break? I’m in the process of removing logic board to remove a stuck SIM card
aburningstariv -
I am baffled by the representation that this task requires 1-2 hours. I’ve spent at least 16 hours so far, and I’ve just gotten to the point of applying the adhesive around the perimeter of the case. I’ve done DIY with many gadgets, with cars, electricity, plumbing, painting, carpentry, masonry, and so forth, so it’s not a matter of inexperience, incompetence, or my having ten thumbs. While I am being very deliberate in this work, since this is the first time I’ve opened up a smartphone, and even tiny errors can seriously damage the phone, that doesn’t begin to account for the enormous discrepancy regarding the time this takes. Are other commenters being boastful, afraid to admit how long this is taking them, or what?
Robin Nerode -
It's not a realistic time- I have done 3 apple devices before. After about 4 months EVERYTHING was forgotten and it was like my first time again. Took me a few hours, but i cut corners.
mxcombust -