Introduction
This repair guide was authored by the iFixit staff and hasn’t been endorsed by Google. Learn more about our repair guides here.
Follow this guide to apply new back cover adhesive in your Google Pixel 8a following a repair.
Follow this guide to remove the back cover, if you haven't done so already.
-
-
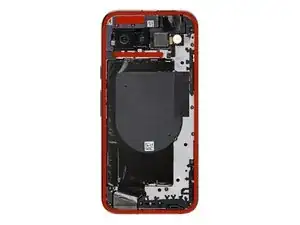
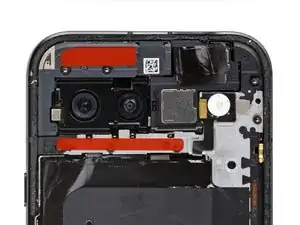
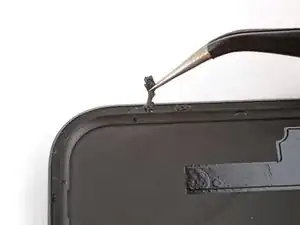
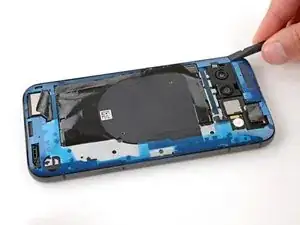
Use a spudger and tweezers to scrape up and remove all the old back cover adhesive from the entire perimeter of the frame.
-
-
-
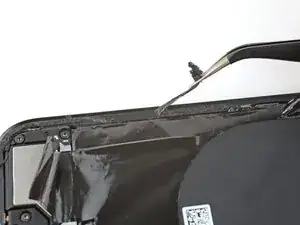
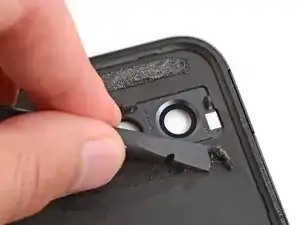
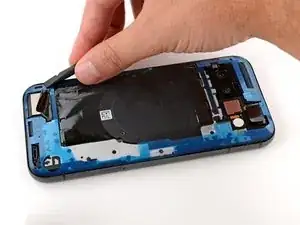
Use a spudger and tweezers to scrape up and remove any adhesive from above and below the rear cameras.
-
-
-
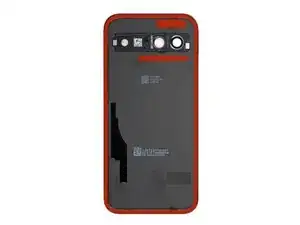
If you're reusing your back cover, repeat the previous two steps to remove all the old adhesive from the cover.
-
-
-
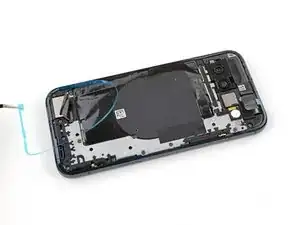
Use a pipette or syringe to apply a few drops of highly-concentrated isopropyl alcohol (over 90%) to the perimeter of the frame and the area where the two smaller adhesive strips were.
-
Wipe any adhesive residue away using a microfiber or lint-free cloth.
-
If you're reusing your back cover, use the same process to clean up any adhesive residue.
-
-
-
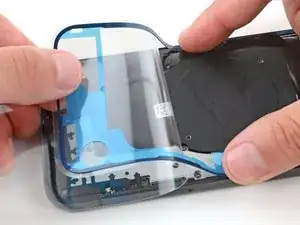
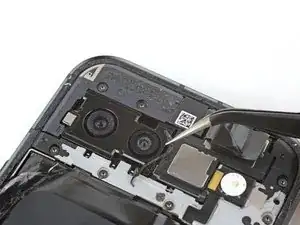
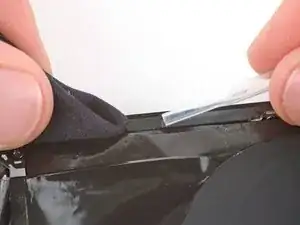
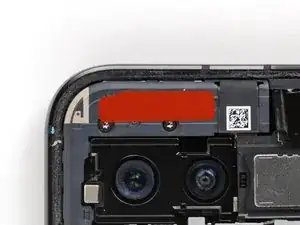
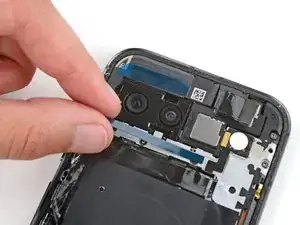
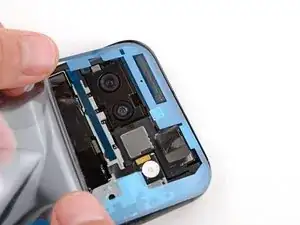
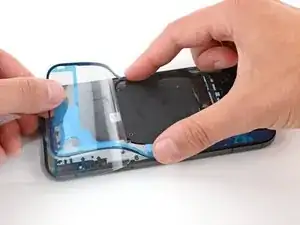
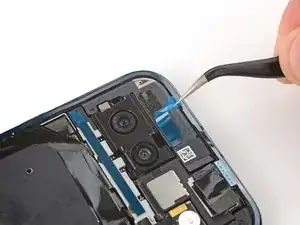
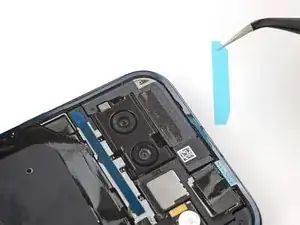
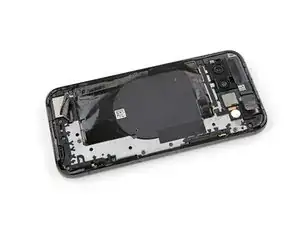
Remove the shorter, wider strip of back cover adhesive from its liner and place it on the plastic housing just above the rear cameras.
-
-
-
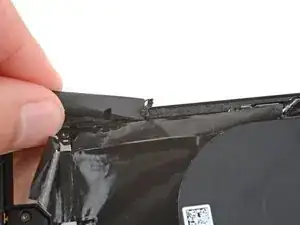
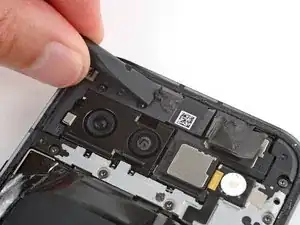
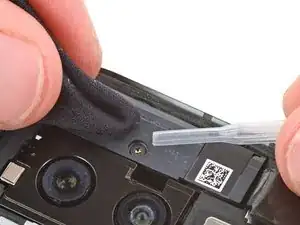
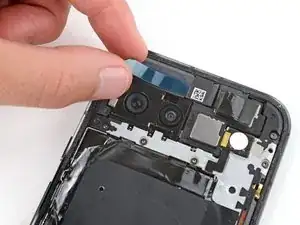
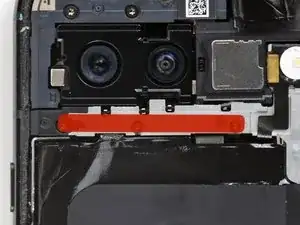
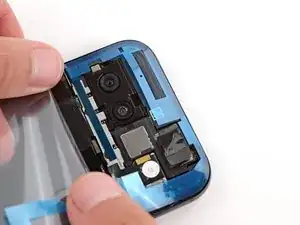
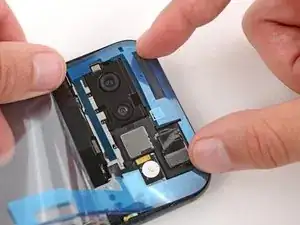
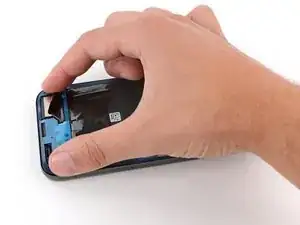
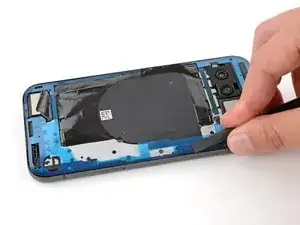
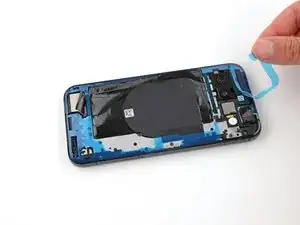
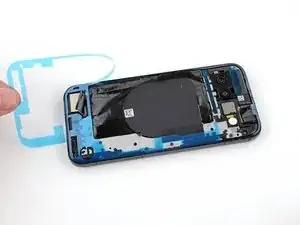
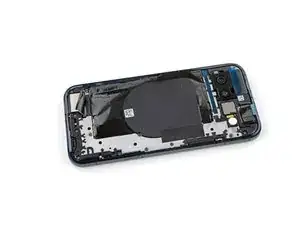
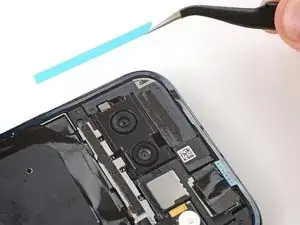
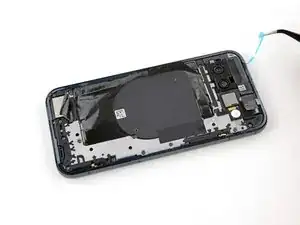
Remove the longer, thinner piece of back cover adhesive from its liner and place it on the logic board cover just below the rear cameras.
-
-
-
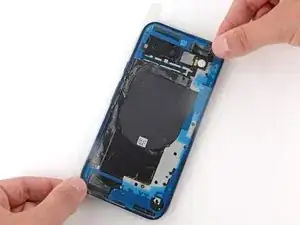
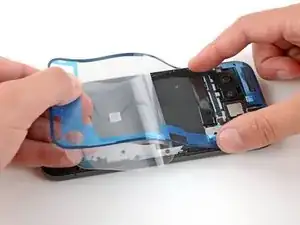
Before removing any liners from the back cover adhesive, hold it over the frame and use the cutouts to make sure it's oriented correctly.
-
-
-
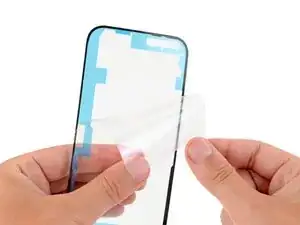
Peel down the top half of the larger liner to expose the adhesive—don't remove the whole liner yet.
-
-
-
Lay the exposed top edge of the adhesive onto the frame, using the frame's lip to help align it.
-
Once the top edge is properly aligned, gently press down with your fingers to secure it in place.
-
-
-
Use the flat end of your spudger to press along the perimeter of the adhesive and secure it to the frame.
-
-
-
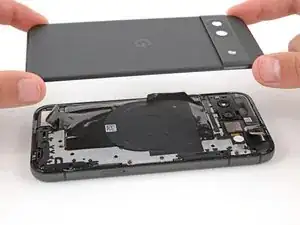
Align the back cover over the frame and press it into place.
-
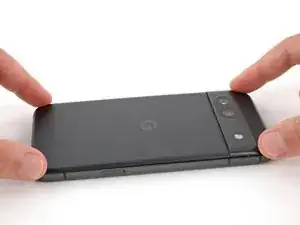
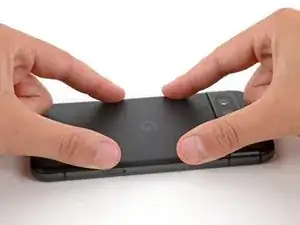
Firmly press around the perimeter of the back cover to secure it.
-
-
-
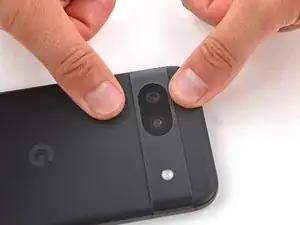
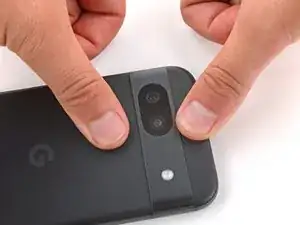
Firmly press down on the back cover above and below the camera bump to secure the cover with the two smaller strips of adhesive.
-


Repair didn’t go as planned? Try some basic troubleshooting, or ask our Answers community for help.