Introduction
This repair guide was authored by the iFixit staff and hasn’t been endorsed by Google. Learn more about our repair guides here.
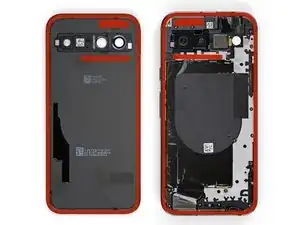
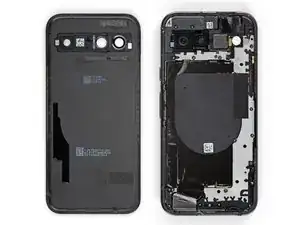
Follow this guide to replace a broken or cracked back cover on your Google Pixel 8a.
You'll need replacement back cover adhesive to complete this repair.
Note: Any repair can compromise the water resistance of your phone. Retaining water resistance after the repair will depend on how well you reapply the back cover adhesive.
-
-
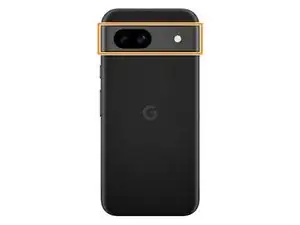
Unless stated otherwise, don't insert your tool more than 3 mm (the width of your opening tool's flat section) around the edges.
-
Don't insert your tool under the edges of the camera bump.
-
-
-
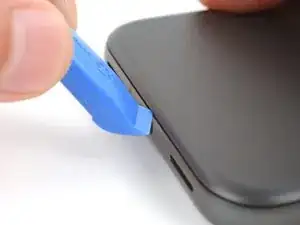
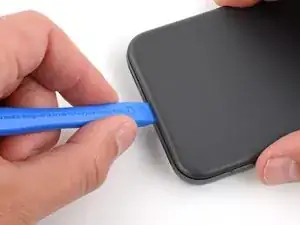
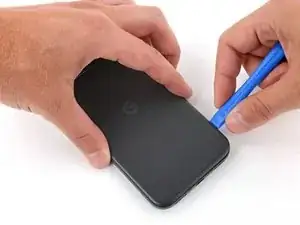
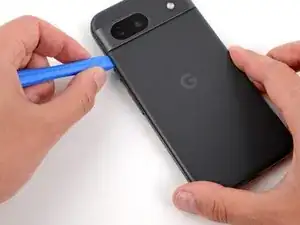
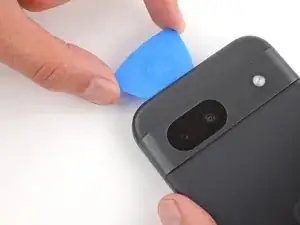
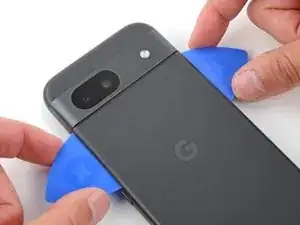
Insert the edge of an opening tool between the back cover and the frame, starting with a sharp corner of the tool to help separate the adhesive.
-
-
-
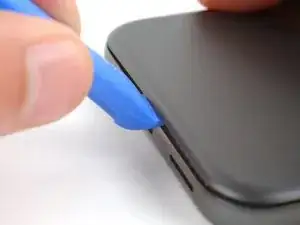
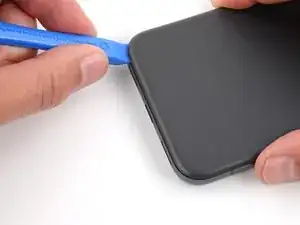
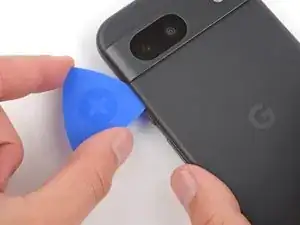
Slide your opening tool along the bottom edge to separate the adhesive securing the back cover.
-
-
-
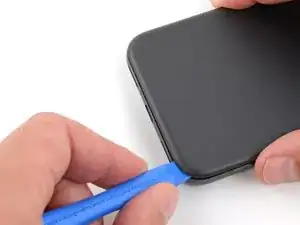
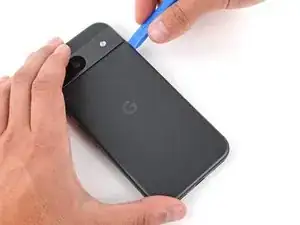
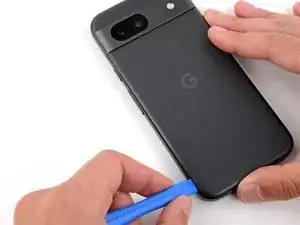
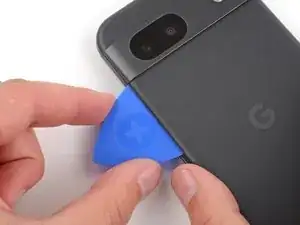
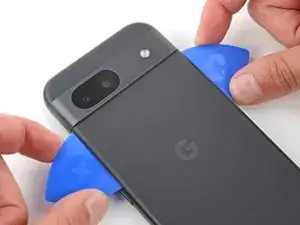
Slide your opening tool around the bottom right corner and up the right edge, stopping at the bottom of the camera bump.
-
Remove your opening tool from under the back cover.
-
-
-
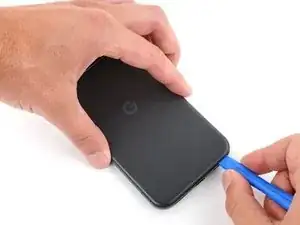
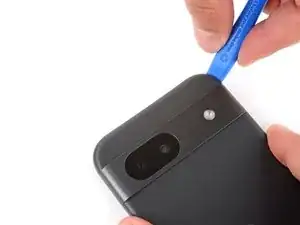
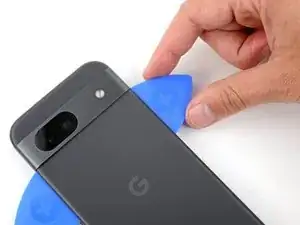
Insert your opening tool under the top right corner of the back cover, just above the camera bump.
-
Slide your opening tool along the top edge, stopping at the top left corner just above the camera bump.
-
Remove your opening tool from under the back cover.
-
-
-
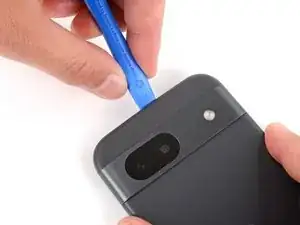
Insert your opening tool under the left edge of the back cover, just below the camera bump.
-
Slide your opening tool down the left edge to separate the adhesive.
-
-
-
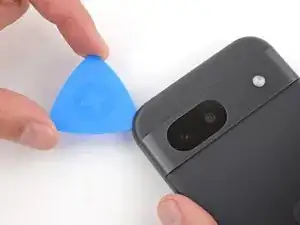
Insert an opening pick under the top left corner of the back cover until the tip is close to the top edge of the camera bump.
-
Slide the pick to the right, stopping when you reach the right edge of the cameras.
-
-
-
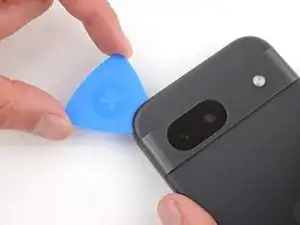
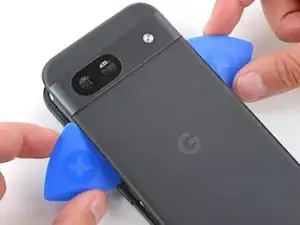
Insert the flat edge of an opening pick under the back cover, just below the camera bump.
-
Insert a second opening pick in the same spot on the other side.
-
-
-
Pry up simultaneously with both picks and apply constant pressure to separate the final piece of adhesive securing the back cover.
-
-
-
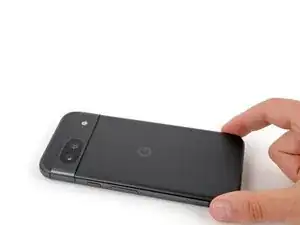
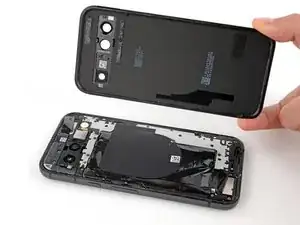
Remove the back cover.
-
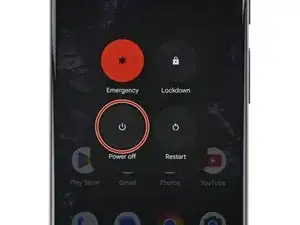
Now is a good time to test your phone before sealing it up. Power it on and check that it works. Power it back down before you continue reassembly.
-
Follow this guide to apply new adhesive and install your back cover.
-


To reassemble your device, follow this guide.
To run a diagnostics test with the built-in Pixel Diagnostic tool, click here.
Repair didn’t go as planned? Try some basic troubleshooting, or ask our Answers community for help.