Introduction
Unfortunately, this issue occurs often with De Longhi ECAM machines. The expansion chamber is sealed very poorly, and therefore, the problem is difficult to fix. Here's how you can try sealing the expansion chamber with a piece of household rubber.
Note: In the meantime the seal is available e.g. from amazon
Keep the screws well sorted, they have different lengths.
Tools
-
-
Remove all attachments such as water tank, pulp drawer, brew group.
-
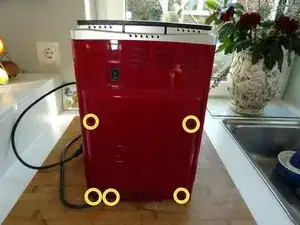
Turn the machine with the back facing you.
-
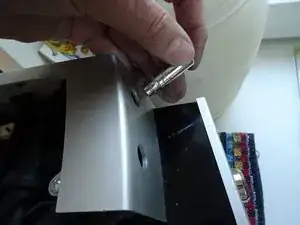
Remove five Torx T20 security screws.
-
-
-
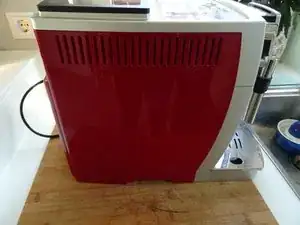
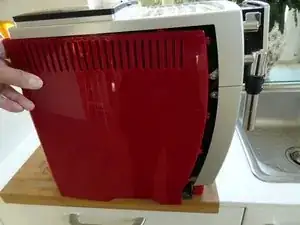
Push the side panel back about 1.5 cm.
-
Lift off the panel.
-
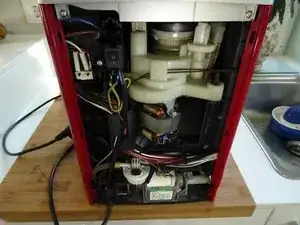
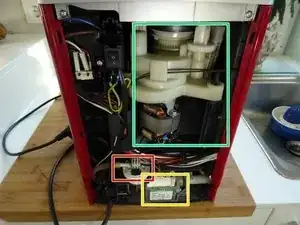
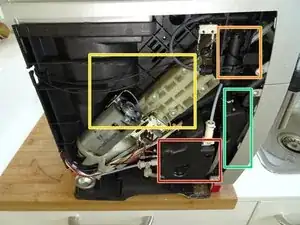
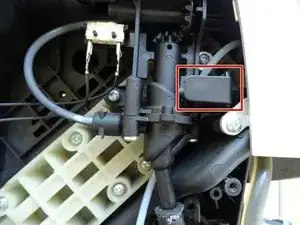
The following compononents are exposed:
-
Heater
-
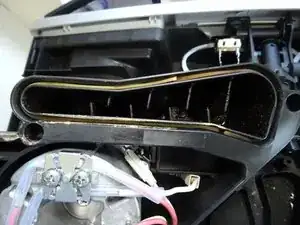
Expansion chamber
-
Gear drive
-
Steam valve
-
-
-
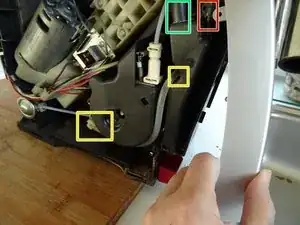
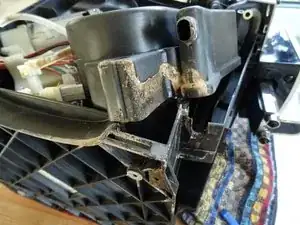
The leak is easy to recognize from the traces of lime under the heater.
-
from a defective pressure relief valve in front of the heater
-
from a leaking steam valve
-
from the upper brew piston if it is defective/leaky
-
-
-
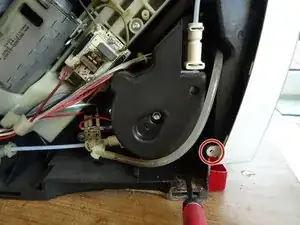
The lower front panel still has to be removed. To do this, loosen the two Phillips screws on both sides.
-
The bezel is still snapped in at the bottom left vertical inner side. Release the catches and carefully lift the panel past the coffee spout.
-
-
-
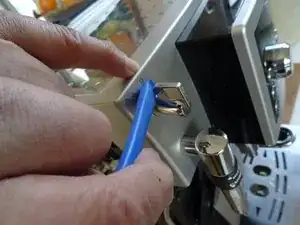
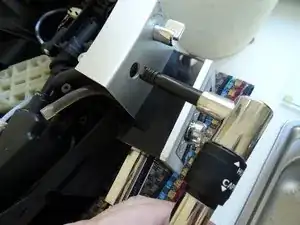
Carefully pull off the steam valve toggle. Only use a plastic tool to pry to avoid damaging the bezel.
-
-
-
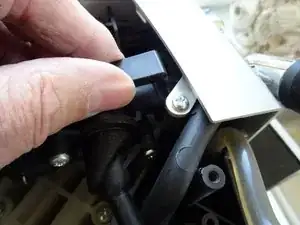
Pull out the plastic clip on the steam nozzle. It may be stuck and you will have to pull hard.
-
Pull the steam nozzle out to the front.
-
-
-
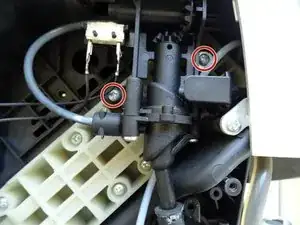
Unscrew the two Phillips screws that hold the steam valve in place. Note the washer on the right screw.
-
-
-
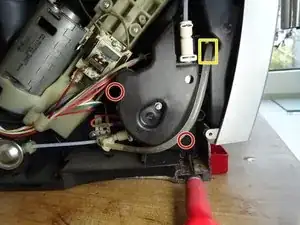
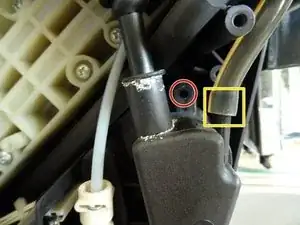
Unscrew the three Phillips screws on the expansion chamber and the heater. There may be differences on other models.
-
Pull off the two silicone hoses.
-
-
-
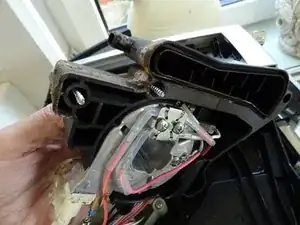
The expansion chamber and heater unit is basically free. But it's still pretty stuck. Try prying it loose at the spout.
-
When it's loose, you can gently pry it out.
-
-
-
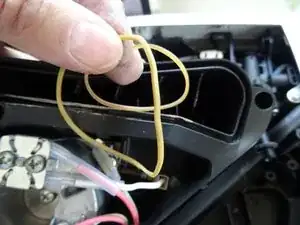
Cut the rings and place them in the groove on the edge of the expansion vessel as a test. If they fit, stick them in place with a few drops of all-purpose glue.
-
Carefully reinsert the expansion chamber, assemble everything and then test whether everything is tight.
-
Work the steps in reverse order to reassemble your device.
26 comments
Als Dichtung eignet sich Silikonschlauch Außen 3mm x Innen 2mm hervorragend. Ein Stück von 15-20cm ist ausreichend. Wichtig ist ja vor allem der untere Bereich.
Can you please post a link to a gasket that fits ? Amazon or similar?
Ok; do you think it would be better to cut the hose in the direction of the length, in order to wrap the other piece of plastic? or it has to be put in the slot as it is?
Use it, as it is. I myself took a normal rubber band from the kitchen and it worked.
VauWeh -
And the diameter of the hose should not be more than 3 mm.
VauWeh -
Hallo VauWeh ,
erst einmal vielen Dank für die tolle Anleitung *****
"Meine" hatte auch diese Kalkspuren an der Expansionskammer , aber es sammelt sich immer noch sehr viel Wasser in der Abtropfschale .
Nun meine Frage zu "***Schritt 4*** Wasseraustritt an der linken Seite reparieren" ,
Das "Überdruckventil"(3-Wege) muß doch wenn ich am Schlauch "sauge oder puste" in eine Richtung durchlassen ? (bei mir tut sich nichts ?VERKALKT?)
Wenn hier jemand helfen könnte wäre ich sehr DANKBAR !
Vielen Dank im voraus
Liebe Grüße
Dirk
Sicherheitsventil - glaube ich eigentlich nicht, du brauchst ziemlich viel Druck um es auszulösen. Du kannst es aber auch erneuern, kostet keine 4€. Öfter mal gehen aber die Dichtungen kaputt, mit denen es auf dem Erhitzer befestigt ist. Sieht man Kalkspuren? Erneuern? Die Dichtung am anderen Ende des Erhitzers? Eine andere Möglichkeit ist leider der obere Brühkolben, hier hilft die Revision, siehe Anleitung. Du kannst ja die Maschine - vorsichtig - bei geöffneter Seite betreiben, vielleicht siehst du was. Grüße Valentin
PS - wenn es in die Schale läuft (etwas ist ja normal), ist es ja nicht so schlimm, bei dem in der Anleitung beschriebenen Fehler läuft es auf die Tischplatte.
VauWeh -



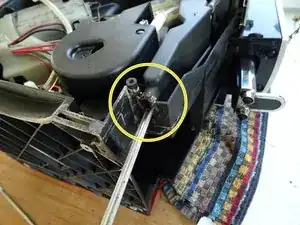
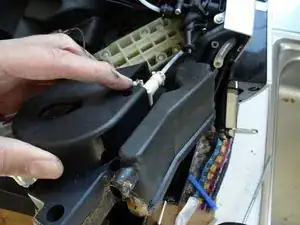
Screwdriver must have a hole? What does that mean? Is it a standard Tx20 bit?
Kevin -
No, it is a TR20 Security Bit, which really has a hole (if you look to the star shape) . See TR10 Torx Security Screwdriver
VauWeh -
Bits from iFixit are equipped with it.
VauWeh -