Introduction

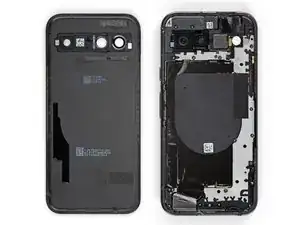
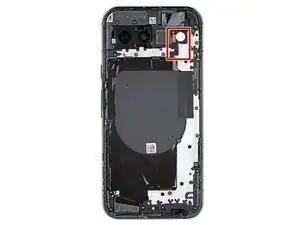
This guide demonstrates how to disconnect the 5G mmWave antenna in your Verizon model Google Pixel 8a.

  1. 3JEVETmFcPY3bGJu
    3JEVETmFcPY3bGJu
    GvrKPSHTYM5FRY5W
    eviZ1n3shxbBWsf1
    • Let your Pixel's battery drain below 25% before starting this repair. A charged lithium‑ion battery may catch fire if damaged.

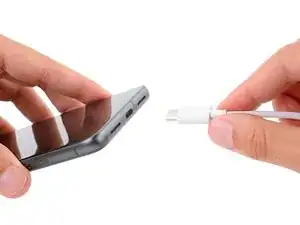
    • Unplug all cables from your phone.

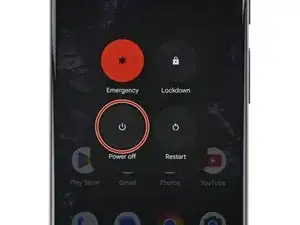
    • Completely power off your phone.

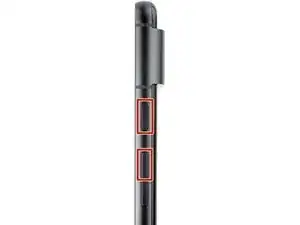
    • Press the power and volume up buttons at the same time to bring up the shutdown menu.

  2. qlJfULMxUdZTMpVI
    qlJfULMxUdZTMpVI
    OpLneGSoGrA5Ljfs
    vPFdTSeZCPNSfIMT
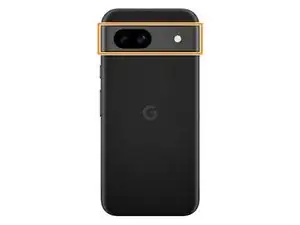
    • The back cover is secured with adhesive around the perimeter and near the cameras. To avoid damaging your phone's internals, note the following:

    • Unless stated otherwise, don't insert your tool more than 3 mm (the width of your opening tool's flat section) around the edges.

    • Don't insert your tool under the edges of the camera bump.

  3. lF1iqo6QCQm2EMja
    lF1iqo6QCQm2EMja
    jDYRiJYp32NmDiXM
    XqAIo4AKx3ZcmFE5
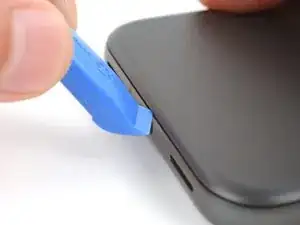
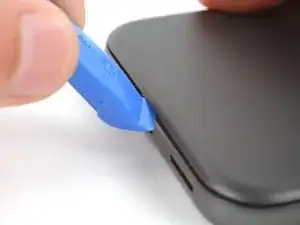
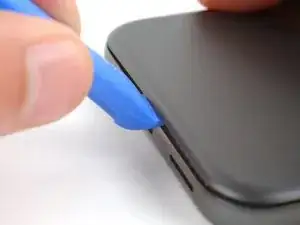
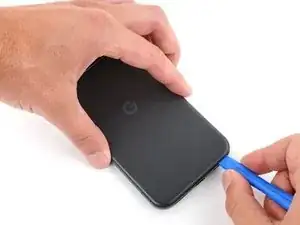
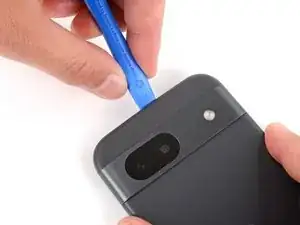
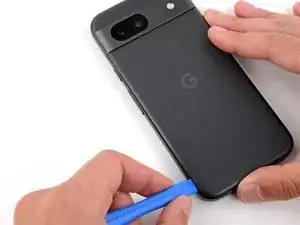
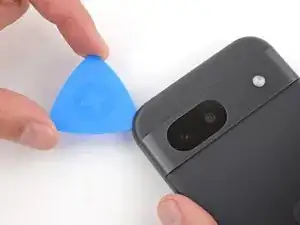
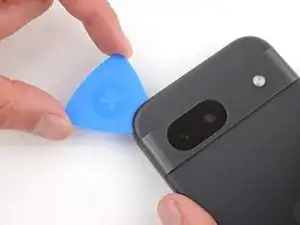
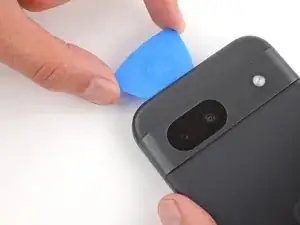
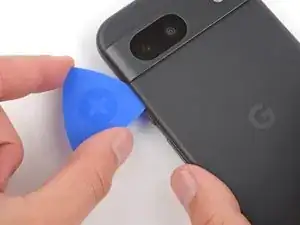
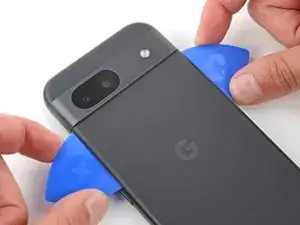
    • Your opening tool has a flat end and a curved end. During the opening procedure, use the flat end and angle it so the tool's sharp edge points upward.

    • Insert the edge of an opening tool between the back cover and the frame, starting with a sharp corner of the tool to help separate the adhesive.

  4. OkswdkhORTMdMXAh
    OkswdkhORTMdMXAh
    aylPtFcBkyKoatR1
    dBGt4nbCwH2wHIl3
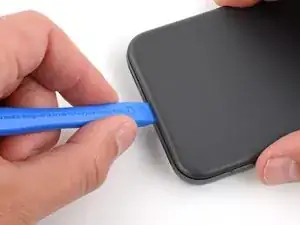
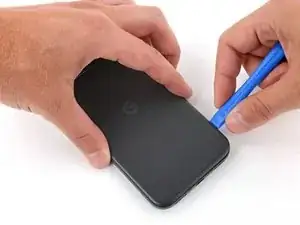
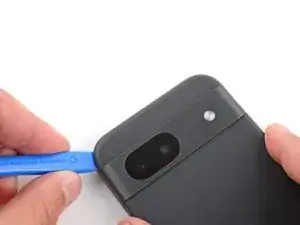
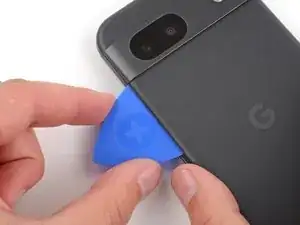
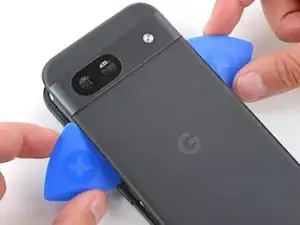
    • Slide your opening tool along the bottom edge to separate the adhesive securing the back cover.

  5. cKxbWrLHXwXIUGBe
    cKxbWrLHXwXIUGBe
    VUDRKCK5GPxtqocL
    ftiVqJXqSsqNqlVE
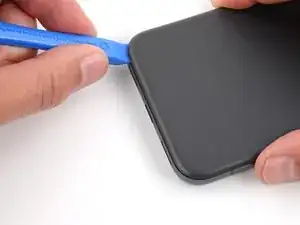
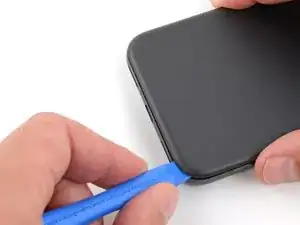
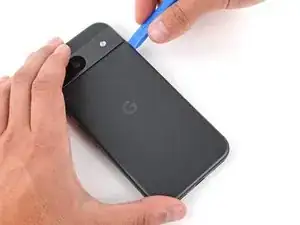
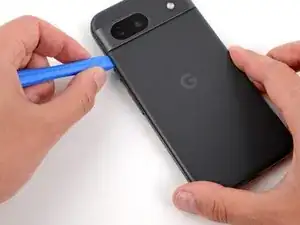
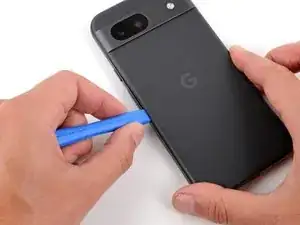
    • Slide your opening tool around the bottom right corner and up the right edge, stopping at the bottom of the camera bump.

    • Remove your opening tool from under the back cover.

  6. Ze61kHfOEZGEN1pT
    Ze61kHfOEZGEN1pT
    yFYnwOCMIV4LAUVG
    IE4HkojTMS1VPYLi
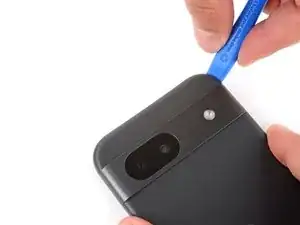
    • Insert your opening tool under the top right corner of the back cover, just above the camera bump.

    • Slide your opening tool along the top edge, stopping at the top left corner just above the camera bump.

    • Remove your opening tool from under the back cover.

  7. iDlPkROrDcImCxI5
    iDlPkROrDcImCxI5
    BEZUMyOyKKDqLmgS
    b4XUfZxYLhWqv1pu
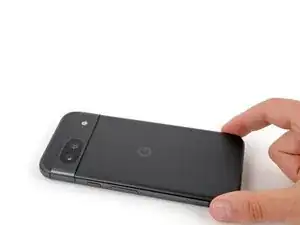
    • Insert your opening tool under the left edge of the back cover, just below the camera bump.

    • Slide your opening tool down the left edge to separate the adhesive.

  8. h1y5dw4GiVEPCk2R
    h1y5dw4GiVEPCk2R
    f6IApjuO13iFKr1f
    1OBZtuDLOIXbJ33j
    • A strip of adhesive above the camera bump secures the top edge of the back cover.

    • Insert an opening pick under the top left corner of the back cover until the tip is close to the top edge of the camera bump.

    • You can insert the opening pick more than 3 mm along the top edge.

    • Slide the pick to the right, stopping when you reach the right edge of the cameras.

  9. qvESKvKLKJ2BRZQL
    qvESKvKLKJ2BRZQL
    ToXchrPByGA3gGJF
    RjykBLstqLhdfLpA
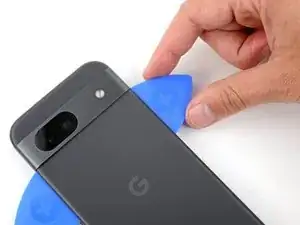
    • A final strip of adhesive below the camera bump secures the back cover.

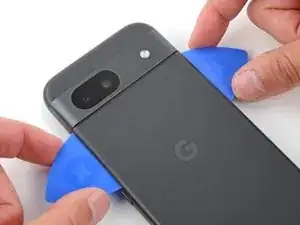
    • Insert the flat edge of an opening pick under the back cover, just below the camera bump.

    • Insert a second opening pick in the same spot on the other side.

  10. IW2Y6Pnlv1dCmcen
    IW2Y6Pnlv1dCmcen
    QF4jYyOXCKkvTlRo
    ISaYElsXZnpMGcHv
    • Pry up simultaneously with both picks and apply constant pressure to separate the final piece of adhesive securing the back cover.

    • Be careful not to bend the back cover. If the adhesive feels stubborn, rotate the cover side-to-side to further loosen the adhesive.

    • If the adhesive isn't separating, you can lightly heat the back cover just below the camera bump with a hair dryer or iOpener to soften the adhesive.

  11. uBorLRx126ysuFk2
    uBorLRx126ysuFk2
    VmQJmBpTUaEcKcfO
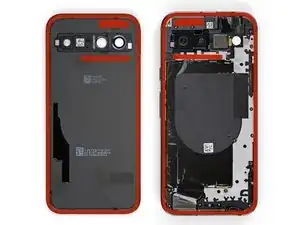
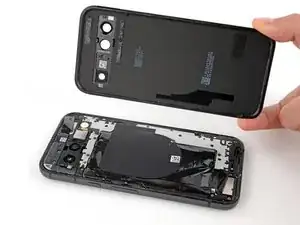
    • Remove the back cover.

    • During reassembly:

    • Now is a good time to test your phone before sealing it up. Power it on and check that it works. Power it back down before you continue reassembly.

    • Follow this guide to apply new adhesive and install your back cover.

  12. HGvBFWOk4j1iQAY1
    HGvBFWOk4j1iQAY1
    2ktugrdD4ic6NJFU
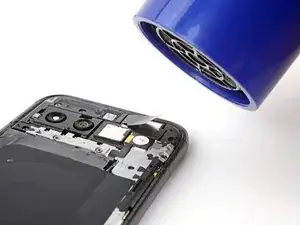
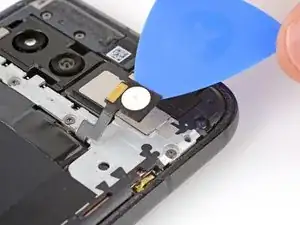
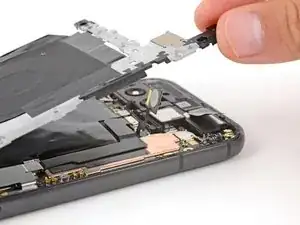
    • Use a hair dryer to heat the flash unit to soften the adhesive securing it to the logic board cover.

    • Alternatively, you can use an iOpener or heat gun to warm the flash.

    • Only heat the flash so it's warm to the touch. The battery and surrounding components are susceptible to heat damage.

  13. lWYIQCgn1Fyr1XhL
    lWYIQCgn1Fyr1XhL
    PM6obSsm6yX2aRTV
    DZyogJPF5DLKplSm
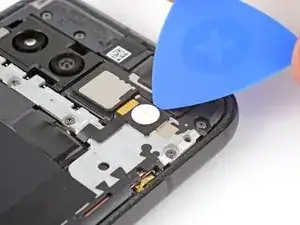
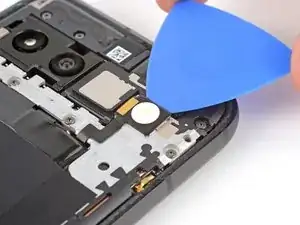
    • Slide your pick under the top edge of the flash and lift to separate the adhesive securing it to the cover.

    • Be careful not to slip and tear the flash cable, as it's very fragile.

    • During reassembly, follow this guide to replace the flash adhesives.

  14. FdeILQAl5R1FMEbL
    FdeILQAl5R1FMEbL
    UlmLShZFdS2fj3Or
    • Throughout this repair, keep track of each screw and make sure it goes back exactly where it came from.

    • While the Pixel 8a uses Torx Plus screws, standard Torx bits work. Make sure to apply constant, downward force to prevent stripping.

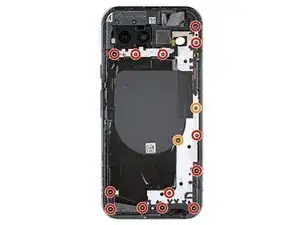
    • Use a Torx Plus 3IP screwdriver to remove the 15 screws securing the logic board cover:

    • Thirteen 4.3 mm‑long screws

    • Two 1.9 mm‑long screws

  15. nuywUZXZ4N4uSSyg
    nuywUZXZ4N4uSSyg
    Lq4CRjTJyoqCAcEi
    gInflQpyTnrmiCCN
    • Be very careful not to damage the spring contacts around your phone's perimeter. Only insert your tool where instructed.

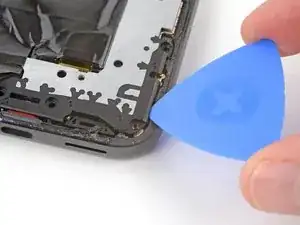
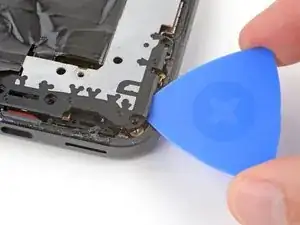
    • Insert an opening pick under the bottom right corner of the logic board cover and pry up to release the clip.

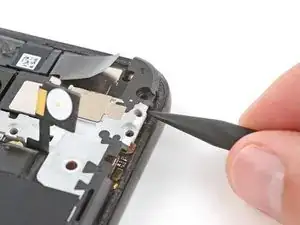
    • Insert the tip of a spudger under the notch near the top right corner of the logic board cover (just below the screw hole) and pry up to release the clip.

  16. XMgGPsay35jZkSqB
    XMgGPsay35jZkSqB
    mMJaFCmPWSuIQNsN
    mOVLfhakVTgvKq2n
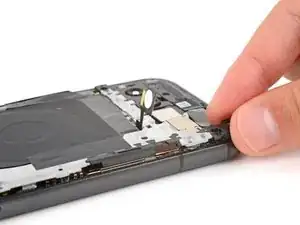
    • Slowly lift the top edge of the logic board cover and thread the flash unit through its cutout.

    • During reassembly, thread the flash through its cutout as you lower the logic board cover into place.

  17. jr26C5Iy3u1XCLUn
    jr26C5Iy3u1XCLUn
    sauiHpHECUSnFQZD
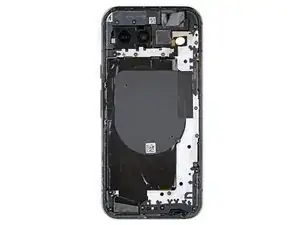
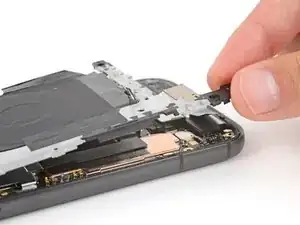
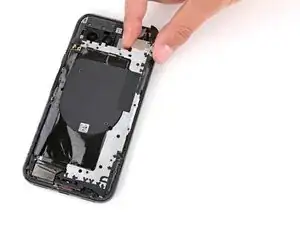
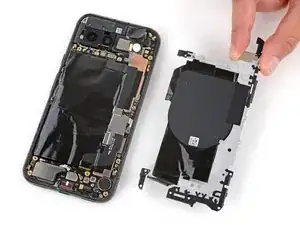
    • Remove the logic board cover (which has the wireless charging coil connected to it).

  18. 6U6YPqYylkkLnFPF
    6U6YPqYylkkLnFPF
    XfYatqXZ5uiM3ApE
    xwsa5btYrdWxuOHX
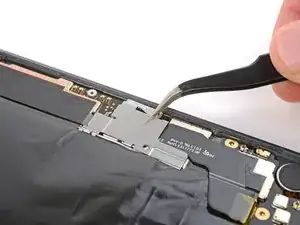
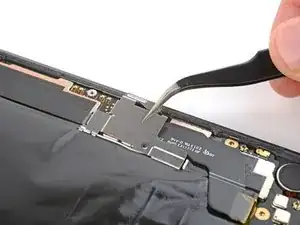
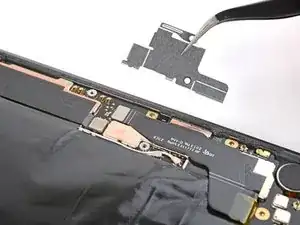
    • Use a pair of tweezers or your fingers to remove the metal cover on the right edge of your phone.

    • During reassembly, place the upper left corner of the cover under the hook on the logic board before laying it into place.

  19. nKoQYsQoJNDp1Vcf
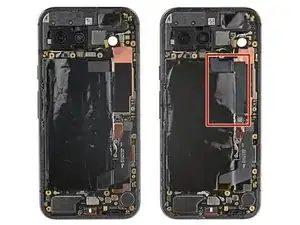
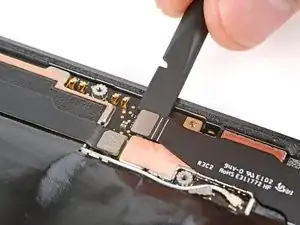
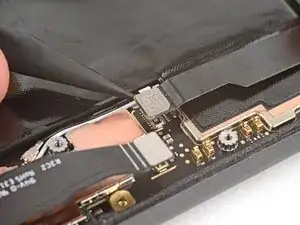
    • This guide was shot with the Verizon model (G8HHN) Google Pixel 8a, which has an extra cable and connector for the 5G mmWave antenna (just to the left of the battery connector). If you have the non-mmWave model, just skip any steps that mention the antenna cable.

  20. tAXUsbgslCmhrY1I
    tAXUsbgslCmhrY1I
    CVKKOQ4uu6BpmhO4
    llflIxljxGHG22oU
    • Insert the flat end of a spudger under the right edge of the battery press connector and pry straight up to disconnect it.

    • To reconnect a press connector, align it over the socket and gently press down on one side until it clicks into place, then press down on the other side. It might take a few tries to align the connector.

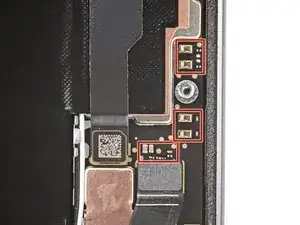
    • To prevent damaging the surface mounted components around the battery and 5G mmWave connectors, only pry where instructed.

  21. DXiIOFt1tYmPJq6n
    DXiIOFt1tYmPJq6n
    6sGHEbMdBCNxogwh
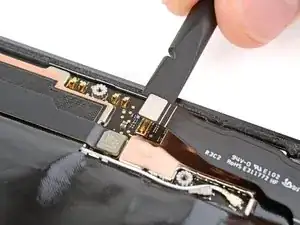
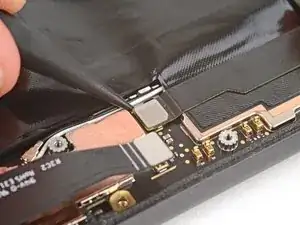
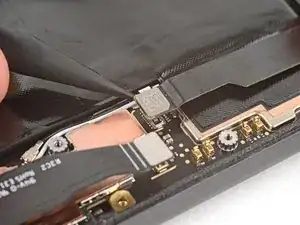
    • Insert the point of a spudger under the bottom edge of the 5G mmWave antenna press connector and pry straight up to disconnect it.

Conclusion

To reassemble your device, follow these instructions in reverse order.
Spencer Day

Member since: 14/09/22

88286 Reputation

0 comments