
Introduction
If your Sony ULT Wear headphones are experiencing floppy earcups, cracks where the earcup connects to the headband, or any other hinge related movement, it is time to replace the hinge on your device.
Before you begin, remember that wiring runs through the hinge and damaging it can break audio and mic functionality.
-
-
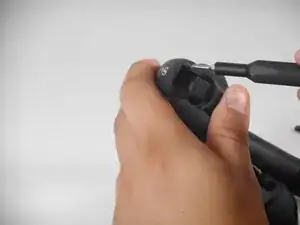
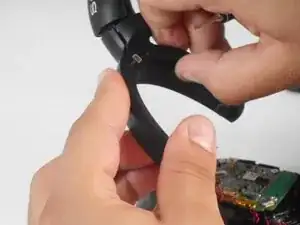
Fold the effected hinge's headphone cans inward to reveal four screws.
-
Remove the four screws using a Phillips #00 screwdriver.
-
-
-
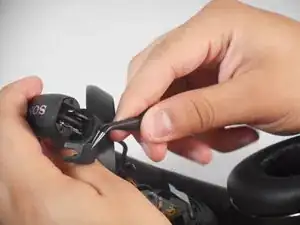
Remove plastic casing between the screws to reveal metallic hinge and top of wire.
-
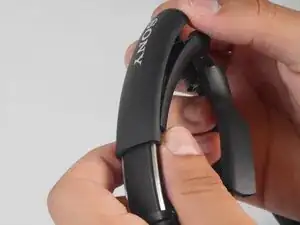
Lift and slide the top headband casing off.
-
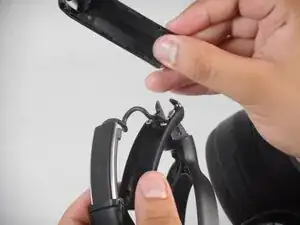
Lift and slide bottom headband casing to reveal the rest of the wire and hinge.
-
-
-
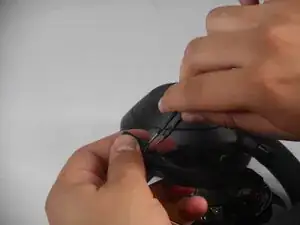
On the bottom plastic casing remove the two 3.5 mm Phillips screws attached at the metallic hinge.
-
Move the headphone wire out of the way.
-
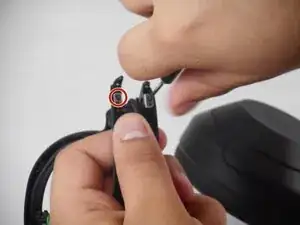
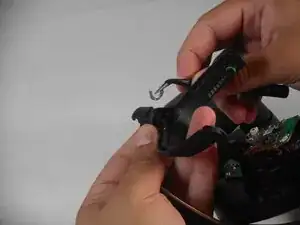
Under the headphone wire there is a third screw on the metallic hinge. Remove this screw to remove the hinge.
-
-
-
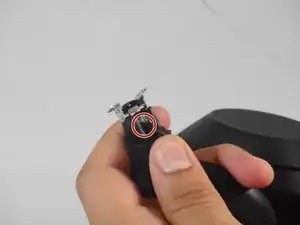
There are three 0.5 mm screws holding the hinge. Two of them are located on the exterior and one is underneath the speaker wire.
-
Remove the screw under the speaker wire to remove the can hinge.
-
-
-
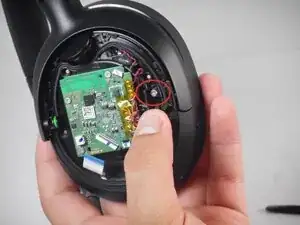
After removing the screws, there is another 3.5 mm screw on the actual hinge piece that must be removed.
-
Remove the plastic shell.
-
-
-
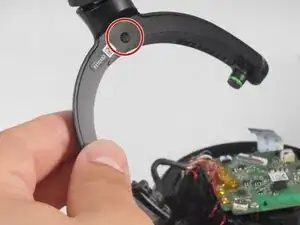
Right under the inner part of the hinge, there is a small metal wedge holding the hinge in place. Remove this piece.
-


To reassemble your device, follow the above steps in reverse order.
Take your e-waste to an R2 or e-Stewards certified recycler.
Repair didn’t go as planned? Try some basic troubleshooting or ask our Answers community for help.
