Introduction
Over time, vacuum belts can stretch or break, causing the brush roll to stop spinning- even though the vacuum still powers on. This can lead to reduced suction and poor debris pickup. If your Oreck XL Upright Vacuum isn't cleaning effectively, this guide will walk you through checking and replacing the belt to restore performance.
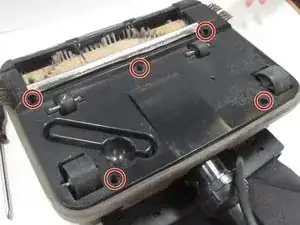
Before you begin the replacement, ensure the vacuum is powered off and unplugged.
Tools
Parts
-
-
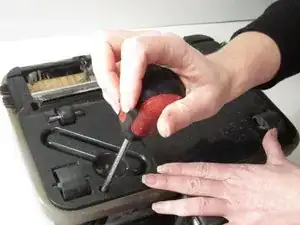
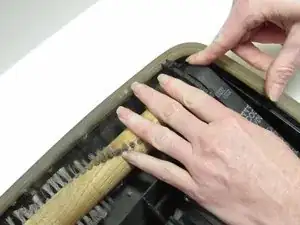
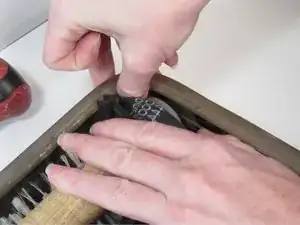
Remove the belt from the roller.
-
Slowly pull the belt off. If you have difficulty, spin the roller as you remove the belt.
-
-
-
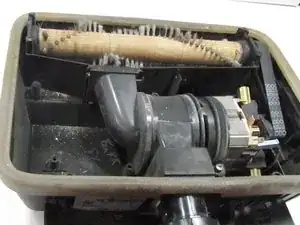
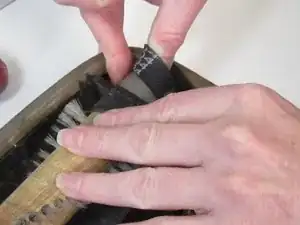
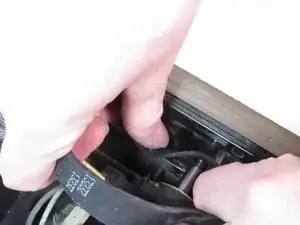
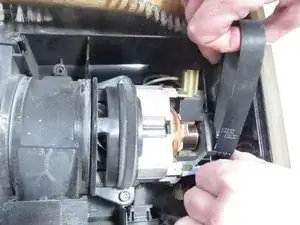
Pull the other side of the belt off of the motor shaft.
-
There is a small opening between the motor shaft and the side of the vacuum. The belt comes out here.
-
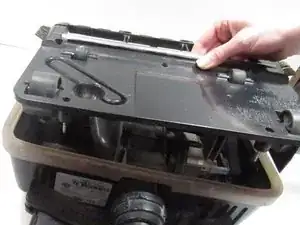
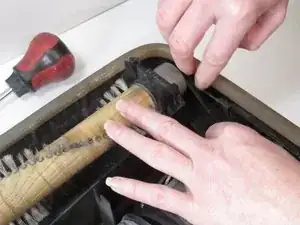
Discard the old belt.
-
-
-
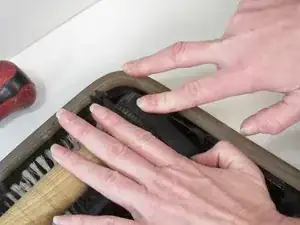
Carefully stretch the other end of the belt around the roller.
-
Spin the roller a few times to ensure the belt is secured.
-