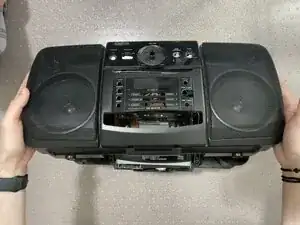
Introduction
If your Sanyo MCH 900F is having display issues, or is having trouble reading discs, a faulty ribbon cable might be the cause. This guide will walk you through the steps to safely replace the CD drive ribbon cable, restoring your device's functionality.
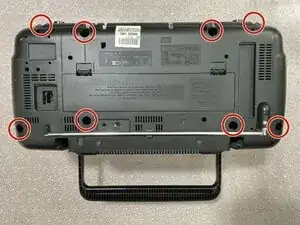
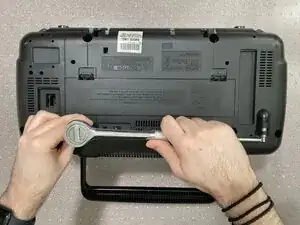
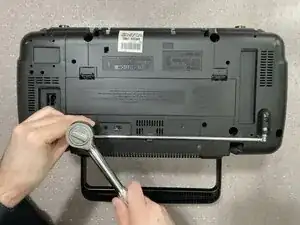
There are no specialized skills or knowledge needed to perform this repair. However, this specific model of CD Player needs a long screwdriver or long screwdriver bits in order to remove the backing, a regular screwdriver will not work for this.
Before you begin the repair, make sure to turn off the device and unplug it from the outlet. Finally, make sure to work on a solid surface and not on carpet to avoid static build-up. This can further damage the device if you are not careful.
-
-
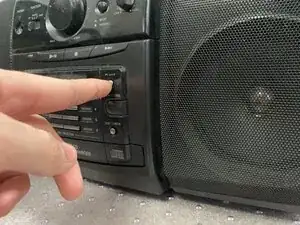
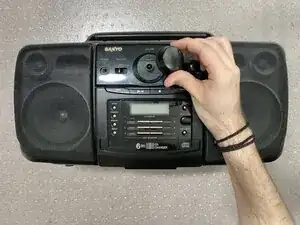
Pull the volume knob straight up to remove it.
-
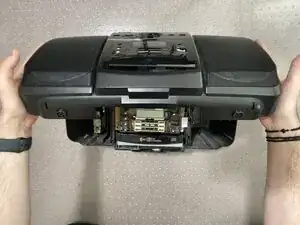
Lift up on the sides of the front panel and tilt it back over the unit to remove it.
-
-
-
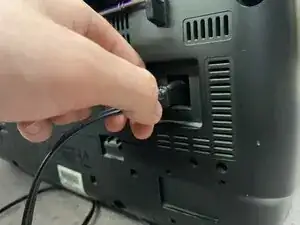
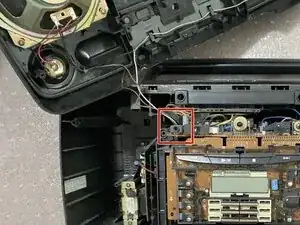
Disconnect the wire from the circuit board in the bottom section that links the front and back of the unit.
-
Gently remove the front of the unit.
-
-
-
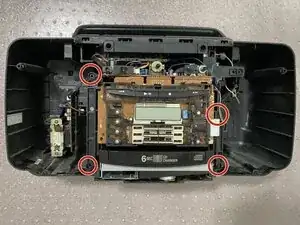
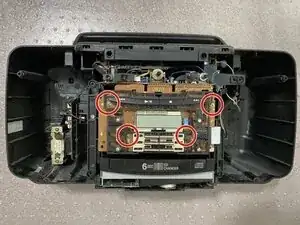
Use a Phillips #00 screwdriver to remove the four 3 mm screws that connect the circuit board to the case.
-
-
-
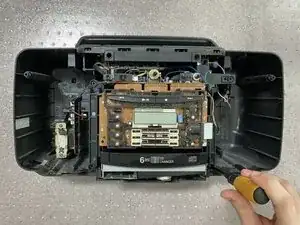
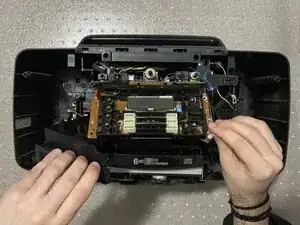
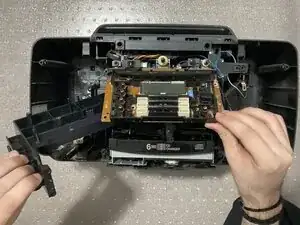
Tilt the circuit board along its hinges, then pull the bracket to the side and outwards to remove it from the case.
-
-
-
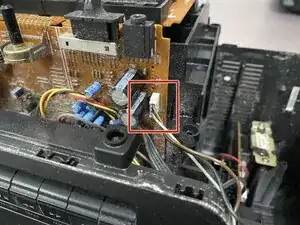
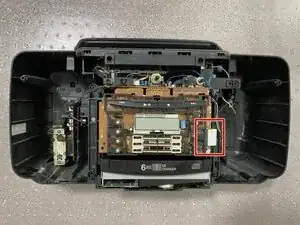
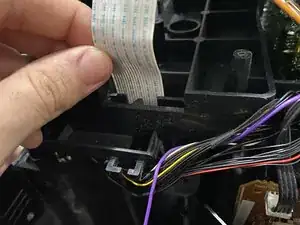
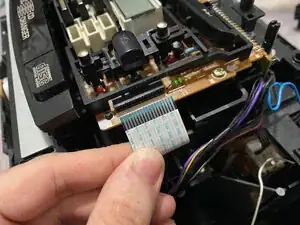
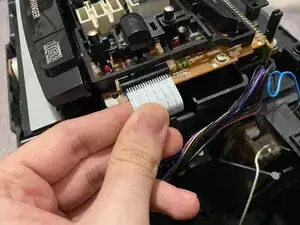
Pull the end of the CD drive ribbon cable straight out of the circuit board connector to remove it.
-
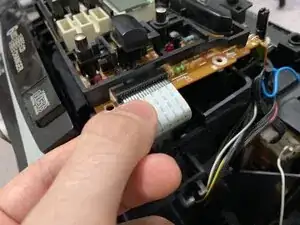
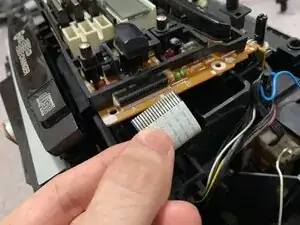
The other end of the ribbon cable is connected to the disk drive, beneath where the bracket was originally located. Locate the connector, then pull the cable straight out to remove it.
-
-
-
Plug the new replacement ribbon into the connector on the disk drive.
-
Slide the bracket back into the unit.
-
Slide the ribbon through the gap in the mount when placing the mount back in.
-
Plug the ribbon into the front panel.
-
Reassemble your device.
-

To reassemble your device, follow these instructions in reverse order.
