Introduction
If your basketball is losing its bounce, there may be a leak or tear on the ball's exterior. This can cause air to rush out, making the ball ineffective.
Use this guide to help repair exterior holes that are no larger than 1.5 inches in diameter. If they are any bigger, this guide isn't for you.
Damage to a basketball can be caused by many factors (but not limited to): wear and tear, exposure to extreme temperatures and sunlight, or squirrels getting into your storage container. After completing this guide, make sure to review the ball's storage space so that it isn't exposed to extreme environments, such as temperatures, sunlight, rain, and critters.
Note: This guide requires the use of a metal scuffer which is sharp on one side. This can cause serious cuts if not handled with care.
Happy fixing!
-
-
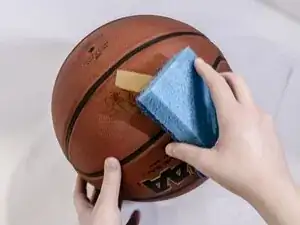
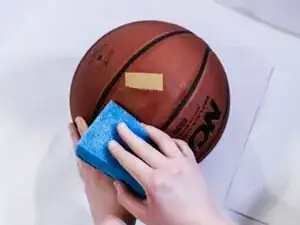
Locate the leak on the basketball's surface by using one of two methods: the water test or the acoustic test.
-
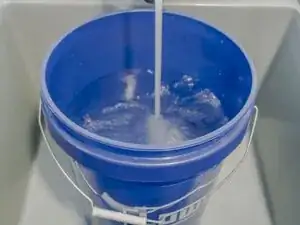
For the water test, fill a bucket with water, submerge the basketball in the water, and look for bubbles.
-
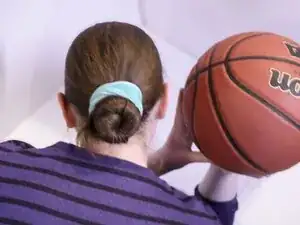
For the acoustic test, inflate the basketball, hold the ball close to your ear, rotate the ball, and listen for any quiet whistling.
-
-
-
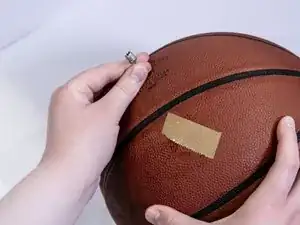
Once you have found the leak, mark it by placing a small strip of colored tape next to it on the surface of the ball.
-
-
-
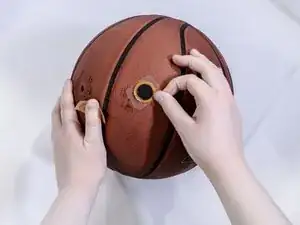
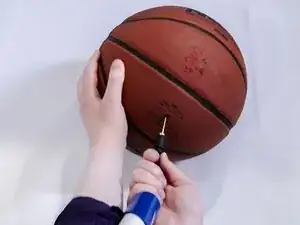
Deflate the ball by 20% of the air it currently contains by placing the inflation needle from the ball pump into the inflation hole of the ball until air is released.
-
-
-
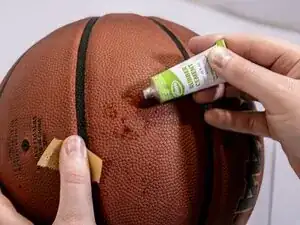
Use your Slime Tube Patch Kit in the following 4 steps:
-
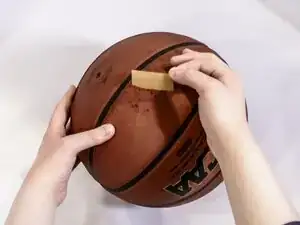
Take the metal scuffer and sand the leak area.
-
Apply a thin layer of rubber cement to cover 1 centimeter wider in diameter than the leak area.
-
Place the appropriate sized patch over the whole leak area and gently press it onto the ball's surface.
-
Wait 1 hour for the adhesive to fully dry.
-


Test your ball to see if the leak has been repaired. If the ball still loses air in a short amount of time, there may be more leaks. Repeat this process to locate and fix them.