Introduction

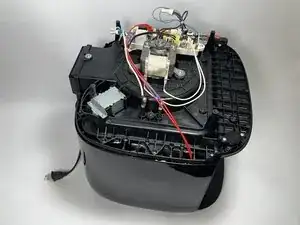
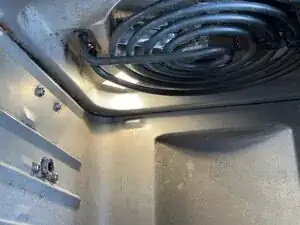
Use this guide to replace the lightbulb inside of a Bella Pro 90246 12.6-qt. Digital Air Fryer Oven.

The lightbulb inside the air fryer is used to check the cooking status of your food. Without this working, you face the risk of cooking too long and burning your food. Following this guide will help you disassemble the air fryer to locate the light bulb, complete the replacement, and extend the use of your air fryer.

Before you start the lightbulb replacement, it is important to gather all the necessary tools listed in the “What you need” section of the guide. You will need to purchase a new Halogen GY6.35 light bulb that is an exact fit for the circuit. Before you begin disassembly, make sure your air fryer is unplugged, and then you're ready to begin.

  1. YdVbr1wTPXQYytP3
    • Make sure your air fryer is unplugged to avoid the risk of being electrocuted.

    • Gather your materials to begin disassembly.

  2. vgQKBMQ2UupWjVlW
    vgQKBMQ2UupWjVlW
    DBlXymHQmgGtZf5R
    jwOURAURDF35OcFC
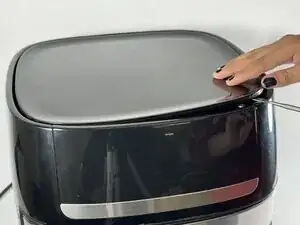
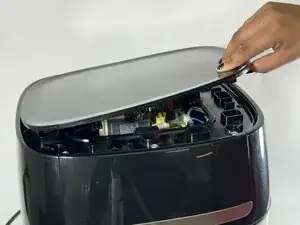
    • Use the metal spudger to pry off the protective lid on all four sides.

  3. 5BRMswJl3UJEFB3B
    5BRMswJl3UJEFB3B
    sEbcsPO6vVClVlJR
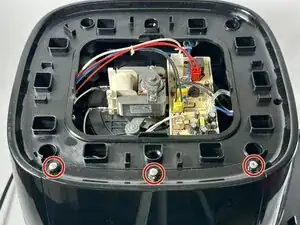
    • Remove the three 9.5 mm screws on the top of the air fryer that hold the plastic cover in place using a Phillips #1 screwdriver.

  4. WsGB53WPQTIZTbJV
    WsGB53WPQTIZTbJV
    mCT6q1Bcne3qQWFW
    QZL1lQLoVSafYSk2
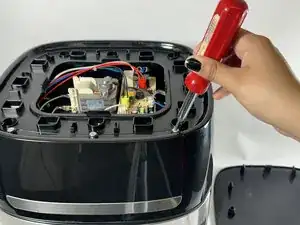
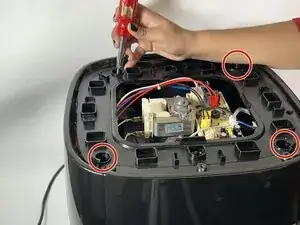
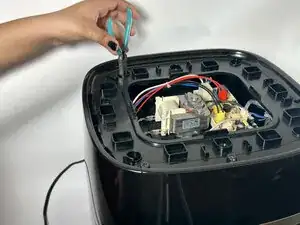
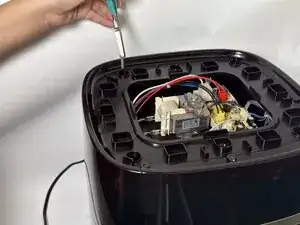
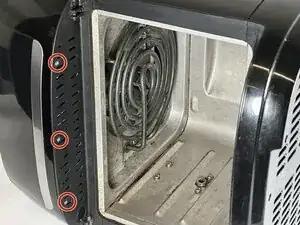
    • Use the Phillips #1 screwdriver to remove the four 34.9 mm screws that are located inside the round holes on the corners of the plastic cover.

    • You may need to use a pair of needle nose pliers to remove the screws from the deep set holes.

  5. ney2iYYgP5GTF2kO
    ney2iYYgP5GTF2kO
    BDgERYaqXTj6BPdH
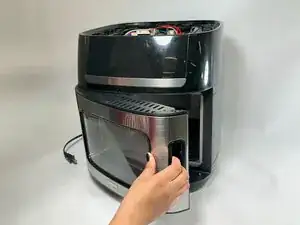
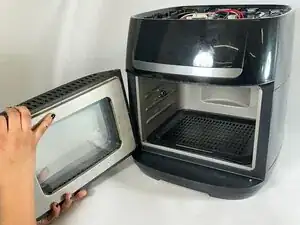
    • Open the door.

  6. S4R1ZKr4GIUQis6L
    S4R1ZKr4GIUQis6L
    DoDpBOdluVLTAynr
    Z2NX4X3ALXgp66Y6
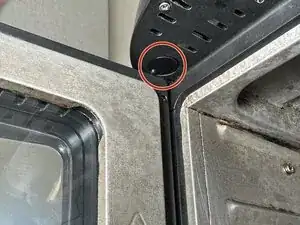
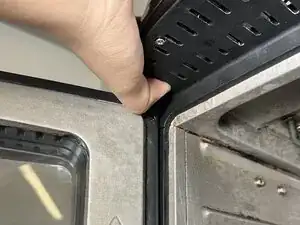
    • Press the button underneath the hood to release the mechanism that holds the door in place.

    • Once the door is disconnected, remove it from the airfryer and set it to the side.

  7. FWeqKUcPnFbuYUrE
    FWeqKUcPnFbuYUrE
    HKDW3UnVNQJtxAaK
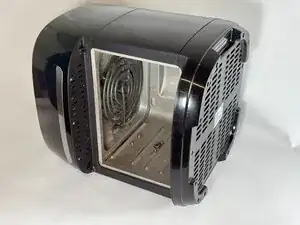
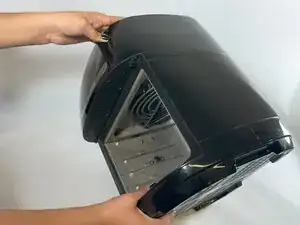
    • Carefully tilt the air fryer onto its side.

  8. X2AlIZPUQ5LADCaK
    X2AlIZPUQ5LADCaK
    pJyGtUWreusVMqvw
    tBZWNSedB354i26G
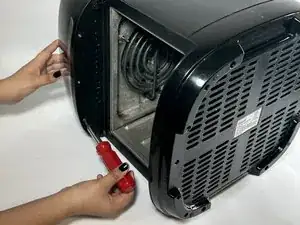
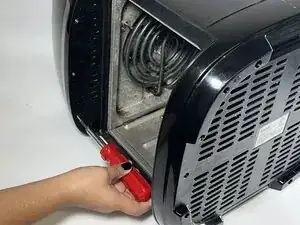
    • Use the Phillips #1 screwdriver to remove the three 25.4 mm screws under the hood.

  9. BkFMm3NeTMQQKkuf
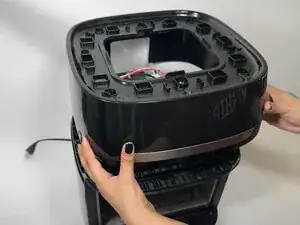
    • Hold the top of the air fryer into place while carefully moving it back to its up-right position.

    • After removing the screws, the top will be loose. Hold firmly to avoid damage to any wire connections underneath the plastic cover.

  10. QFRtw2iIVjGhpxF3
    QFRtw2iIVjGhpxF3
    mcJrrWIKtIp2bNkO
    6gHZtFDrApdEeLpY
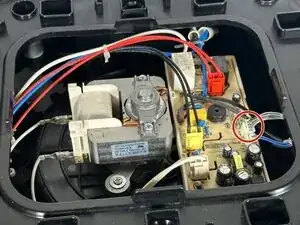
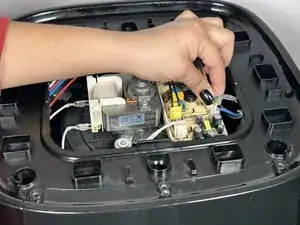
    • Identify the grey electrical cable attached to the circuit board.

    • Press firmly on the cable head's tab to release the connection.

    • Carefully wiggle the cable head to disconnect the wire from the circuit board without damaging it.

  11. GueZsVBDxQyI2OPb
    GueZsVBDxQyI2OPb
    pwOjTKbxWCkxYENx
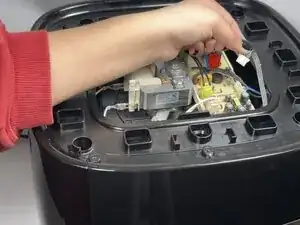
    • Lift the top cover off of the air fryer to access the electrical circuits underneath.

  12. rnGk6LpCTAfYylMG
    rnGk6LpCTAfYylMG
    OcSWx4yNhWBPVfCl
    dnTvPHkpm2ChL5Mf
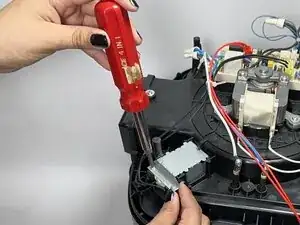
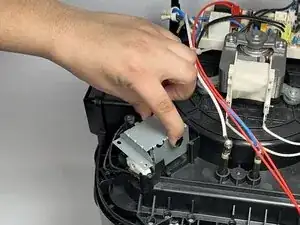
    • Remove the two 19.1 mm screws securing the metal light bulb cover using a Phillips #1 screwdriver.

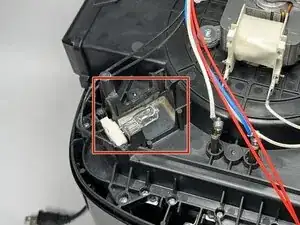
    • Carefully pull off the metal cover to reveal the burnt-out light bulb.

  13. EOvMwrNpHeVT2LHl
    EOvMwrNpHeVT2LHl
    AVYfcjhCrexQ46Pc
    AJYbASudJcFmLbaR
    • The light bulb is made of glass and can be fragile. Handle with care to avoid injuring yourself with broken shards of glass.

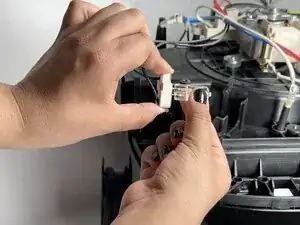
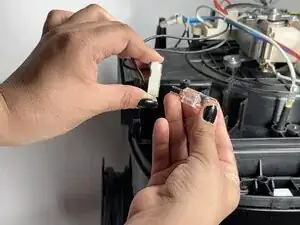
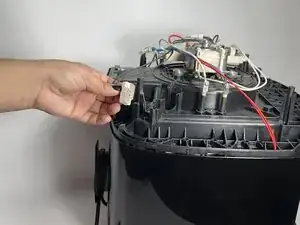
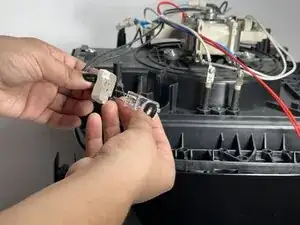
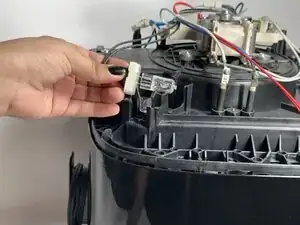
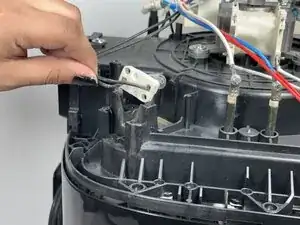
    • Lift the light bulb circuit out of the plastic slot and remove the burnt out light bulb by pulling gently.

  14. xylkKu3uct6KFSKB
    xylkKu3uct6KFSKB
    LRMaQsTKq1JNG4Uf
    rEQ3GVxM3lQaT4FX
    • Gently plug the new light bulb into the light bulb circuit.

  15. A2f5ZXWZfjSjRScG
    A2f5ZXWZfjSjRScG
    cZQrDNtiIg25awe1
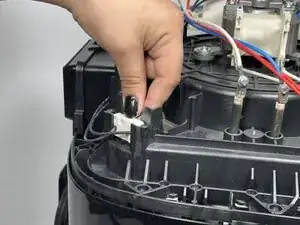
    • Slide the light bulb circuit carefully back into the plastic slot.

  16. RRVdt36nZIUu4TJB
    RRVdt36nZIUu4TJB
    AIXqVSHNVjDpqIIu
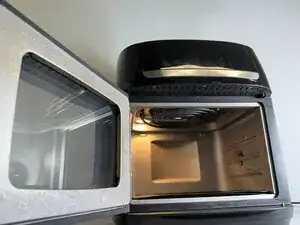
    • Plug your air fryer into an electrical outlet to confirm your new light bulb works.

    • Enjoy your perfectly cooked food!

Conclusion

To reassemble your device follow this guide in reverse order starting with step 11.

Nattaly Vargas

Member since: 21/02/25

253 Reputation

0 comments