Introduction
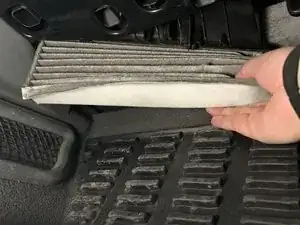
If the air quality inside your 2011-2017 Audi Q5 has diminished, and you are experiencing unpleasant odours, poor airflow, or increased allergy symptoms, then it's time to replace the cabin air filter.
The cabin air filter helps maintain clean air inside the vehicle by trapping dust, pollen, and other airborne particles. A clogged or old filter can reduce HVAC performance, affecting overall air quality.
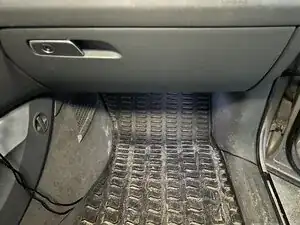
This guide will walk you through the steps to replace the cabin air filter located under the glove box. No special tools or advanced knowledge/skills are required but be prepared to apply moderate force when removing the filter housing in Step 4.
Before beginning, ensure the vehicle is parked on a flat surface and completely powered off. If the existing filter shows signs of mold or excessive buildup, consider wearing protective gear (i.e. mask and gloves).
Tools
Parts
-
-
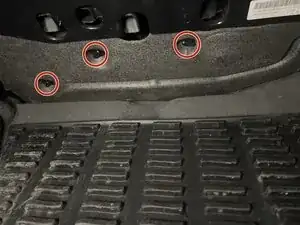
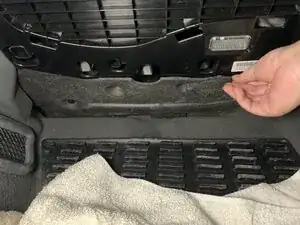
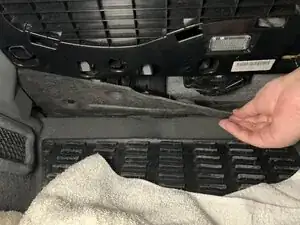
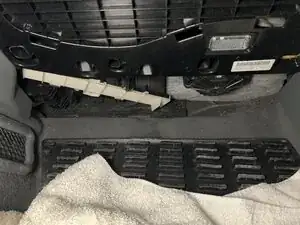
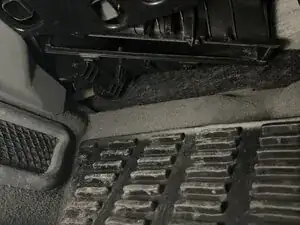
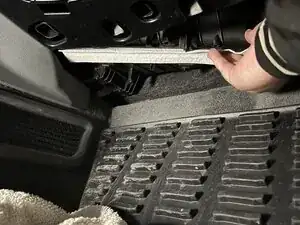
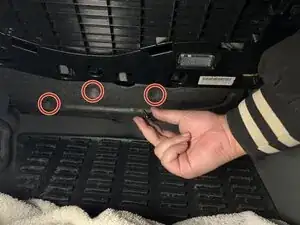
Remove the three plastic screws securing the foam panel underneath the glovebox using your hands.
-
-
-
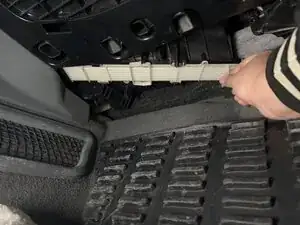
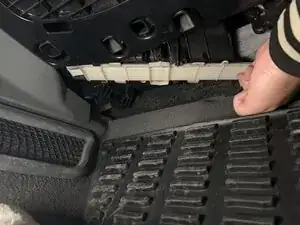
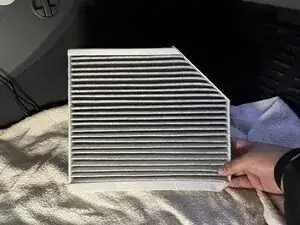
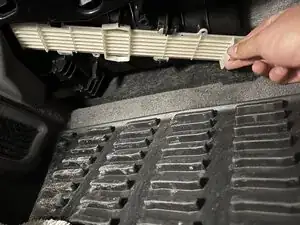
Slide the new cabin air filter into the housing with the slant positioned in the upper right corner.
-
-
-
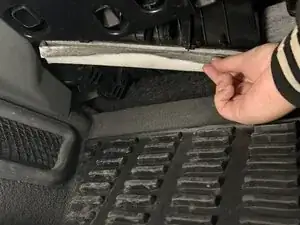
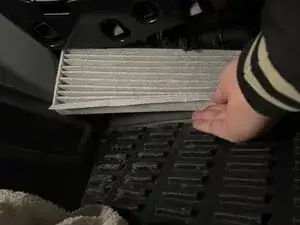
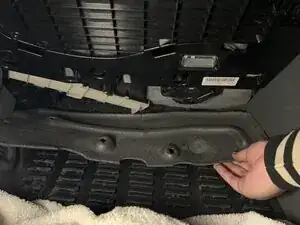
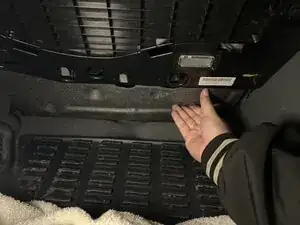
Place the filter housing door back on the slot and slide it to the left until it's properly secured.
-