Introduction

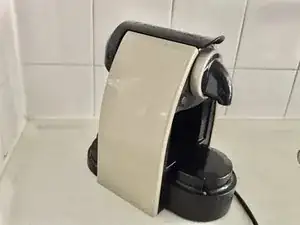
Symptom: coffee flows out very slowly, coffee/water leaks through the machine.

This can be caused by a blocked spout, clogged with coffee residue built up over time.

This guide shows how to clean the Nespresso's spout.

  1. B24llEMqBGRTJlPa
    B24llEMqBGRTJlPa
    IZhPDbBvEPctJdEq
    • Unplug the device from the mains to begin.

    • Remove the water container and tray.

  2. S3JdosAtomCk4c2F
    S3JdosAtomCk4c2F
    Fjhu3KljksFm5IqN
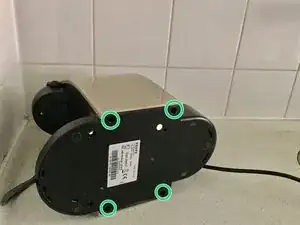
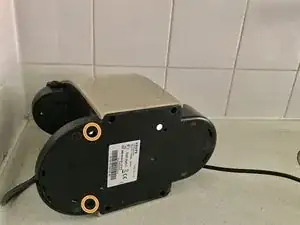
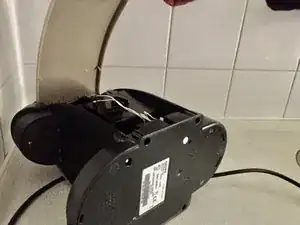
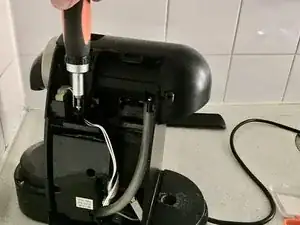
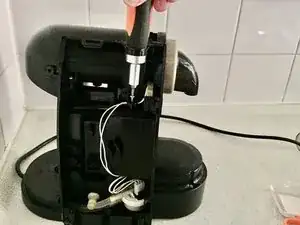
    • Remove the 4 bottom screws that hold the side panels. You need the oval drive bit for this.

    • Leave the other 2 bottom screws in place, these hold the bottom plate in place.

    • When reassembling, take care not to over tighten these screws. When in doubt, take 1/4 turn back.

    • Improvement: As these oval head screws are (intended to be) a nuisance, you may want to replace them with similar screws with a more common head.

  3. ucD1qyxJvW5Asubm
    ucD1qyxJvW5Asubm
    GZuiGLBKtFcXvRqO
    ThV6mJhkdisiKtdK
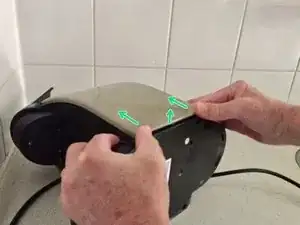
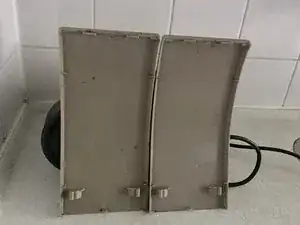
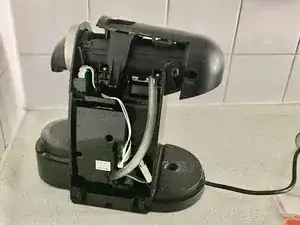
    • Put the machine on one side, gently push the bottom edge of the side panel towards the top and lift it out.

    • Unhook the panel from the top.

    • Repeat with the other side panel.

    • The panels are identical, so there's no need to remember which was left or right.

    • When reassembling, make sure the bottom of the panel clicks fully closed before inserting the screws.

  4. Wu6WOToTnVUwTfnP
    Wu6WOToTnVUwTfnP
    MBln1YxFq4OFnA3Y
    WyS3fWrE52c54ZUH
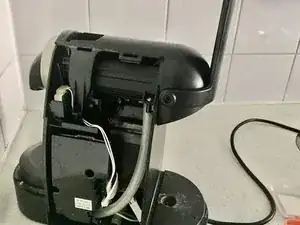
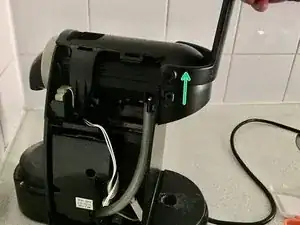
    • Use a Torx T120 to remove the two black screws that hold the lever, one on each side.

    • Open the lever and slide it upwards from its axle.

    • When reassembling, the axle needs to be turned vertical before you can slide the lever back into place.

  5. TJbiJQvoHQ6QVoeV
    TJbiJQvoHQ6QVoeV
    rPZrH2nLPHLA4CfF
    T3hKKcxCvh3WCJDL
    • Use a Torx T10 to remove the 2 screws that hold the cover of the brew unit at the front

    • Remove the last screw (T10) of the cover, located at the back and underside.

  6. Isx26gas1LE4KXcf
    Isx26gas1LE4KXcf
    iaQaFNPWqQFIfh3W
    • Slide the brew unit cover back so that it comes free.

    • No force needed, some manipulation will do the trick.

  7. xmO4LSwklp5TdjHQ
    xmO4LSwklp5TdjHQ
    DRvPLobAGHPKBgU2
    XX4bRircUU5NIDuw
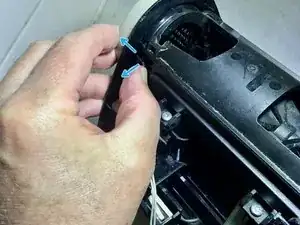
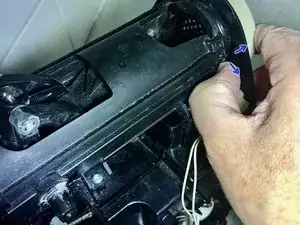
    • Locate the clips that hold the brew unit, one on each side.

    • With your thumb(nail), push one sideways and and forward so that it frees the clip.

    • This takes a bit of force, but does not need to move the clip far.

    • Repeat on the other side.

  8. sSwdxOBBXSwaNbqy
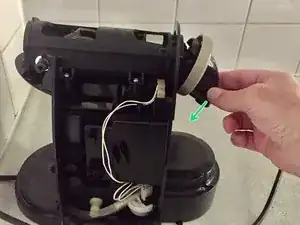
    • With both clips unlocked, remove the spout with a tilting downward motion.

    • When reassembling, you might want to temporarily loosen the front screws from the next step (9) to give the spout more room.

  9. i1lyqpBnNQHmAfnQ
    i1lyqpBnNQHmAfnQ
    UZxLAcZ3XfZUpPZl
    • Use a Torx T10 ro remove the 4 screws that hold the the brew unit, 2 on each side.

  10. pAGEGMsVs3yIWv4m
    pAGEGMsVs3yIWv4m
    Zr4rkaVJBSGMkEtM
    • Do NOT remove the hose

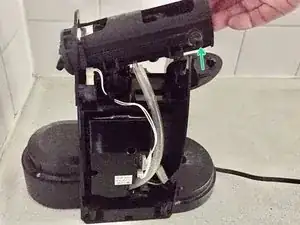
    • Lift the back of the brew unit.

    • Pull it backward until free.

    • Put it next to the machine, but do not put much strain on the hose.

    • Clean the spout, the front of the brew unit and anything that needs cleaning.

    • Once dry, it is ready to reassemble.

Altijd Ellende

Member since: 29/03/21

237 Reputation

2 comments

Thanks, @farmyardgaming for cleaning up my grammar!

Altijd Ellende -

Anytime, I'm glad I could help!

FarmYard Gaming -