Introduction

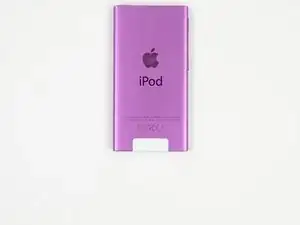
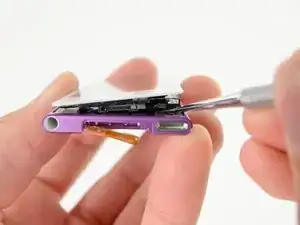
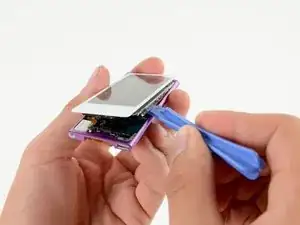
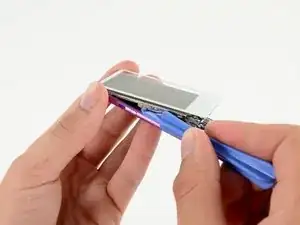
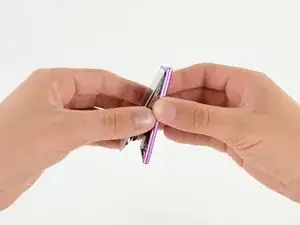
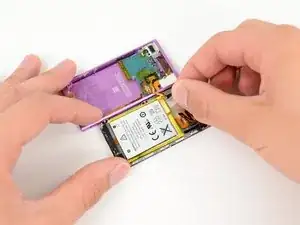
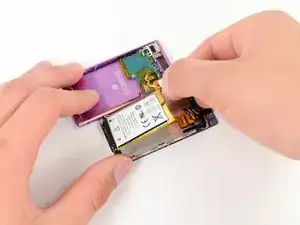
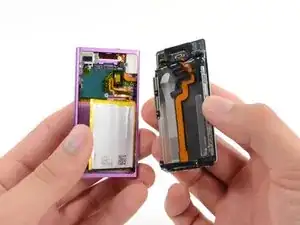
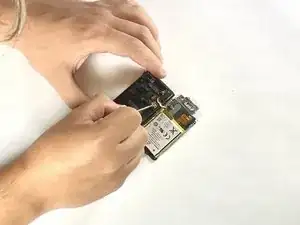
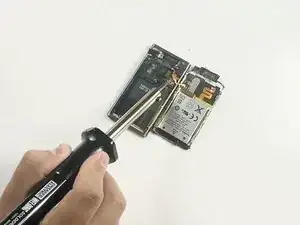
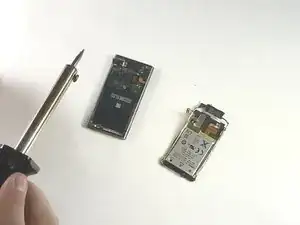
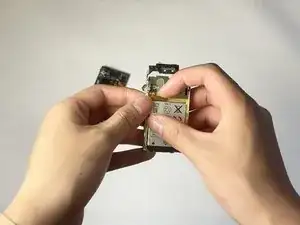
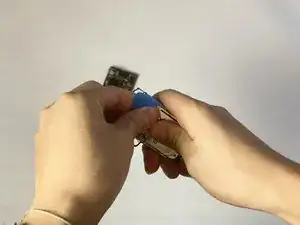
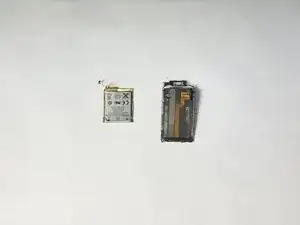
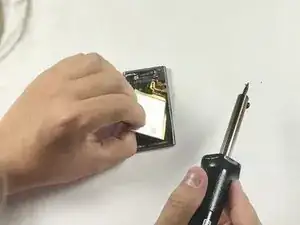
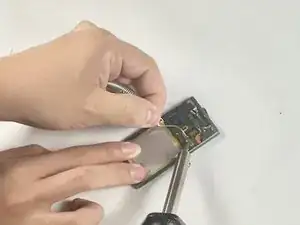
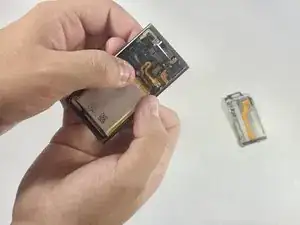
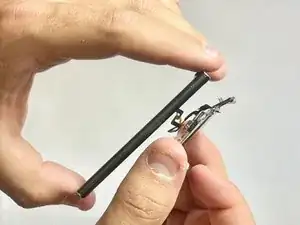
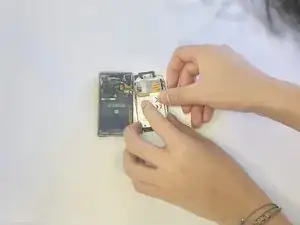
If your iPod Nano 7th Generation is no longer charging, it might be time to replace the battery. This guide will walk you through the steps to remove and replace the old battery with a new one, restoring your device to its former glory. The procedure involves disassembling the device, removing the old battery, and soldering a new one in place. Before you begin, ensure you have all the necessary tools and follow the instructions carefully to avoid damaging your iPod.

  1. EfSF1vXmEPtbhpDT
    EfSF1vXmEPtbhpDT
    ZJF1cwGdhTk3FQjs
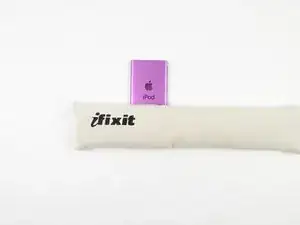
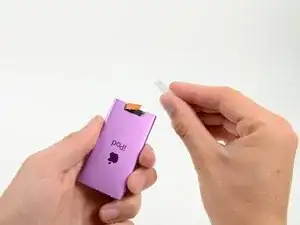
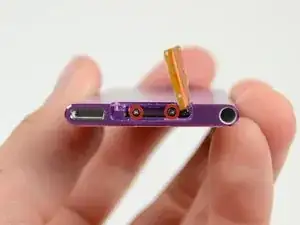
    • Lay the iOpener over the plastic tab to loosen the adhesive. Let the bag sit on the device for approximately 90 seconds before attempting to open the panel.

  2. ZXCGTSnpgJtFohns
    ZXCGTSnpgJtFohns
    MFinRDftYXgXAgXK
    a5ZRp16qJMfGxE2P
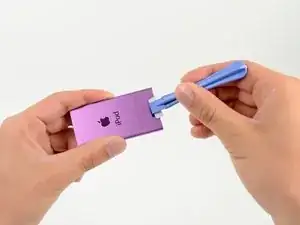
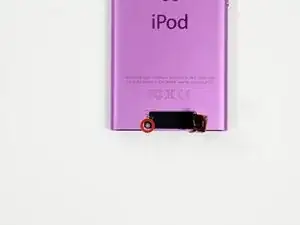
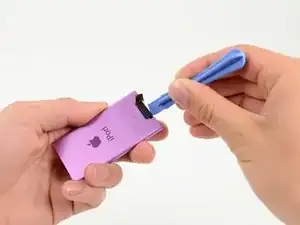
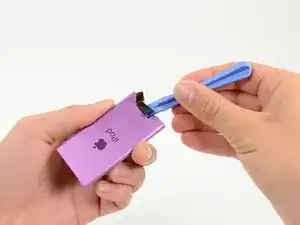
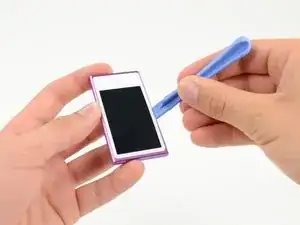
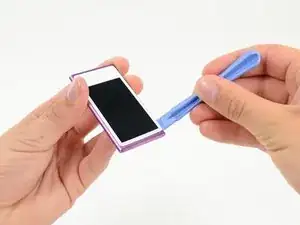
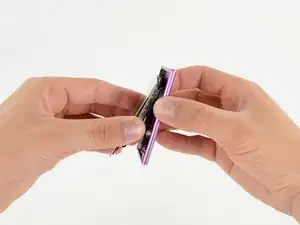
    • Use a plastic opening tool to pull the rear plastic cover away from the device until there is enough room to insert a spudger.

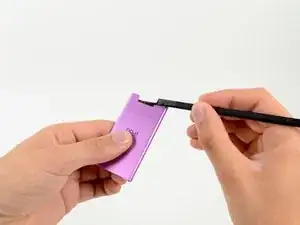
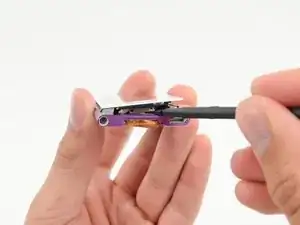
    • Insert a spudger under the cover, then pry it up and away from the device.

    • Remove the rear plastic cover from the iPod.

    • Be very careful in removing the plastic cover as the bluetooth antenna is adhered to it.

    Too bad there is not a warning for bluetooth antenna damage... This guide led me to tearing my antenna.

    trogfield -

    still broke the antenna its very easy too

    Bin Chicken -

  3. prXMQMZFmw6L1brE
    • Gently bend the Bluetooth antenna to the right, out of the way of the screws in the bottom of the device.

    • Remove the single 1.4 mm Phillips #000 screw from the black plastic spacer.

  4. FHBpXfgTFcwheOiV
    FHBpXfgTFcwheOiV
    oRJVNKUgMSuqQsMZ
    • Use a plastic opening tool to remove the black plastic spacer from the Nano.

  5. HDioICuOqpgoITCl
    • Remove the two 2 mm Phillips #000 screws from the bottom of the case.

  6. VJq6iAiEbGGkRGCi
    VJq6iAiEbGGkRGCi
    pDI1qaX62H1ckUeL
    • Insert a plastic opening tool into the seam between the white plastic front panel and the rear case.

    • Slide the opening tool along the edge of the front panel to free it from clips and adhesive.

  7. cKjfTepfjMp2V2wC
    • Use a spudger to press the midframe screw tab up and out of the rear case.

    I CAN NOT find this midframe screw tab.

    Donald Fournier -

  8. DD2QMCCEY4rEyOUa
    • Use a metal spudger to carefully pry near the Lightning connector and under all parts of the front panel assembly: the front glass/digitizer, the LCD display and the metal midframe.

    • The adhesive under the metal midframe/display assembly is quite strong and the components are fragile, so go slowly and gently. Make sure you do not bend the LCD screen.

    This step is extremely difficult to do... How am I supposed to manage to lift the frame with the LCD screen without potentially causing damage to the LCD screen?

    Uriel Melchor -

    Yeah, I did run into a roadblock with that too, so I’ll have to find a heat gun (or iOpener) and see if I can use that to loosen the frame.

    Kevin Bhasi -

    Hello, My name is Michael , in this moment I destroyed one of the lines of the screen, because in this point every connector it is the right side , so I advice start for the another side , left up through right down side i think is the better way.

    it is the shame for me.

    Michael Lendian Castillo -

    This is quite bad way to separate the display from the housing. Many people will destroy the touch panel ribbon or the LCD. It is far better way that you insert very thin(~0.5mm) plastic card (do not use metal tool) to the gap between the housing and the iron LCD mounter, and the do as written.

    mamarama9904 -

  9. PwAingvM2vEyqWyO
    PwAingvM2vEyqWyO
    Mc3TlhwGJwUWQHod
    • Continue prying along the edges under the front panel assembly, releasing the clips and adhesive along the sides of the device.

  10. aR1DCEMEgjY1VAQ3
    aR1DCEMEgjY1VAQ3
    XEHXROi5ohUJRXsf
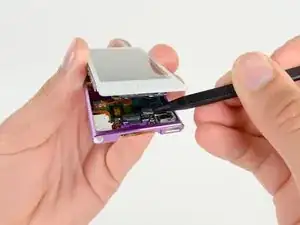
    • Pull the front panel assembly slightly down and partially out of the device.

    • You only need to open the device enough to gain access to the display cable connectors near the sleep/power button.

    • Do not separate the two halves entirely, they are still connected by several cables.

    STOP! DO NOT ATTEMPT THIS UNTIL AFTER STEP 14 IF YOU VALUE NOT SEVERING THE LCD CABLE! Just please, please be aware that the battery cable CANNOT be disconnected, be careful!

    Colin Gubler -

  11. mUSQr2JOXFPAFvcy
    mUSQr2JOXFPAFvcy
    BprtfTTV1I3HHkCP
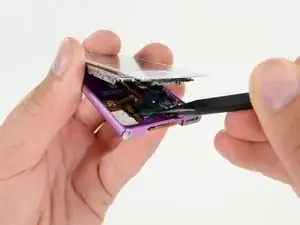
    • Use a spudger to release the digitizer cable and display data cable connectors.

  12. uyPoeaKdhJxnPcHk
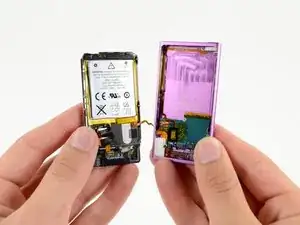
    • Gently unfold the two halves of the device to access the internal components.

    • Do not try to completely separate the two sections, yet, as they are still attached via a soldered cable.

  13. uITqLsTw3mkAswdr
    uITqLsTw3mkAswdr
    GV4uKVsHgMSU1nOs
    • Pull up on the battery pull tab to free the battery from its adhesive.

    • Flip the battery over into the rear case for safekeeping.

    Disconnecting the battery from the lcd screen can ruin the battery,

    so why do that if you are just replacing the digitizer?

    rather just open the six screws and disconnect the digitizer.

    Yehuda Tsibushkin -

  14. ygdVAHyA3GULGVDH
    • Completely separate the front panel assembly from the rest of the device.

  15. KOwYidCnogFdBYCC
    • Use a cotton swab or Q-tip to remove any dust or lint on both sides of the iPod.

    • Ensure the area is clean and free from debris to provide a clean environment for the new battery.

  16. uSJROZnER3WFQnIh
    • Scrape the rubber adhesive off of the solder joints using a spudger.

  17. Ha3TRybQrPa1LfG3
    Ha3TRybQrPa1LfG3
    VSZPfCIBjM2M1P4d
    • Heat your soldering iron. Place the soldering iron on the solder joints of the battery connections to melt the solder.

    • Carefully pull the old battery away from the motherboard as the solder melts.

    • Use tweezers to lift the battery.

  18. SQZQ414HoQOYHMUl
    SQZQ414HoQOYHMUl
    lPc6MI6XRSqRBIou
    KhNvoDBsuwRttuYJ
    • Using the iFixit opening pick, carefully pry open the device. Start from the edges and work your way around to separate the screen from the back cover.

    • Gently lift the screen to reveal the internal components.

    • Do not pull too hard as the screen is still connected to the motherboard via a cable.

    • Use the iFixit opening pick to disconnect the screen cable from the motherboard gently.

    The description does not match the step

    Minatsukiyo -

  19. D1tbPLZxTG5NrlTt
    D1tbPLZxTG5NrlTt
    t4iDMXbyiy3MRoS3
    • Place the new battery on the back of the screen and apply fresh solder.

  20. bQE3mMMPGioIhJ6C
    bQE3mMMPGioIhJ6C
    3npiCE1WY3J5FDVy
    XLlAb3wbUAhWPEaW
    • Reconnect the screen cable to the motherboard.

    • Ensure it is securely attached.

    • Carefully place the screen back into the casing.

    • Make sure everything fits snugly.

    • Press the screen and back cover together until they click into place.

    • Ensure there are no gaps between the screen and the back cover.

Conclusion

To reassemble your device, follow these instructions in reverse order.
Jindu Li

Member since: 26/04/24

189 Reputation

0 comments