Introduction

Use this guide to replace a worn-out or dead battery in your Xiaomi Redmi Note 8T.

If your battery is swollen, take appropriate precautions. For your safety, discharge your battery below 25% before disassembling your phone. This reduces the risk of a dangerous thermal event if the battery is accidentally damaged during the repair.

You’ll need replacement adhesive to reattach components when reassembling the device.

  1. HhWFEPRwRtefGWQv
    • Before you begin, switch off your phone.

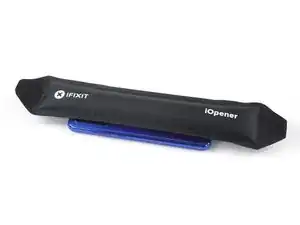
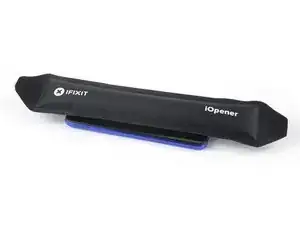
    • Apply a heated iOpener to the back of the phone to loosen the adhesive beneath the back cover. Apply the iOpener for at least two minutes.

    pour eviter des achats à usage unique, ou le sèche cheveu qui peut chauffer trop vite les téléphones et l'abimer, on peut aussi prendre les gels chaud/froid pour les entorse, à chauffer au micro onde.

    foujanet -

  2. DAomIdPUbcGdXqku
    DAomIdPUbcGdXqku
    CBrpebiCNlUAmwSP
    D4MSCfMuWICtBkMc
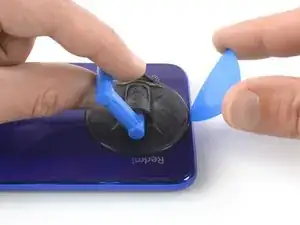
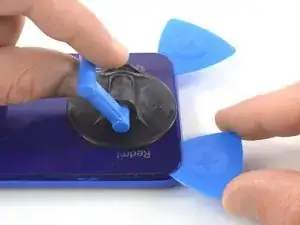
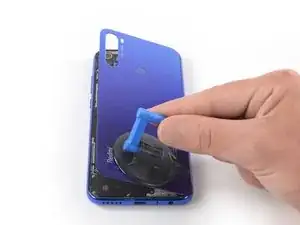
    • Secure a suction handle to the bottom of the rear glass, as close to the edge as possible.

    • If the phone's rear glass is cracked, the suction handle may not stick. Try lifting it with strong tape, or superglue the suction handle in place and allow it to cure so you can proceed.

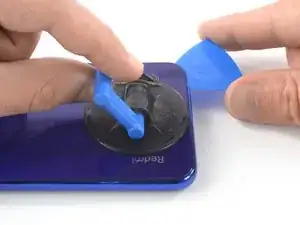
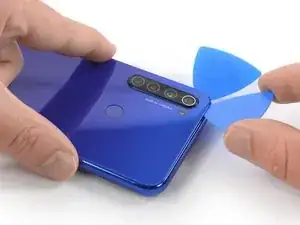
    • Lift the rear glass with the suction handle to create a small gap between the glass and the frame.

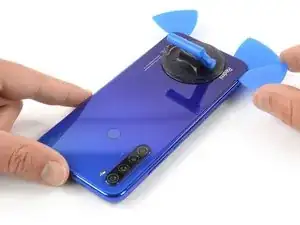
    • Insert an opening pick into the gap.

    • If you have trouble, apply more heat to further soften the adhesive. Follow the iOpener instructions to avoid overheating.

    • Slide the opening pick to the bottom right corner.

    To get proper leverage and keep the phone in place as you pry, rest your wrist on the top part of the phone. Press down with the wrist as you pull on the suction cup handle.

    The gap this creates is tiny at first. If you can't get a pick in, it may be helpful to use a plastic implement with an even finer edge (Such as the "Battery Isolation Pick", which comes with the iOpener set). Once the first one is in, the rest are much easier.

    Harry Kaarma -

  3. So2E5bvZASRniVC6
    So2E5bvZASRniVC6
    NNnEbRv4DUkujNaf
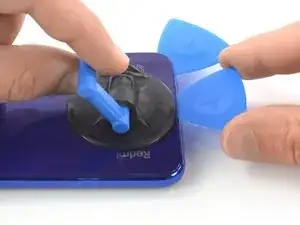
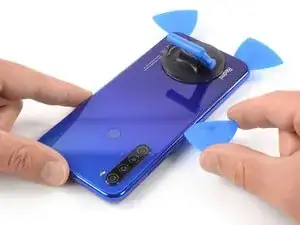
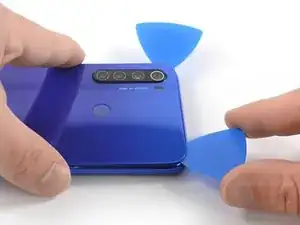
    • Insert a second opening pick and slide it to the bottom left corner to cut the adhesive.

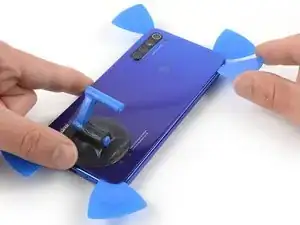
    • Leave the opening picks in place to prevent the adhesive from resealing.

    • Don't remove the suction handle yet. You're going to use it later in the removal procedure as a rear glass stand.

  4. pIE1DD3gijPgZmTJ
    pIE1DD3gijPgZmTJ
    2LVlELpG1RPJTqSF
    TBTXHaLNLfgFYgAv
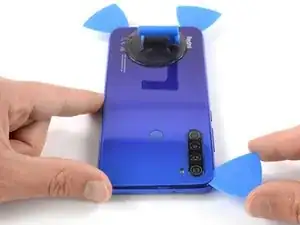
    • Insert a third opening pick at the bottom left corner.

    • Slide the tip of the opening pick from the bottom left corner along the side of the phone to cut the adhesive.

    • Leave the opening pick in its place at the top left corner to prevent the adhesive from resealing.

  5. wILZWf5jKVcXvxJM
    wILZWf5jKVcXvxJM
    uAHdExyDRVauFfrk
    • If the adhesive becomes hard to cut, it has most likely cooled down. Use your iOpener to reheat it.

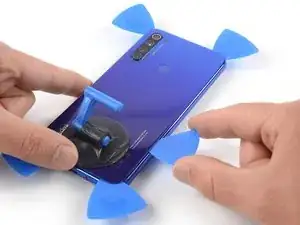
    • Insert a fourth opening pick under the top left corner of the rear glass.

    • Slide the opening pick along the top edge of the phone to cut the adhesive.

    • Leave the opening pick in the top right corner to prevent the adhesive from resealing.

  6. 14m3bpiWmpCQIfC4
    14m3bpiWmpCQIfC4
    y6YhTp3UtFIpOYcb
    • Do not insert the opening pick deeper than 5 mm to avoid damaging the fingerprint connector.

    • Insert a fifth opening pick at the top right corner of the phone.

    • Slide the opening pick along the right side to cut the remaining adhesive.

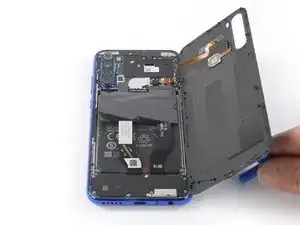
    • Do not remove the rear glass all the way yet, the fingerprint cable is still connected to the motherboard.

  7. YRJ6kFFwCBWqpRyS
    YRJ6kFFwCBWqpRyS
    yRUZDyvf2S1ryHfj
    • Carefully fold the rear glass to the right side of the phone. Use the suction handle as a stand for the rear glass.

  8. 4gPeQ6W13AYx1Jir
    4gPeQ6W13AYx1Jir
    yVf3kY3aghKjSbs2
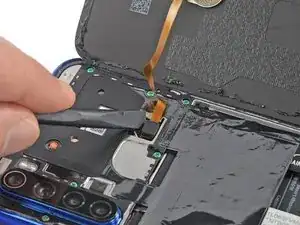
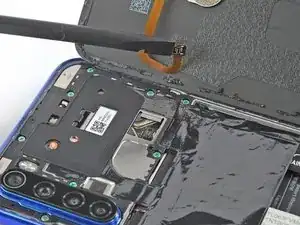
    • Use a spudger to pry up and disconnect the fingerprint flex cable.

    • Remove the rear glass.

    • During reassembly, this is a good point to power on your phone and test all functions before sealing it up. Be sure to power your phone back down completely before you continue working.

  9. XDc1YBfGWoRddBbc
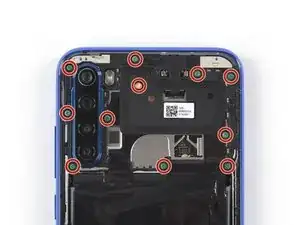
    • Remove the eleven Phillips #00 screws (3.9 mm length).

    Be aware that it must be 11(!) screws! The one missing in this picture is beneath the little “MI”-Warranty-Sticker. Beside that very helpful up to now!

    Benjamin Buchholt -

    Hi Benjamin,

    thank you for mentioning, you’re completely right. I made an edit accordingly.

    Dominik Schnabelrauch -

  10. BpCZSdPXS1nmfEnN
    BpCZSdPXS1nmfEnN
    f2RvxfrUQTuBVTMm
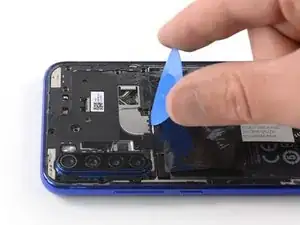
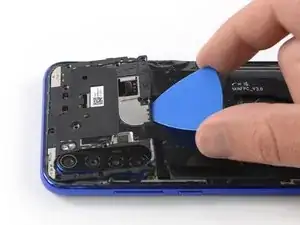
    • Insert the tip of an opening pick underneath the bottom edge of the motherboard cover.

    • Use the opening pick to pry up the motherboard cover.

  11. THOuWIIQImuPRviu
    THOuWIIQImuPRviu
    6g2NcWv54WaxdAZC
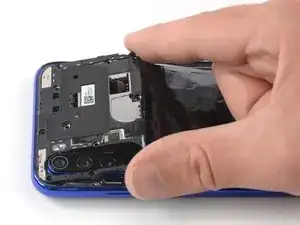
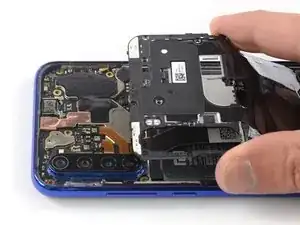
    • Remove the motherboard cover including the black protective foil that covers the battery.

  12. QtNCZGW6cRfP3dcT
    QtNCZGW6cRfP3dcT
    QV2KeJTaYjARwCVf
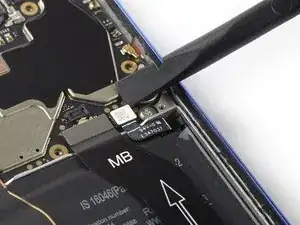
    • Use a spudger to pry up and disconnect the battery flex cable.

  13. 1HrifURNwdMbynfv
    1HrifURNwdMbynfv
    XikfSLp5wxDF1ZTS
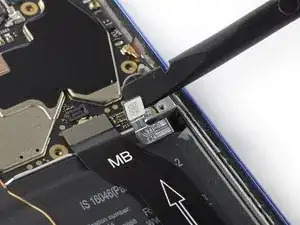
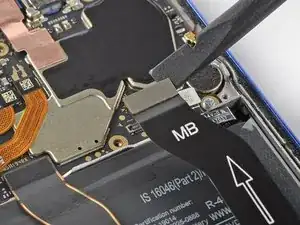
    • Use a spudger to pry up and disconnect the main flex cable.

  14. HrDyEkV5DMHNofZR
    HrDyEkV5DMHNofZR
    iDhxddQXDXfB5WJM
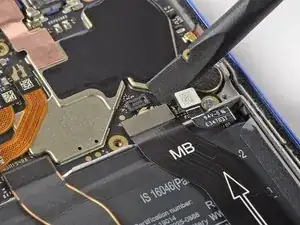
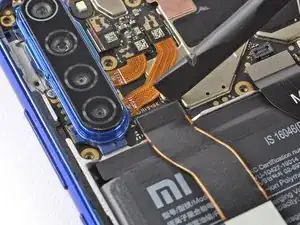
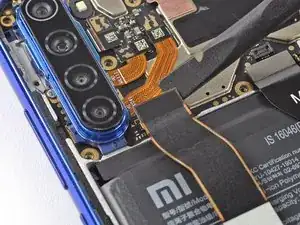
    • Use a spudger to pry up and disconnect the display flex cable.

  15. aggroUtJhO5rEouI
    aggroUtJhO5rEouI
    AYiAs5UFefXAbIFO
    WY2cv4cBVJfdZ6Dd
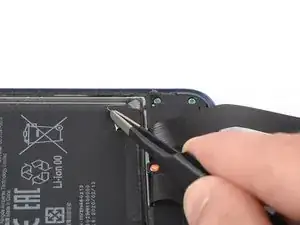
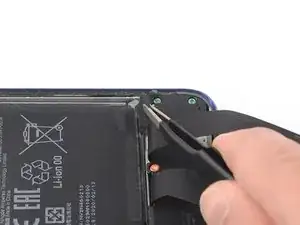
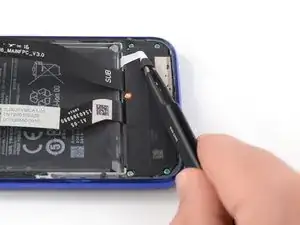
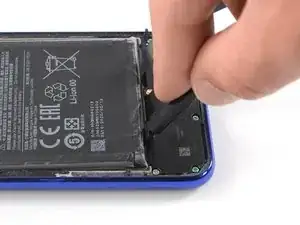
    • Use a pair of tweezers to carefully peel the black ends of the two adhesive strips off the bottom edge of the battery.

  16. OptEFTjsngRR4PRQ
    OptEFTjsngRR4PRQ
    CL1O4HKINEdVNosr
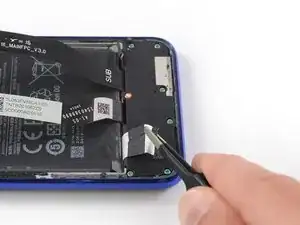
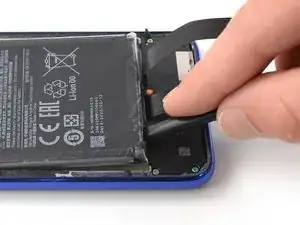
    • Use a pair of tweezers to pull out the adhesive tabs from underneath the battery.

    • The adhesive tabs underneath the battery can rip very easily. Make sure you pull out the tabs in a slow and steady motion and in a flat angle. To prevent the adhesive tabs from ripping, it's helpfull to twist the strip around the tweezers.

    • If you manage to pull out both of the adhesive strips without ripping you can jump to Step 21 in order to remove the battery. If one of your adhesive strips rips during the removal, continue with the following step.

  17. R5B2BRWGCJPZRXss
    • Apply a heated iOpener to the screen to loosen the adhesive beneath the battery. Apply the iOpener for at least two minutes.

  18. Gbl3bZovkfe5gPoE
    Gbl3bZovkfe5gPoE
    leGfLOyxKZfVwlv1
    • Try your best not to deform the battery during the following removal process. Soft-shell lithium-ion batteries can leak dangerous chemicals, catch fire, or even explode if damaged. Do not use excessive force or pry at the battery with metal tools.

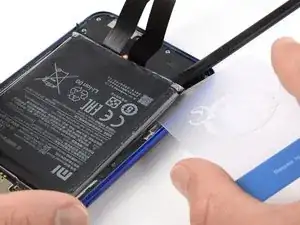
    • Insert a spudger into the gap between the daughterboard cover and the battery at the bottom left corner of the battery.

    • Use the spudger to pry up the battery until you created a small gap underneath.

    If the adhesive happens to be particularly badly calcified, it can be very hard to pry up the battery without it deforming at least a little.

    If the amount of force required is making you feel uneasy, removing the bottom daughterboard cover (As detailed in steps 14-16 of the "IPS LCD Screen & Digitizer Replacement" guide for this same device) can provide a slightly better angle, to scrape at the adhesive more directly.

    Harry Kaarma -

  19. 4HRNGIZlctkyiv63
    4HRNGIZlctkyiv63
    gfikwS4dFW4SkUNC
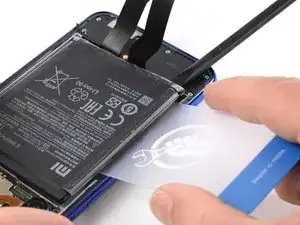
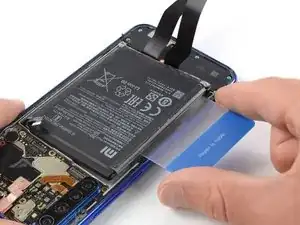
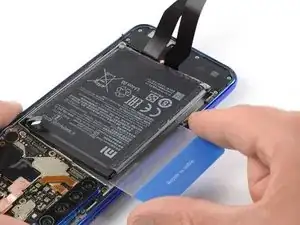
    • Slide a plastic or playing card into the gap you created with the spudger.

  20. 2kvok3WurJTWH6MR
    2kvok3WurJTWH6MR
    bnAiH6lcTkIdlZ6G
    • Slide the plastic card underneath the battery and cut the adhesive with it. Work your way along the left edge of the battery until you've loosened all adhesive.

  21. 4YksNnHnGXpf4lJO
    4YksNnHnGXpf4lJO
    cmMAQAwWDESJYABs
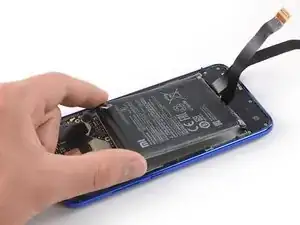
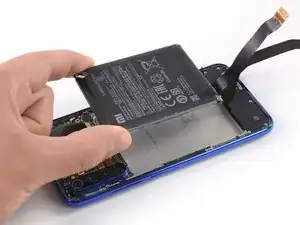
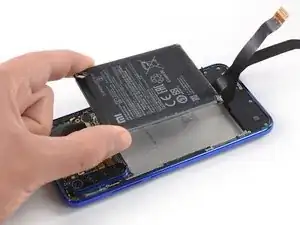
    • Remove the battery.

    • Do not reinstall a damaged or deformed battery, as doing so is a potential safety hazard.

    • Before adhering the battery, temporarily reconnect it to help align it correctly. Adhere the battery to the phone and then disconnect it and continue reassembling your phone.

Conclusion

If possible, turn on your device and test your repair before installing new adhesive and resealing.

Secure the new battery with pre-cut adhesive or double-sided adhesive tape. In order to position it correctly, apply the new adhesive into the device at the places where the old adhesive was located, not directly onto the battery. Press the new battery firmly into place.

To reassemble your device, follow these instructions in reverse order. Apply new adhesive where necessary after cleaning the relevant areas with isopropyl alcohol (>90%).

For optimal performance, '''calibrate your newly installed battery''': Charge it to 100% and keep charging it for at least 2 more hours. Then use your device until it shuts off due to low battery. Finally, charge it uninterrupted to 100%.

Take your e-waste to an R2 or e-Stewards certified recycler.

Repair didn’t go as planned? Try some basic troubleshooting, or ask our Answers community for help.

Dominik Schnabelrauch

Member since: 23/11/16

224668 Reputation

2 comments

Ein Tipp zu abgerissenen Klebestreifen, was nach 4 Jahren zu 98% passieren wird!

Zahnsteines hilft ungemein

EnRico -

Vielen Dank Spitze gut geführte Anleitung
Stefan Jürgen Hermann -