Introduction
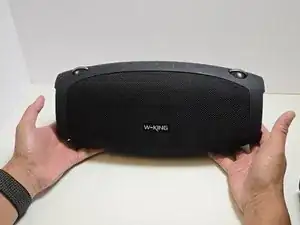
If you are experiencing problems with the sound quality from your W-King X10 speaker, one or both of the main speakers may be malfunctioning. This can result in low-quality, 'tinny' sounds, volume disparity, or potentially even a lack of sound from one side of the X10.
In this guide you will learn how to open the mesh casing of the W-King X10 and replace one or both of the 3.7-inch subwoofers. These provide the main range of sounds produced by the X10.
Please note that to replace the speakers, you will be required to desolder and resolder the speaker's wiring. Follow this guide for detailed instructions on soldering.
Before you begin this repair, power off your speaker and disconnect it from the charging cable. Typically, you would remove the battery before this repair. However, to access the battery, you must remove the speakers.
-
-
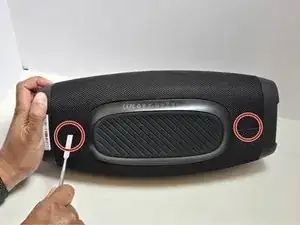
Lay the X10 on its back so that the bottom is facing you.
-
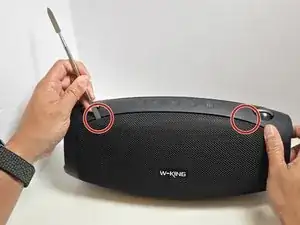
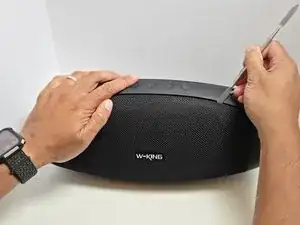
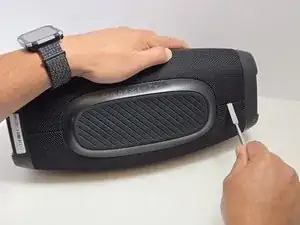
Using the metal spudger, separate the two connection points located on the left and right sides of the mesh panel as shown.
-
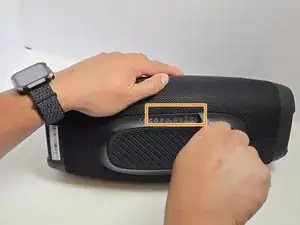
Separate the connection point in the center of the bottom section of the device.
-
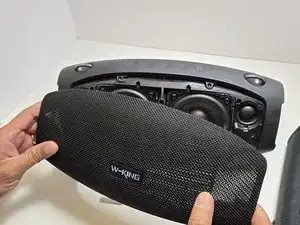
As before, all connection points should audibly 'pop' when disconnected, and the mesh panel will visibly separate from the body of the X10.
-
-
-
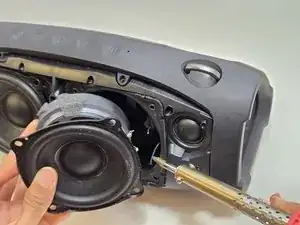
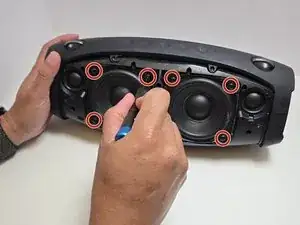
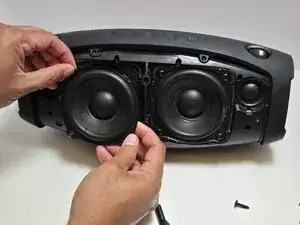
Use a Phillips #2 screwdriver to remove four 15.5 mm screws from the corners of each speaker.
-
-
-
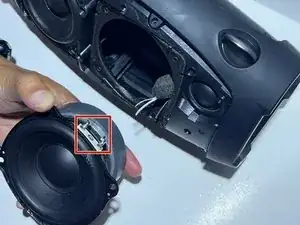
Use a soldering iron to disconnect the three wires connecting the speaker to the motherboard.
-


To reassemble your device, follow these instructions in reverse order. Take your e-waste to an R2 or e-Stewards certified recycler.