Introduction
-
-
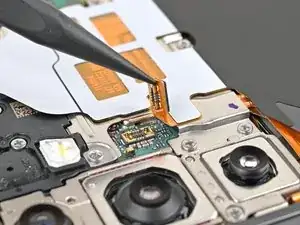
Use the point of your spudger to pry up and disconnect the wireless charging coil press connector from the motherboard.
-
-
-
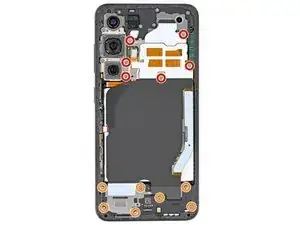
Use a Phillips screwdriver to remove the thirteen 3.5 mm‑long screws securing the wireless charging coil and the loudspeaker:
-
Six screws securing the wireless charging coil
-
Seven screws securing the loudspeaker
-
-
-
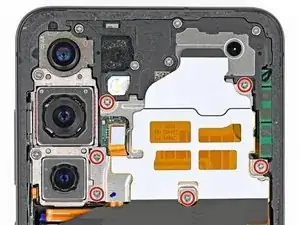
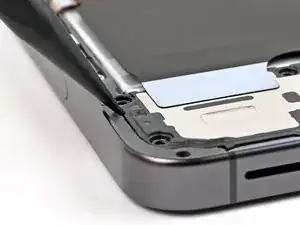
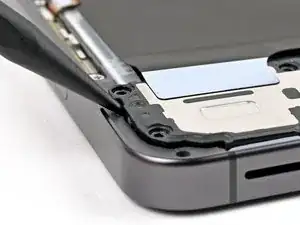
Insert the point of a spudger in the notch located on the left edge of the loudspeaker assembly.
-
Pry up the loudspeaker to release its clips.
-
-
-
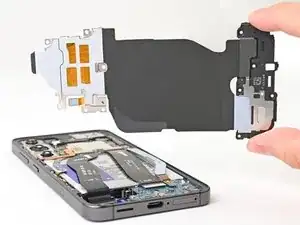
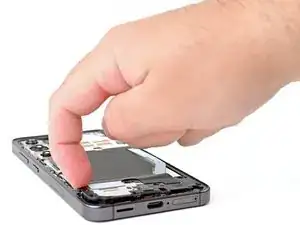
Use your fingernail or the flat end of a spudger to pry up the wireless charging coil and loudspeaker assembly away from the frame.
-
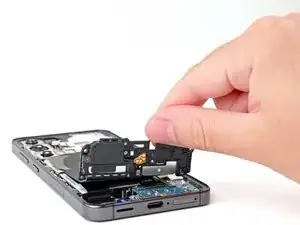
Remove the wireless charging coil and loudspeaker from your phone.
-


Conclusion
To reassemble your device, follow these instructions in reverse order.
