Introduction
Use this guide to remove or replace the wireless charging coil on your Samsung Galaxy Note20 Ultra.
For your safety, discharge the battery below 25% before disassembling your phone. This reduces the risk of a dangerous thermal event if the battery is accidentally damaged during the repair. If your battery is swollen, take appropriate precautions.
-
-
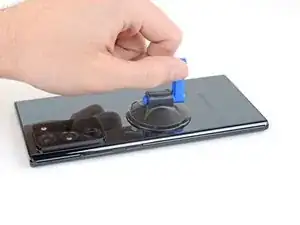
Apply a suction cup to the heated edge of the rear cover, as close to the edge as possible.
-
Pull up on the suction cup with strong, steady force to create a gap between the rear cover and the frame.
-
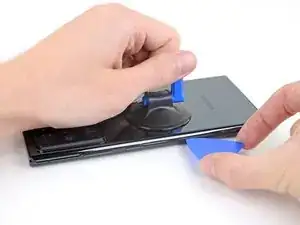
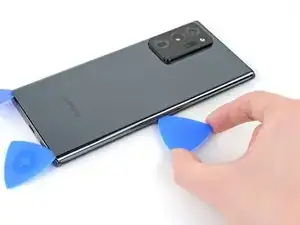
Insert an opening pick into the gap.
-
-
-
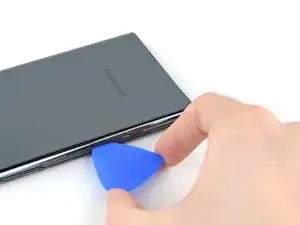
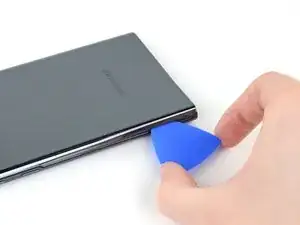
Slide the opening pick along the left edge towards the bottom left corner to cut through the adhesive.
-
Leave the pick inserted in the bottom left corner to prevent the adhesive from re-sealing.
-
-
-
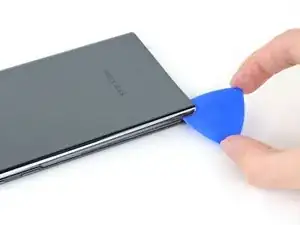
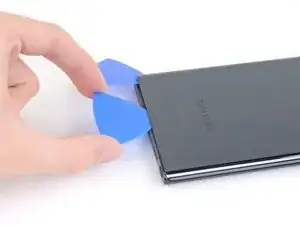
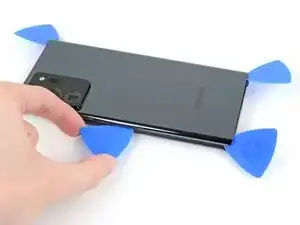
Repeat the process of heating and cutting the adhesive along the three remaining sides of the rear cover.
-
As you proceed, leave an opening pick in each corner to prevent the adhesive from re-sealing.
-
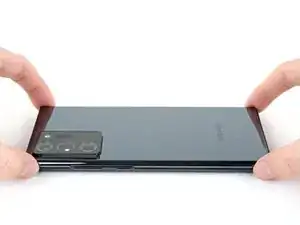
Slide an opening pick back and forth around the entire perimeter of the phone to release any missed adhesive. Reheat any stubborn adhesive.
-
-
-
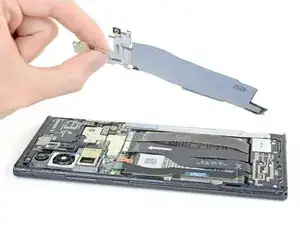
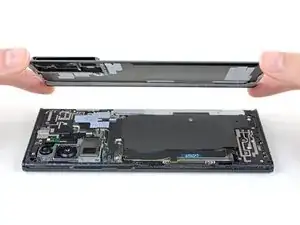
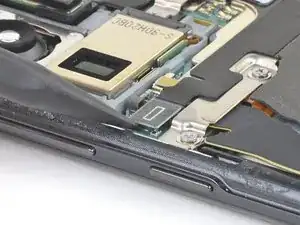
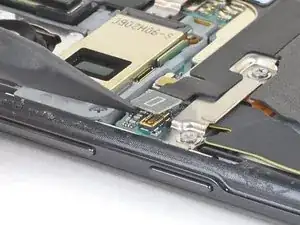
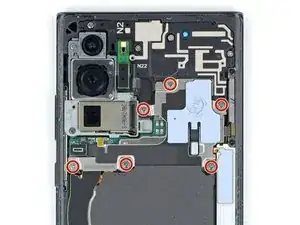
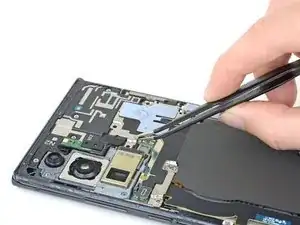
Use the pointed end of a spudger to pry up and disconnect the wireless charging coil press connector.
-
-
-
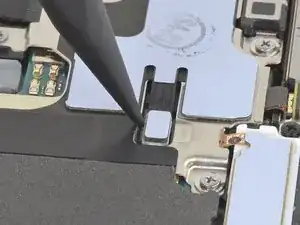
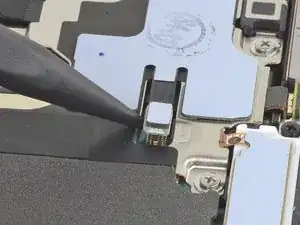
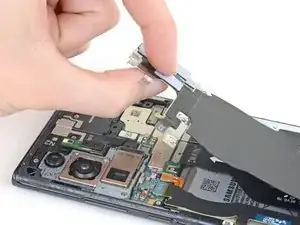
Use the pointed end of a spudger to pry up and disconnect the white press connector located in the bottom right of the motherboard shield.
-


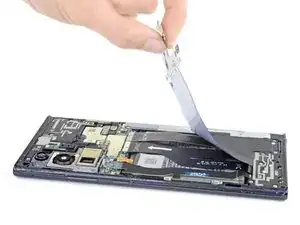

Compare your new replacement part to the original part—you may need to transfer remaining components or remove adhesive backings from the new part before installing.
To reassemble your device, follow these instructions in reverse order.
Take your e-waste to an R2 or e-Stewards certified recycler.
Repair didn’t go as planned? Try some basic troubleshooting, or ask our Samsung Galaxy Note20 Ultra Answers community for help.

One comment
Thank you! I appreciate the detailed instructions followed with descriptive pictures to show exactly what you talking about.