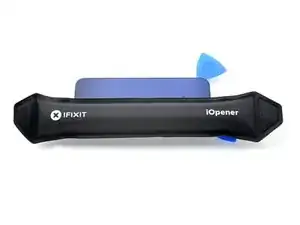
Introduction
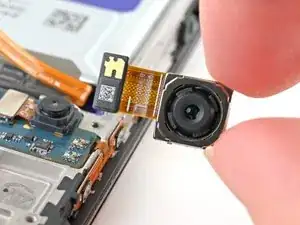
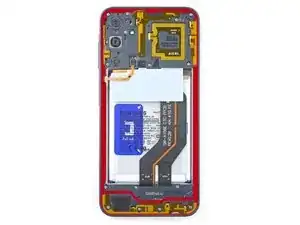
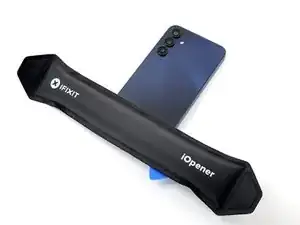
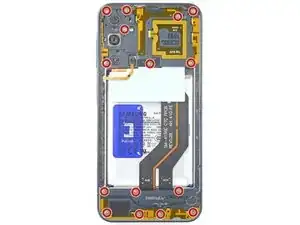
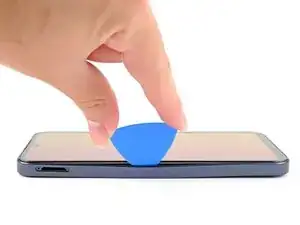
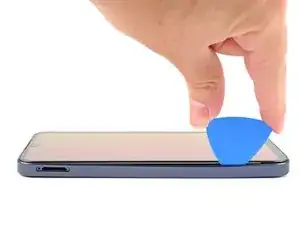
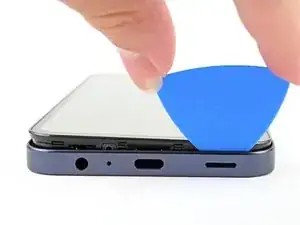
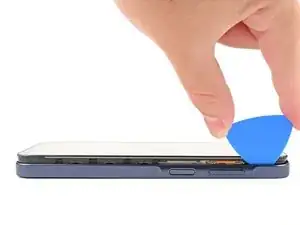
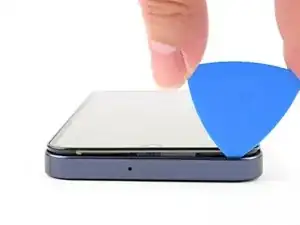
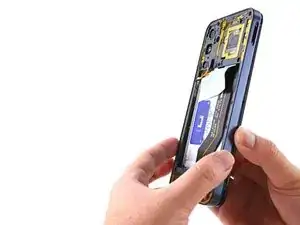
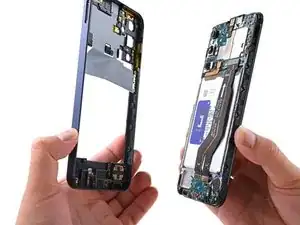
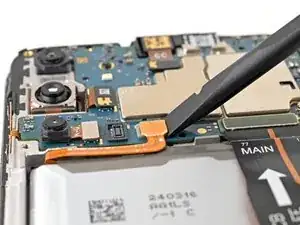
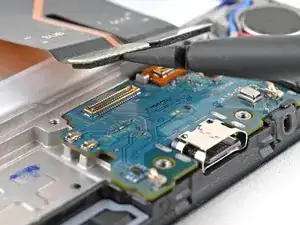
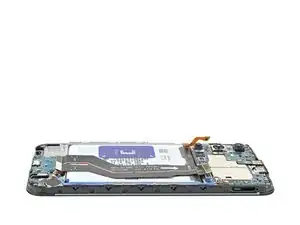
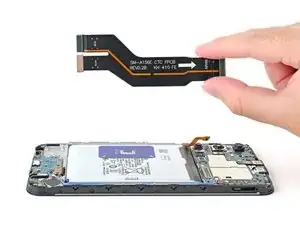
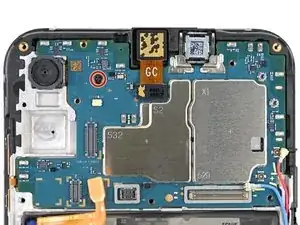
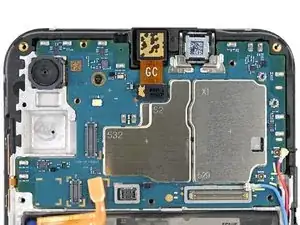
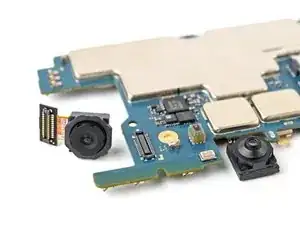
Follow this guide to replace the rear cameras on your Samsung Galaxy A15.
Since the primary, ultrawide, and macro cameras are separate modules, you can replace one or all of the cameras using this guide. Simply skip the steps for the cameras you are not replacing.
To reassemble your device, you will need replacement adhesive for the back cover.
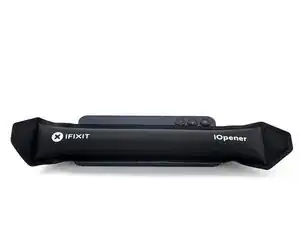
Tools
Parts
-
-
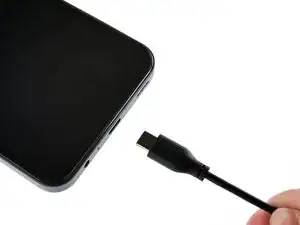
Unplug all cables and completely power off your phone.
-
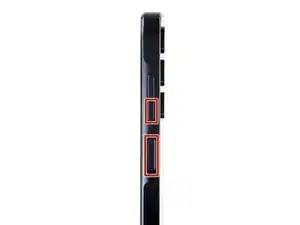
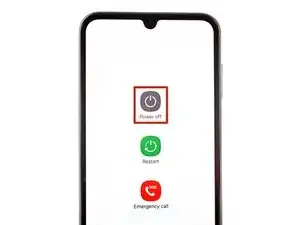
Press and hold the power and volume down buttons at the same time to bring up the shutdown menu.
-
-
-
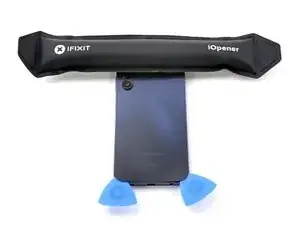
While you're waiting for the adhesive to soften, here is some useful information:
-
There's adhesive securing the back cover around the perimeter of the frame.
-
-
-
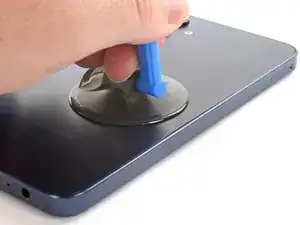
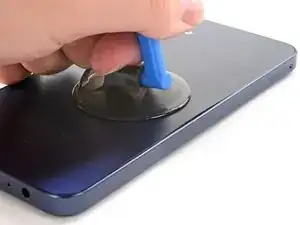
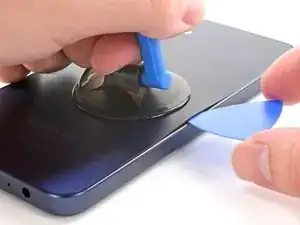
Apply a suction handle to the back cover, as close to the center of the right edge as possible.
-
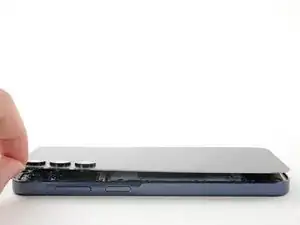
Pull up on the suction handle with strong, steady force to create a gap between the cover and the frame.
-
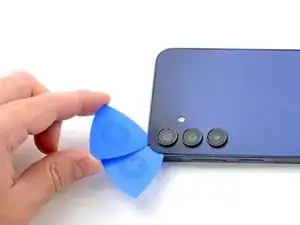
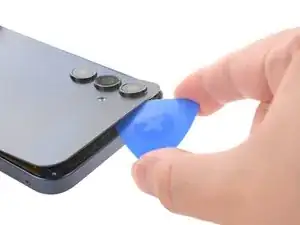
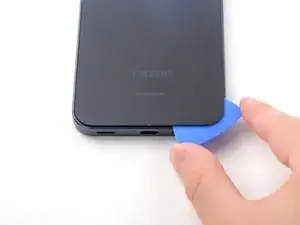
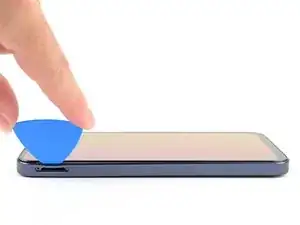
Insert an opening pick into the gap.
-
-
-
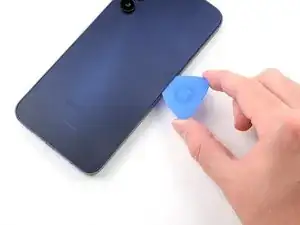
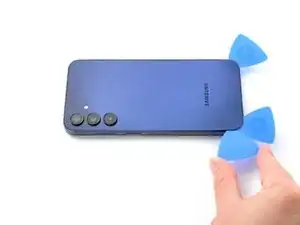
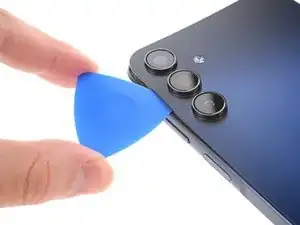
Slide your opening pick along the right edge between the back cover and the frame to slice through the adhesive.
-
Leave your opening pick in the bottom right corner to keep the adhesive from resealing.
-
-
-
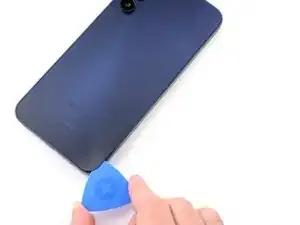
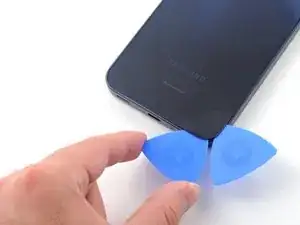
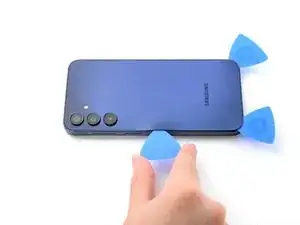
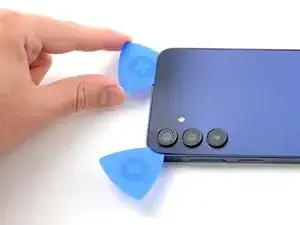
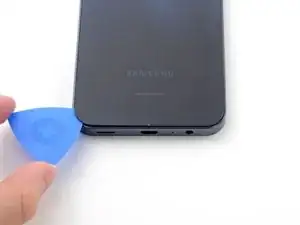
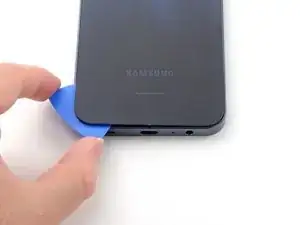
Insert another opening pick in the bottom right corner and slide it along the bottom edge to slice through the adhesive.
-
Leave your opening pick in the bottom left edge to prevent the adhesive from resealing.
-
-
-
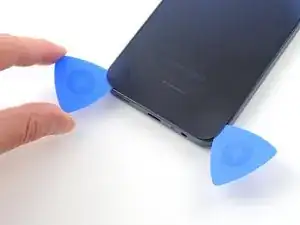
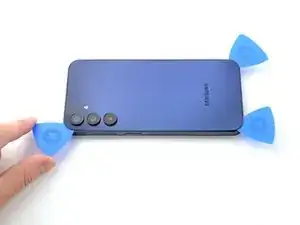
Insert another opening pick in the bottom left corner and slide it along the left edge to slice through the adhesive.
-
Leave your opening pick in the top left corner to prevent the adhesive from resealing.
-
-
-
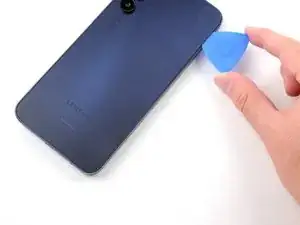
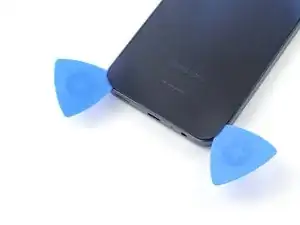
Insert another opening pick in the top left corner at the same depth and slide it along the top edge to slice through the adhesive.
-
Leave your opening pick in the top right corner to prevent the adhesive from resealing.
-
-
-
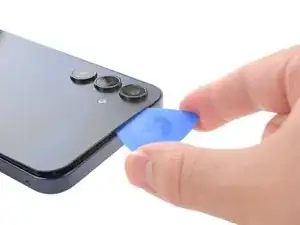
Insert your opening pick along the top edge of the phone and twist it gently to unfasten the camera clips.
-
Slide your opening pick around the edge of the camera modules to unfasten the remaining camera clips.
-
-
-
Once the adhesive around the edges is loose, insert your opening pick deeper into the bottom edge from the bottom left corner.
-
Slide your pick deeper into the phone across the bottom edge, slicing the remaining adhesive.
-
-
-
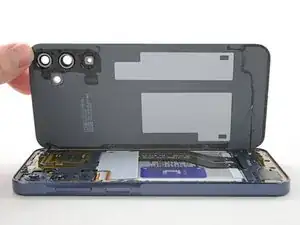
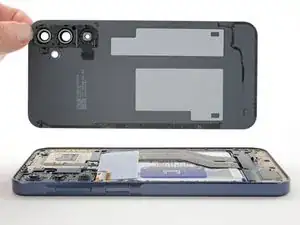
Lift and remove the back cover.
-
Remove any adhesive chunks with a pair of tweezers or your fingers. Apply heat and isopropyl alcohol (90% or greater) if you're having trouble removing the adhesive.
-
If you're using custom-cut adhesives, follow this guide.
-
If you're using double-sided tape, follow this guide.
-
-
-
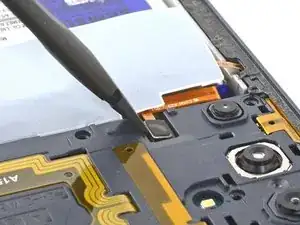
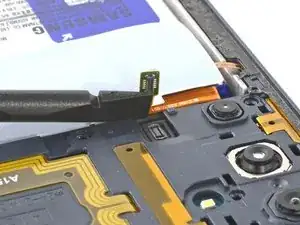
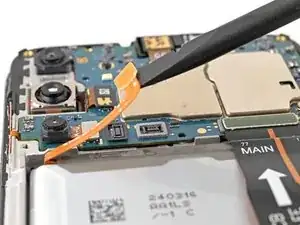
Use the flat end of a spudger to pry up and disconnect the fingerprint button press connector from the motherboard.
-
-
-
Insert your opening pick above the SIM card tray cutout to form a gap between the frame and the phone.
-
Slide your opening pick down the left edge of the device to unfasten the frame clips.
-
-
-
Continue sliding your opening pick around the perimeter of the phone until all of the clips are unfastened.
-
-
-
Use the flat end of a spudger to lift up and disconnect the battery press connector from the motherboard.
-
-
-
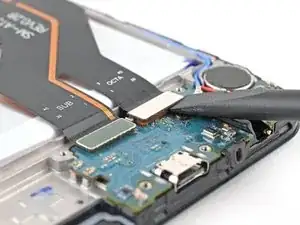
Insert the flat end of a spudger under the overhang of the top "OCTA" cable connector.
-
Pry up the top connector away from the bottom one until they're disconnected.
-
-
-
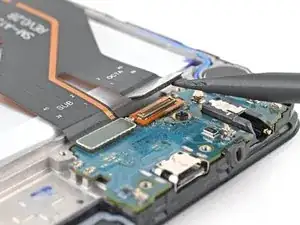
Use the flat end of a spudger to pry up the "SUB" connector from the daughterboard and disconnect it.
-
-
-
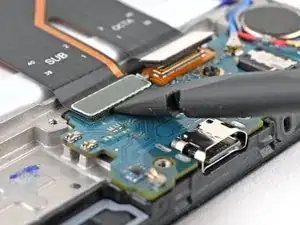
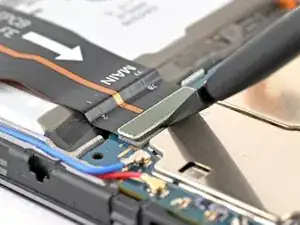
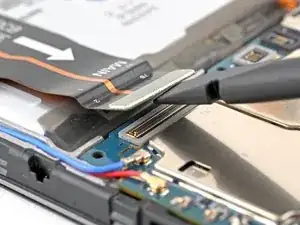
Use the flat end of a spudger to pry up the "MAIN" connector from the motherboard and disconnect it.
-
-
-
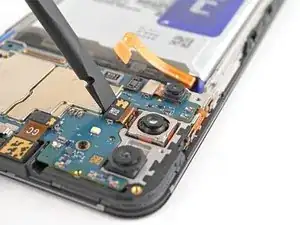
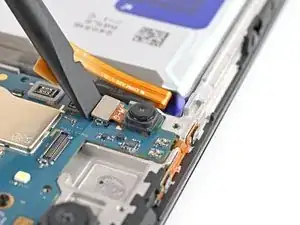
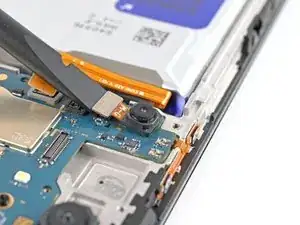
Use the flat end of a spudger to pry up and disconnect the main camera press connector.
-
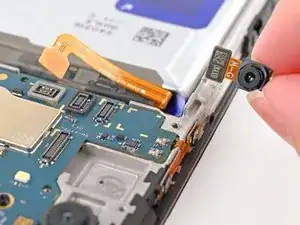
Remove the main camera.
-
-
-
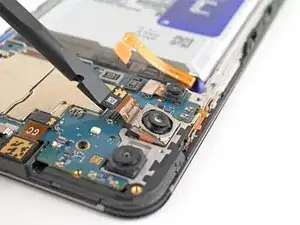
Use the flat end of a spudger to pry up and disconnect the main camera press connector.
-
Remove the macro camera.
-
-
-
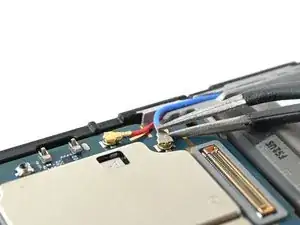
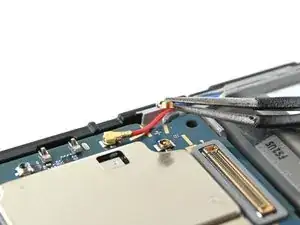
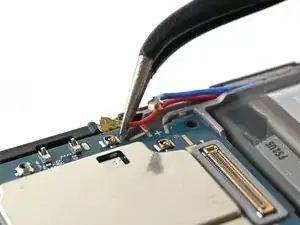
Insert one arm of your angled tweezers under the metal neck of each antenna coaxial connector on the motherboard and lift straight up to disconnect them.
-
-
-
Use your Philips screwdriver to remove the 3 mm‑long screw securing the motherboard to the phone.
-
-
-
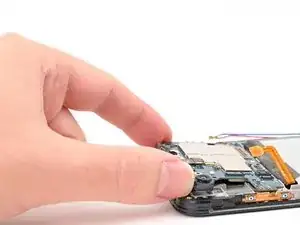
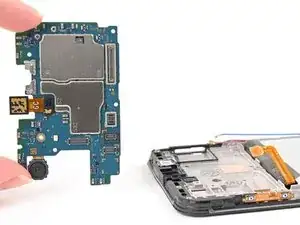
Use your fingers to grab the motherboard by its corners and pull it up and out of the phone.
-
-
-
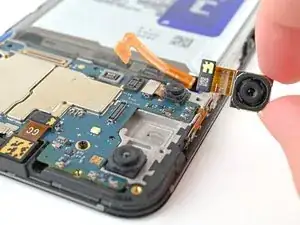
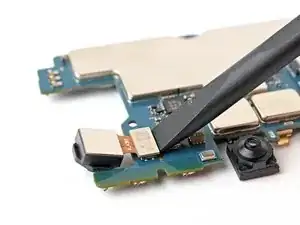
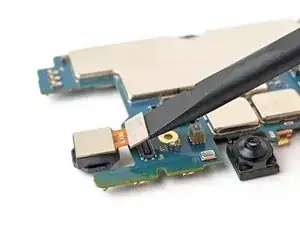
Use the flat end of a spudger to pry up and disconnect the ultrawide camera press connector.
-
Remove the ultrawide camera.
-
Compare your new replacement part to the original part—you may need to transfer remaining components or remove adhesive backings from the new part before you install it.
To reassemble your device, follow these instructions in reverse order.
Take your e-waste to an R2 or e-Stewards certified recycler.
Repair didn’t go as planned? Try some basic troubleshooting, or ask our Answers community for help.
