Introduction
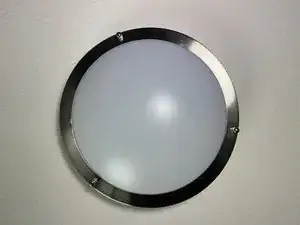
This guide will walk you through the replacement of an LE 12-Inch 18 Watt Dimmable LED Flush Mount Ceiling Light.
We will start by safely showing you how to turn off the electricity provided to the light fixture. As this replacement involves minor electrical work, turning off the electricity and checking to see if the electrical box for the light fixture is not receiving power are crucial steps. After the proper safety precautions are taken, this guide will show you how to unwire the broken light fixture from the electrical box and how to wire the new light fixture into the same electrical box.
Parts
-
-
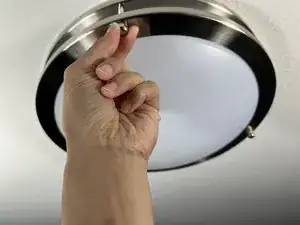
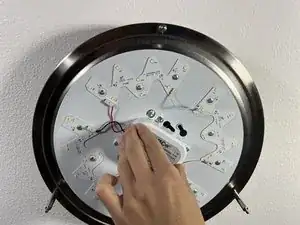
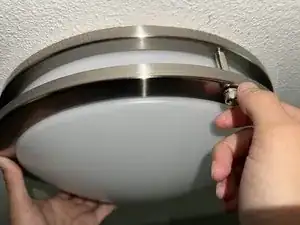
Set up a ladder under the light fixture, and remove the three thumb screws holding up the fixture's cover.
-
Hold the light cover with your free hand while you unscrew the last two screws.
-
-
-
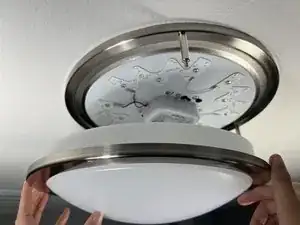
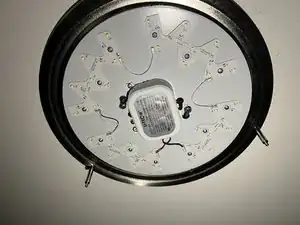
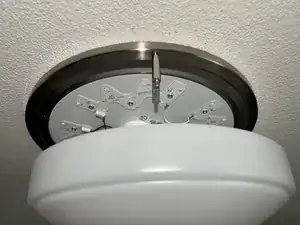
Do not remove the base of the light fixture.
-
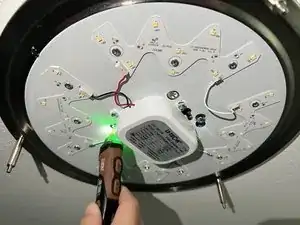
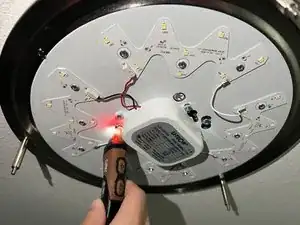
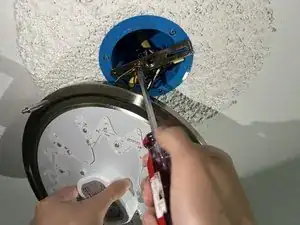
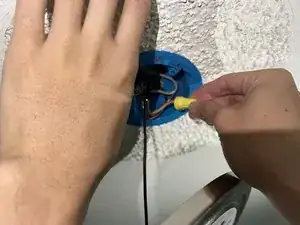
Check that the light fixture is receiving power with a voltage detector pen.
-
-
-
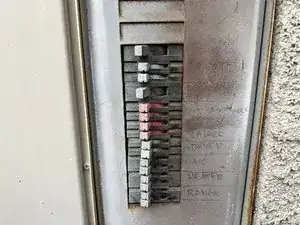
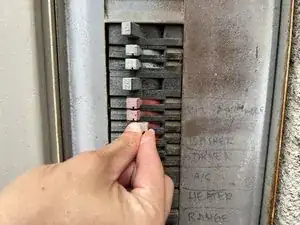
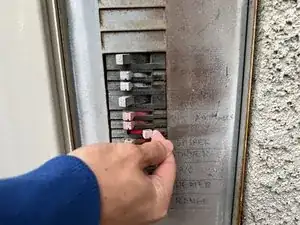
Locate the breaker to your house/unit and identify the switch which provides power to the light fixture.
-
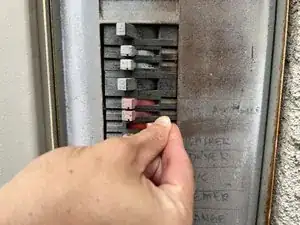
Flip the switch on the breaker to the right to turn off the power to the light fixture.
-
Go back to the light fixture, and check if it is still receiving power with the voltage detector.
-
-
-
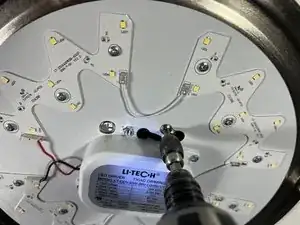
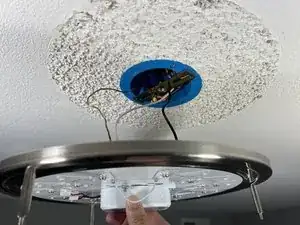
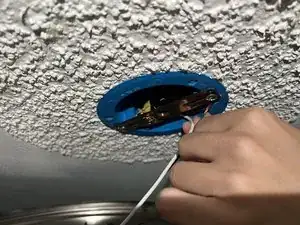
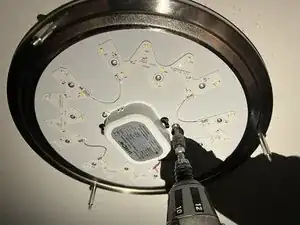
Once enough screws are removed from the base of the light fixture, hold the center of the base with your free hand so it doesn't fall down on its own.
-
-
-
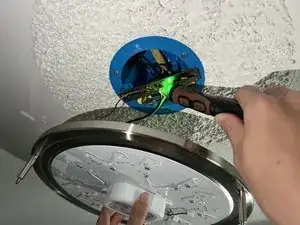
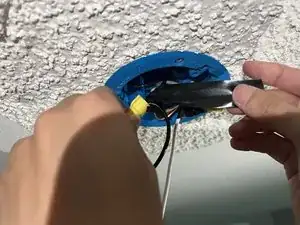
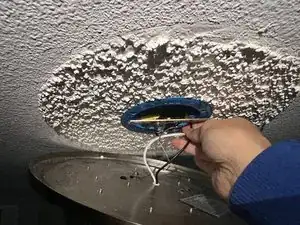
While still holding the base of the light fixture, check if the exposed wires are still unpowered with the voltage detector.
-
-
-
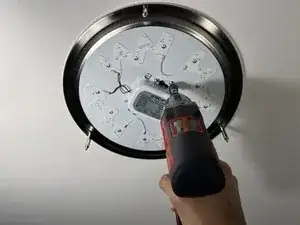
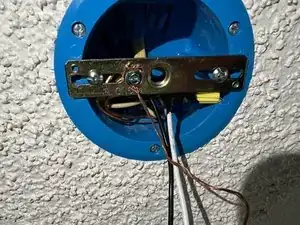
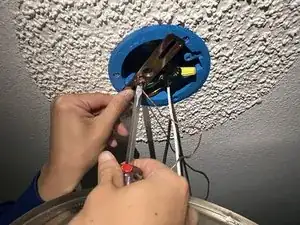
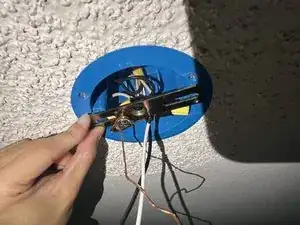
Unscrew the screw attached to the metal bracket by twisting the manual Phillips screwdriver until the screw falls off.
-
-
-
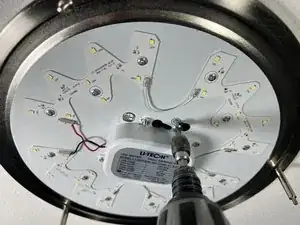
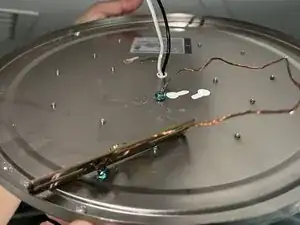
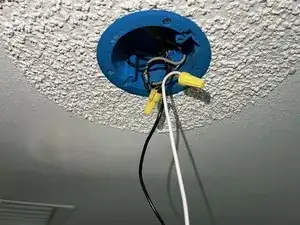
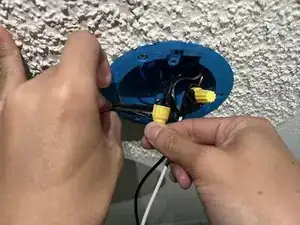
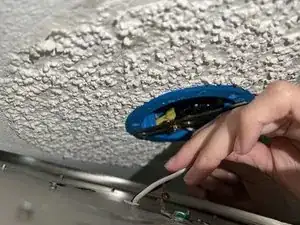
Unwrap the electrical tape from around both the black and white wires. These wires will be connected to the base of the light fixture with wire caps (which are yellow in this case).
-
-
-
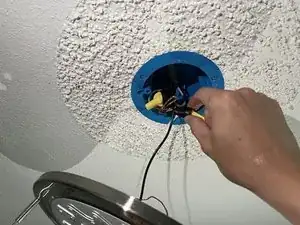
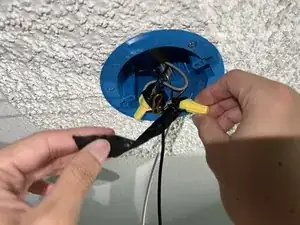
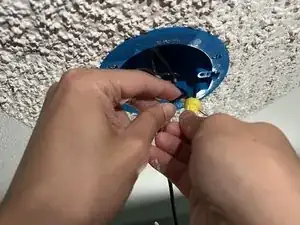
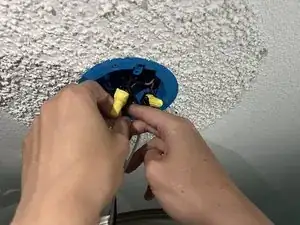
Place a piece of electrical tape on the two black wires joined together by the yellow wire connector.
-
Wrap the electrical tape a few times around the wire until both wires are securely wrapped together.
-
Follow the same steps for the white wires.
-
-
-
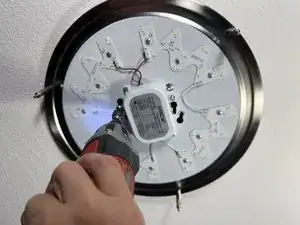
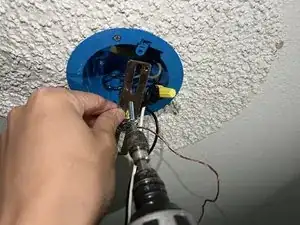
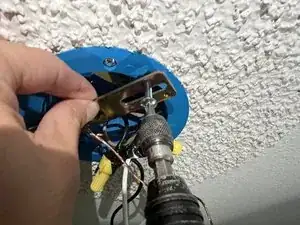
Screw on the new metal bracket from the replacement light fixture by twisting the manual Phillips screwdriver until the screw is snuggly holding the bracket.
-
-
-
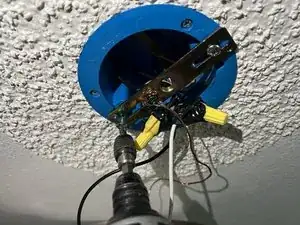
Screw on the remaining screws into the metal bracket so that it is firmly attached to the ceiling.
-
-
-
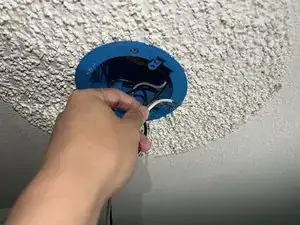
While holding the base of the new light fixture, tuck the black and white wires into the electrical box so that there is very little slack in the wires.
-
-
-
Position the light cover of the new light fixture onto the base.
-
Tighten the thumb screws which hold the light cover so that the cover is tightly secured to to the base.
-


To reassemble your device, follow these instructions in reverse order.