Introduction
The official guide has been updated and can be found here. This guide is archived for historical purposes.
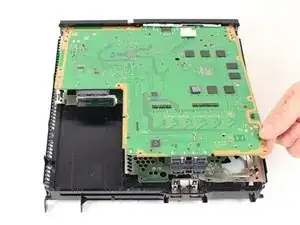
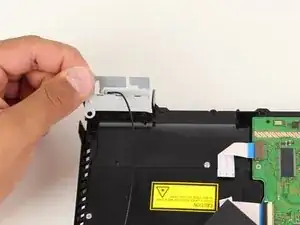
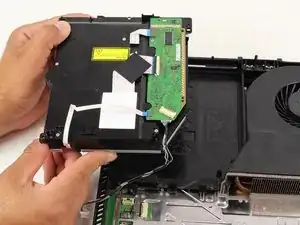
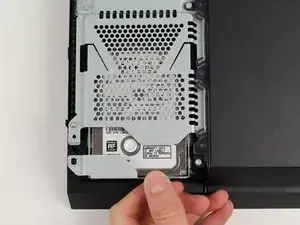
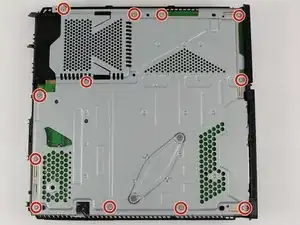
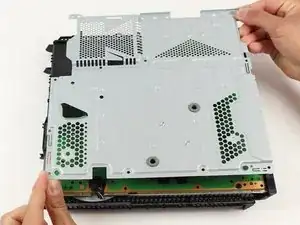
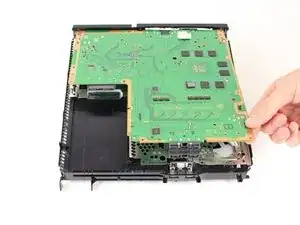
If you are having an issue with the motherboard (or any of its ports: HDMI, USB, etc.) and need to replace it, this is the guide for you. Be aware that any replacement or teardown beyond the hard drive voids the Sony warranty
Removing the motherboard separates the original thermal paste between the processor and the heat sink. Before you reassemble your device, reapply a new layer of thermal paste. Follow this guide to learn how.
Tools
Parts
-
-
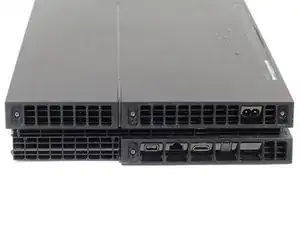
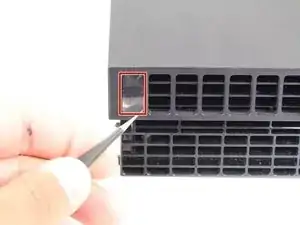
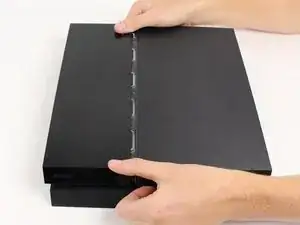
With the device upside down, lift up on the back side of the device to remove the bottom cover.
-
-
-
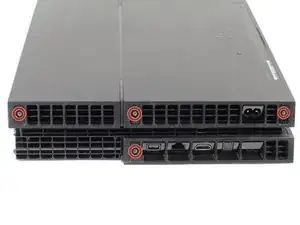
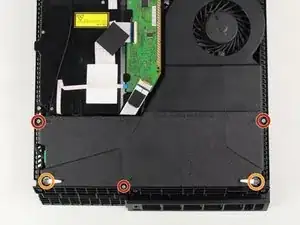
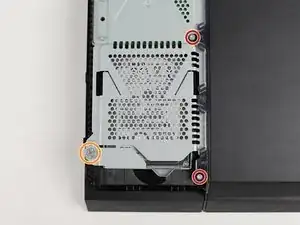
Remove the three 9mm TR9 Security Torx screws on the power supply.
-
Remove the two 4mm Phillips #1 screws.
-
-
-
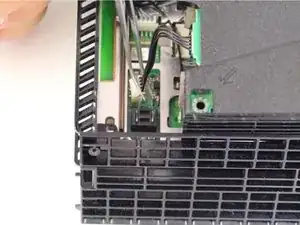
Disconnect the power supply connector from the power supply.
-
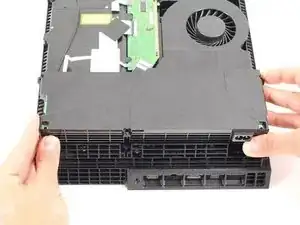
Lift the power supply unit to remove it from the case.
-
-
-
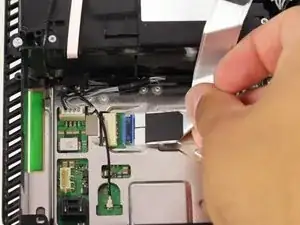
Disconnect the ribbon wire from the optical drive by pressing down on the metal release tab and gently pulling the ribbon wire. This should not require force.
-
Disconnect the same ribbon wire from the motherboard; making sure you're pressing down on the metal release tab and gently pulling the ribbon wire.
-
-
-
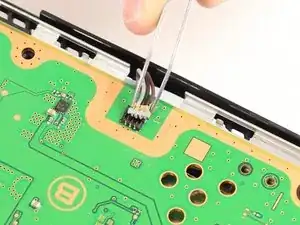
Disconnect the three wire plug from the motherboard by gently prying upwards and away from the motherboard.
-
To reassemble your device, follow these instructions in reverse order.
