Introduction
Here is an easy to understand guide going over how to properly remove the camera module attached to the motherboard casing in the back of the phone. This module is responsible for protecting the camera like a case. This replacement may be needed if the phone falls and happens to crack the camera module.
-
-
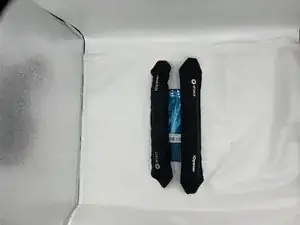
Use the iFixit iOpeners to heat the back of the phone by placing them vertically along the sides. This will weaken the glue so it opens easier.
-
-
-
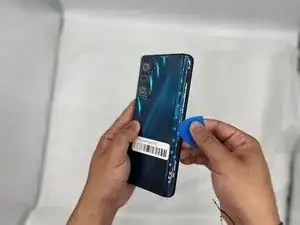
After the heating process, use the iFixit opening pick to slide in between the cracks, separating the glue.
-
-
-
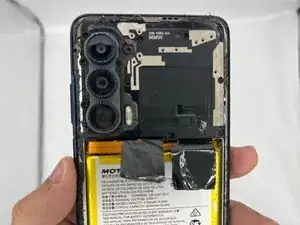
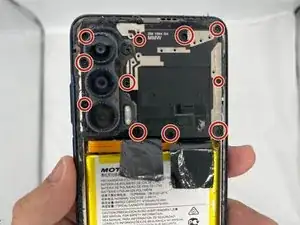
Now you need to uncrews the camera/motherboard casing.
-
Unscrew all the screws under the circles. Be careful not to miss a screw that might be hiding under the glue.
-
-
-
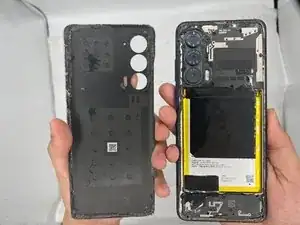
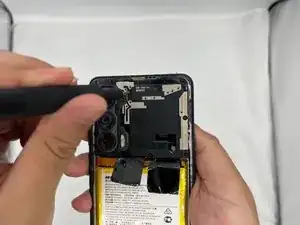
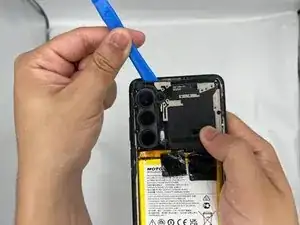
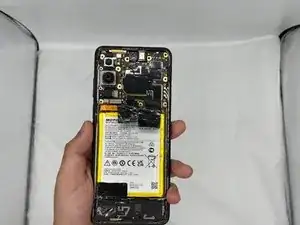
Use the iFixit prying tool to gently slide the camera casing off the phone. Be careful not to damage the motherboard underneath.
-

To reassemble your device, follow these instructions in reverse order.