Introduction

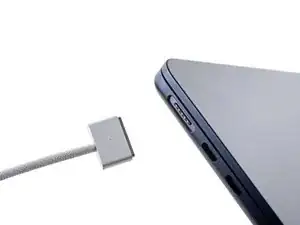
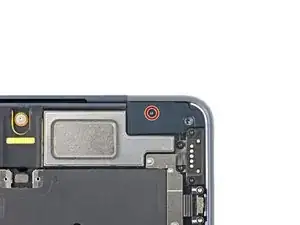
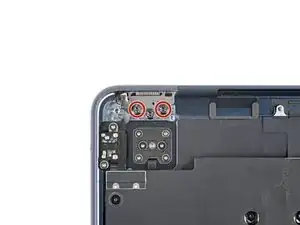
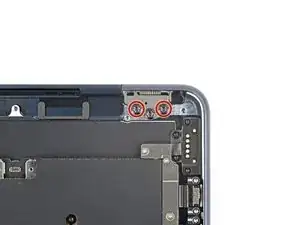
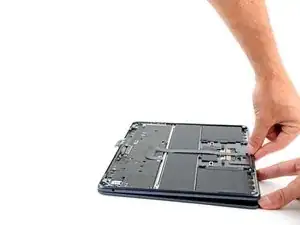
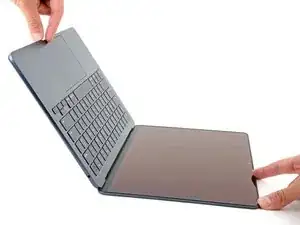
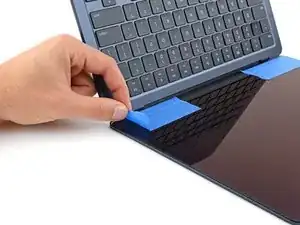
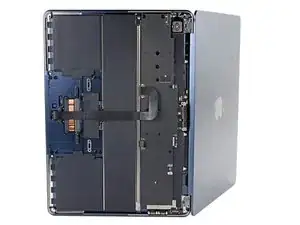
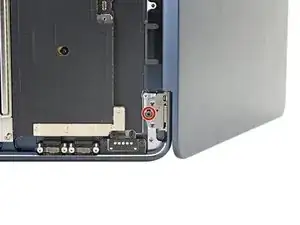
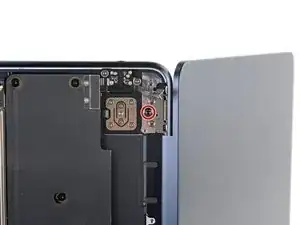
Use this guide to replace a broken screen on your MacBook Air 2022 (M2).

Replacing your screen disables its True Tone functionality.

  1. lquDimvZWHVcGkIF
    lquDimvZWHVcGkIF
    MrBPlfJiyDeCh3Xy
    GiVPDUTQKCcVHQEp
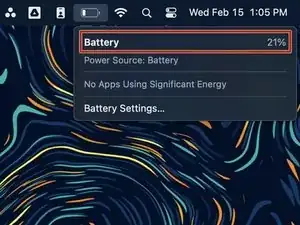
    • Before you begin, discharge your battery below 25%, as a charged lithium-ion battery can be dangerous if accidentally punctured.

    • Power off your MacBook Air and unplug all cables.

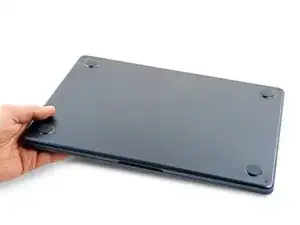
    • Close the display and flip the laptop upside down. Keep the lid closed until you've physically disconnected the battery.

  2. UU3OByKvXHdj5Y2H
    UU3OByKvXHdj5Y2H
    IiKX3lhcjAkhlYAf
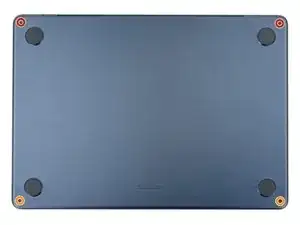
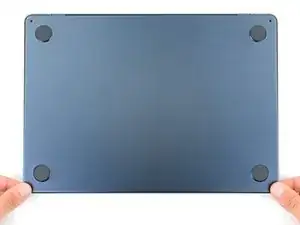
    • Use a P5 Pentalobe driver to remove the four 6.4 mm screws securing the lower case:

    • Two screws with a short threaded portion near the hinges

    • Two screws with a long threaded portion near the front of the MacBook

    • Throughout this repair, keep track of each screw and make sure it goes back exactly where it came from.

  3. dokINhbATeVrKXtr
    dokINhbATeVrKXtr
    TjUylLnpiHfWk2sV
    m6fVPUBtNhtoYYHl
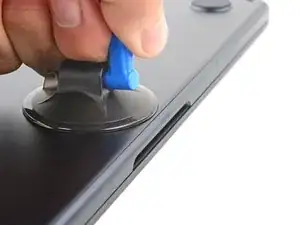
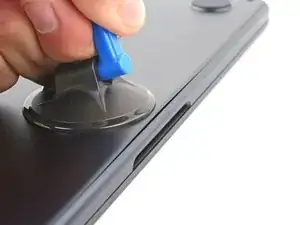
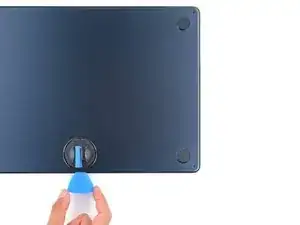
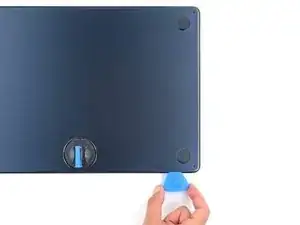
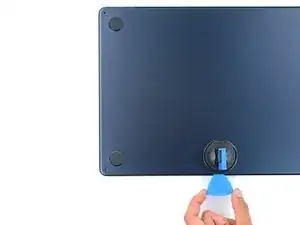
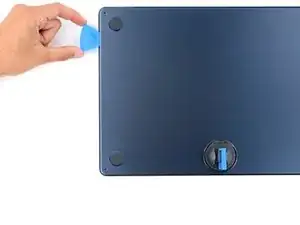
    • Apply a suction handle to the center of the lower case's front edge.

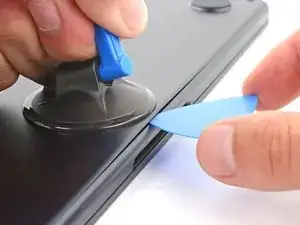
    • Pull up on the suction handle with strong, steady force to create a small gap between the lower case and the frame.

    • Insert an opening pick into the gap.

  4. BoDqyqxbGBlggTvo
    BoDqyqxbGBlggTvo
    pY1Qrw1jHD1iDd2b
    UBVsUaYNRIMIAlaU
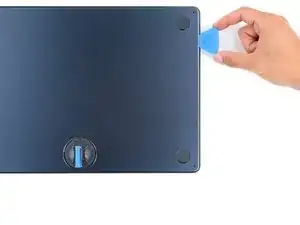
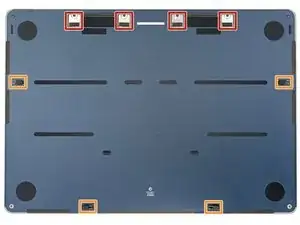
    • During the next two steps you'll feel and hear four snapping clips release. If a clip doesn't release, insert your opening pick farther and try again.

    • Slide the pick to the bottom right corner to release the first clip.

    • Slide the pick around the corner and up the right edge to release the next clip.

  5. BkegaQVYCGs6e6uo
    BkegaQVYCGs6e6uo
    uARqMGT1yaE2uhOn
    Lo1ugnNCtcNL1Qyj
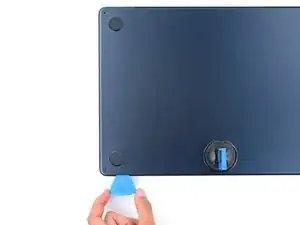
    • Insert the opening pick in the original gap created with the suction handle.

    • Slide the opening pick to the bottom left corner and up the left edge to release the two remaining snapping clips.

  6. JxjCoOqbtL6riXKd
    JxjCoOqbtL6riXKd
    bXZHWpvubTHOOBVP
    AuNBkdMIobCVlYIC
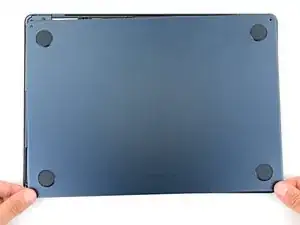
    • Four sliding tabs along the back edge of the MacBook firmly secure the lower case. Separating these tabs requires a lot of force—consider using gloves to protect your hands from the sharp edges of the lower case.

    • Keep the lower case flat and firmly pull it straight away from the back edge, one corner at a time, to disengage the sliding tabs.

    • Don't pull up until the cover is completely separated.

    It's obvious once you know how, but I think that stating the direction of force you apply to the lower case (towards the front) to separate the sliding tabs would be helpful.

    Thank you for the great instructions!

    Tatsuya Takahashi -

    The back tabs are meant to slide down towards the track pad. Do not pull up on the back tabs

    nick mulvaine -

  7. dQ1idM13kbRF6NQC
    dQ1idM13kbRF6NQC
    UqDpUWQXDrMQDWSf
    bXP3i6XCG1BSaeBP
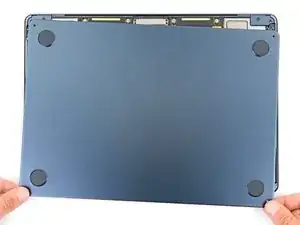
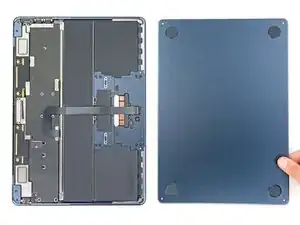
    • Remove the lower case.

    • During reassembly:

    • Set the lower case in place and align the sliding tabs with the screw heads they slide over. Press down and slide the lower case toward the back edge to engage the tabs—it'll stop sliding as the tabs engage.

    • When one side is engaged, it may push the other out of alignment. Check both sides as you push, there should be no gap along the back edge.

    • Once the lower case is flush with the frame, press down firmly along the perimeter to engage the four snapping clips.

    • You'll hear and feel a distinct click as each clip snaps into place.

    I'd bet that if iFixit was to source upgraded replacement lower case 'feet' with a material like nearly any earlier macbook air or pros had--less hard and slippery--they'd sell a lot of them. I'd buy several sets. The OEM feet are horrible and not very 'Apple' in quality.

    Walt Keyes -

  8. DP2BQNffNgdKM1dp
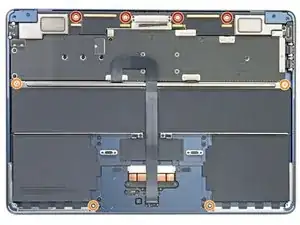
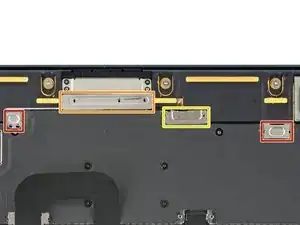
    • Use a T3 Torx driver to remove the two 1.5 mm screws securing the battery connector cover.

    • Due to screw variances, you may need to use a T4 Torx instead. Keep this in mind whenever you encounter T3 Torx screws during this repair.

  9. 2UVCE1lqOt3ViR3I
    2UVCE1lqOt3ViR3I
    JCSnLNLOpWoUBEM2
    • Remove the battery connector cover.

  10. TLUsv2wJrhFsJtLN
    TLUsv2wJrhFsJtLN
    TnjVCuugvheTD3RO
    • Use an opening pick to pry up and disconnect the battery press connector.

    • To reconnect a press connector, align it over the socket and gently press down on one side until it clicks into place, then press down on the other side. It might take a few tries to align the connector.

  11. kebHJh5MREfKeChO
    kebHJh5MREfKeChO
    yXHTMYe5o5TVlUuK
    • Peel up and remove the foam pad from the lower display cable cover to reveal a hidden screw.

  12. pjRhqAUyNflDff11
    pjRhqAUyNflDff11
    G4LVwJqoNfMsUjLG
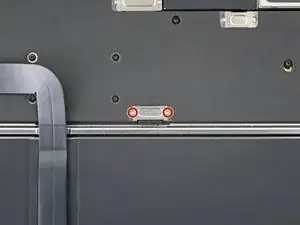
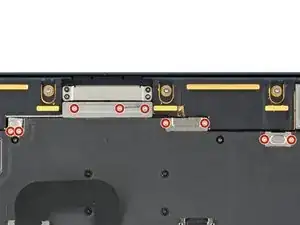
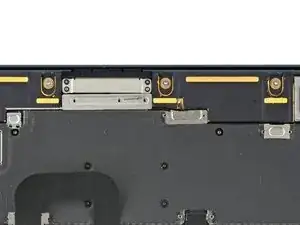
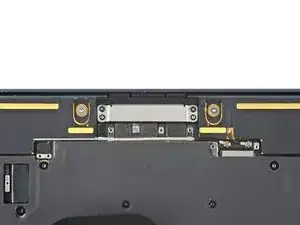
    • Use a T3 Torx driver to remove the nine 1.5 mm screws securing the four metal covers.

    As noted above these might also be T4 instead of T3, I stripped one with a T3 bit. Mine were definitely T4

    Aron List -

    Using a brand new Wiha kit (which I needed to order because I lacked the needed T1 for step 25), the screws were T3, a T4 was too big.

    maccentric -

  13. VMlF1HrcBYvSDd3o
    VMlF1HrcBYvSDd3o
    doXD6KcTgJkt4ucJ
    QLF2TxIuoaHMLpIw
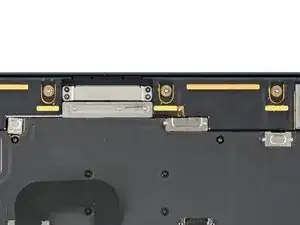
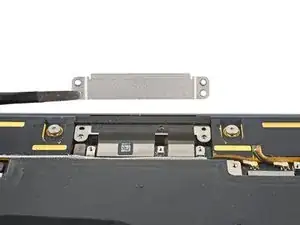
    • Remove the four metal covers:

    • Two speaker cable covers

    • One display cable cover

    • One antenna cable cover

  14. WdEgU3GTuVFipCQk
    WdEgU3GTuVFipCQk
    BhhFHQctRcdKgjsN
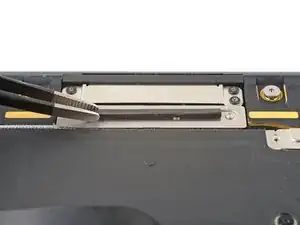
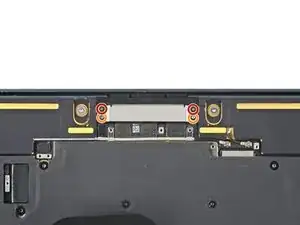
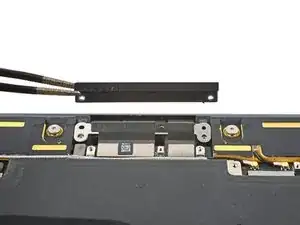
    • Remove the four screws securing the upper display cable cover:

    • Two 2.5 mm P2 Pentalobe screws

    • Two 2.5 mm T3 Torx screws

    • During reassembly, the Pentalobe screws must thread into the display cable securing bracket.

    I found that using a P1 was necessary as the P2 doesn't fit. It could also be the screws that were installed vary slightly.

    Tech Medic -

    I think you need a new p2 bit

    James Swafford -

    Mucho cuidado, aunque los tornillos estén duros, si se hace demasiada fuerza hacia abajo pueden romperse los soportes inferiores.

    Alquimista -

  15. lPGy5JtEQEfCtMaY
    lPGy5JtEQEfCtMaY
    kcjcxCBvaCSV4l3M
    cvjfTvDUkaRqOv2s
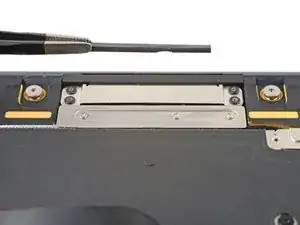
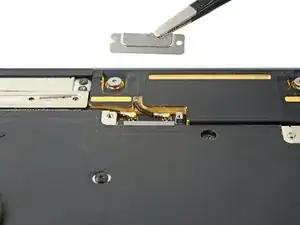
    • Remove the upper display cable cover and plastic securing bracket.

    • During reassembly, make sure the top edge of the upper display cable cover is under the securing bracket.

  16. AaItWhYWgF4NCOS3
    AaItWhYWgF4NCOS3
    1SeLoNYbL5PJFawE
    UGnZW2dNuEo4ydXY
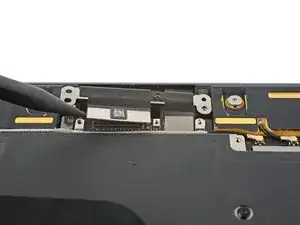
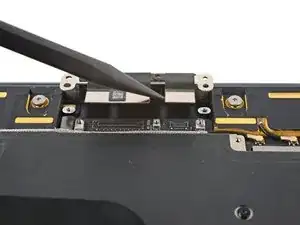
    • Use the pointed end of a spudger to pry up and disconnect both display cable press connectors.

    Replacement display did not include metal bracket shown here, which has adhesive on both sides. Pay close attention to how ribbon cables wrap around this bracket.

    MotorMac -

  17. gGeimEZN1t3ZefTN
    gGeimEZN1t3ZefTN
    OWD6hlIIIVxEp1Hb
    lMqGyxOUdHugIn6F
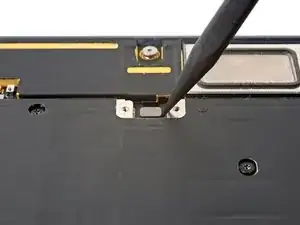
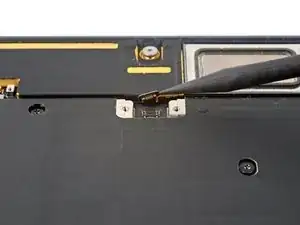
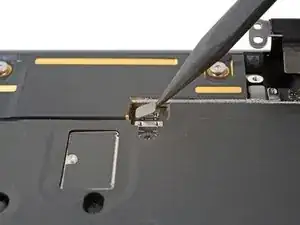
    • Disconnect the left and right speaker press connectors.

  18. fVUH1ATQPKSEoabj
    fVUH1ATQPKSEoabj
    yjjDm12OJIyWpmfp
    nWOQCORMsyE4n31l
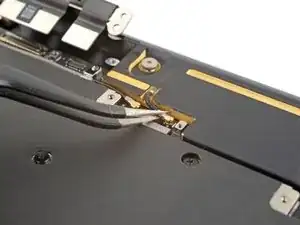
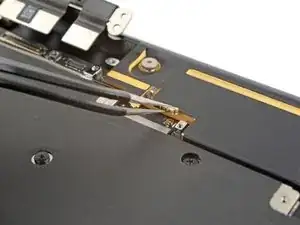
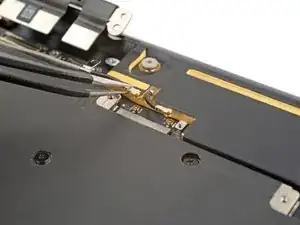
    • Use a pair of tweezers to grip the first antenna connector, as close to its base as possible.

    • Lift straight up to disconnect the cable.

    • The antenna connectors on the logic board are very fragile. When disconnecting the cables, pull straight up—don’t bend them to the side.

    • Repeat for the second antenna cable.

    • To reattach antenna connectors like these, align the connector over its socket and press down with the flat end of a spudger. The connector should snap into place. This can be tricky and may take a few tries.

  19. DDIPSiG3ONrTAMKR
    DDIPSiG3ONrTAMKR
    DTuoswscnYTSgptH
    • These screws strip easily. Apply constant, downward force to prevent stripping.

    • Use a T3 Torx driver to remove the two 2.6 mm screws securing the right and left hinge covers.

    These screws were really hard to remove. I suggest being VERY careful. They both stripped almost immediately and getting them out was nearly impossible. I'd suggest VERY carefully making sure that your driver bit fits before applying any force at all here. The first one I tried didn't work at all.

    fiddlefro -

  20. SoPUTsoDQvR6c2NM
    SoPUTsoDQvR6c2NM
    uBZBIDuPfjmWjZ4Y
    3SJMRQgSp1V3A2sn
    • Grip the left hinge cover with blunt nose tweezers.

    • Pull the cover towards the bottom of the laptop and upwards to free it from its recess.

    • Pull up and remove the hinge cover.

  21. qy4bIsBbWq14nCSp
    qy4bIsBbWq14nCSp
    qLXsSe6RtWMYfAhe
    VDc6oEDWEfCIuHHc
    • Repeat the previous step to remove the right hinge cover.

  22. FpvakmI2uZIFAWBN
    FpvakmI2uZIFAWBN
    xf3ZHrsQqUnLrxLu
    • Use a T5 Torx driver to remove the six screws securing the left and right speakers:

    • Four 5.6 mm screws (two on each speaker)

    • Two 3.5 mm screws (one on each speaker)

  23. JEgltbEB3uMuIEqf
    JEgltbEB3uMuIEqf
    oF6IWOmlttuipHPC
    2PX6WGhGkM2eCMFv
    • Lift the speakers straight up and remove them.

  24. qpoOXwtBSDLIuDjm
    qpoOXwtBSDLIuDjm
    S1nMGratZoGnAKMX
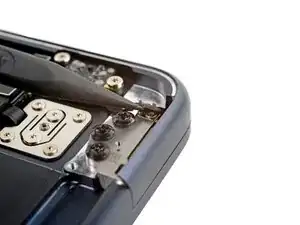
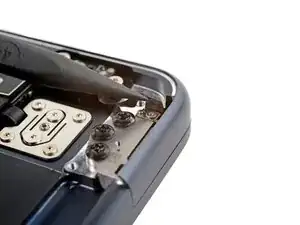
    • Use the point of a spudger to gently lift the lid angle sensor from the left hinge so you can access its screw underneath.

  25. ECUSa6f4myRXwUV3
    ECUSa6f4myRXwUV3
    F2v2FijuDdTRr52H
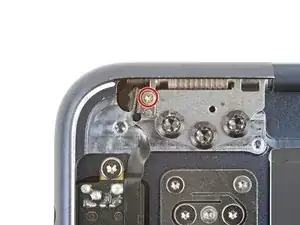
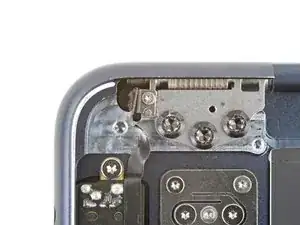
    • Use a T1 Torx driver to remove the 1.5 mm screw securing the lid angle sensor cable to the left hinge.

    I found using a T1 fit. T2 was too large.

    Tech Medic -

    Same here. A T1 does the trick

    JUAN SANCHEZ -

    So my T2 from the fixit Manta driver kit doesn't fit and there is not a T1 in the kit. I had to abandon the repair :(

    Jack -

    This required a T1, which is not included in any of the iFixit kits as I have the Pro Repair Kit and the older 64-bit driver kit. Had to grab a T1 before continuing the repair.

    IoT H4X0R -

    Update: Removing the screw from where the picture shows requires a T1, however you actually need to remove the connector cover on the other end of the cable with a T2. then you pry the push connector off with a spudger. The replacement screen I bought (Apple replacement from iFixit) came with a new tilt sensor and this required me to remove the other side of the cable that was originally connected to the hinge.

    IoT H4X0R -

    I tried a T1 and it was too small. T2 worked perfect and is in my large iFixit bit box.

    Brian Brejcha -

  26. DPCMSsFRawUhaXJs
    DPCMSsFRawUhaXJs
    HQXX1tTgVkIAZwdo
    • Use a T8 Torx driver to remove the outer two 4.3 mm screws from both hinges (four screws total).

    • Leave the center screw on each hinge in place for now.

  27. ZOVllHXlKSMISRDs
    ZOVllHXlKSMISRDs
    jumYMUrEYHAugsZR
    dVrJG2ZoQByFAjZF
    • Fully open your MacBook Air.

    • If you plan to reuse your screen, apply tape to the glass above each hinge. This protects the glass from getting scratched in the next step.

  28. TuIRjbrIstNyy14v
    • Stand your laptop up on its side.

  29. DSQnAWEn2Cy31HPl
    DSQnAWEn2Cy31HPl
    vUjidkitbVQPe2SH
    DqFGu6KFtqiGSTTD
    • Use one hand to steady both halves of the laptop so they don't separate and fall over.

    • Starting with the bottom hinge, use a T8 Torx driver to remove the 4.3 mm screw securing both hinges (two screws total).

  30. tf62cHhfJjJO1B3m
    tf62cHhfJjJO1B3m
    CeFeyFgEkETokOTk
    G4fuxXJYDEMH5HSG
    • During reassembly, first install the hinge screws without tightening them fully. Then adjust the screen until it's correctly centered and aligned on each side. Finally, tighten the screws.

    • If your screen clicks or snaps upon opening, loosen the hinge screws and adjust the alignment. Make sure the screen doesn't sit too far forward, or it can catch on the body when opening and closing.

  31. iL3XFb4GVY2ucYkf
    iL3XFb4GVY2ucYkf
    Mx1gpxVcbLm2yO6P
    RCxiPmvlYueOdNhe
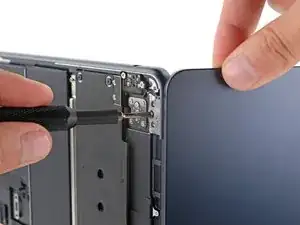
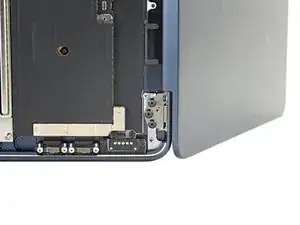
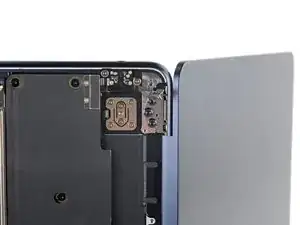
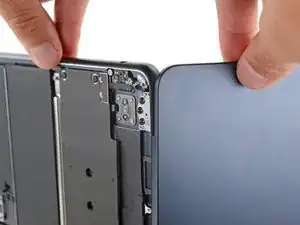
    • During this step, keep a firm grip on both the screen and the main body, as either half could separate and fall at any point.

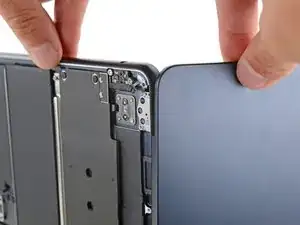
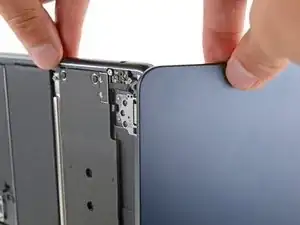
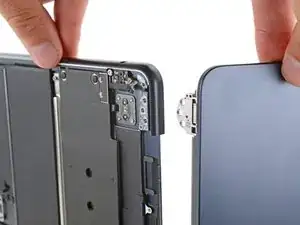
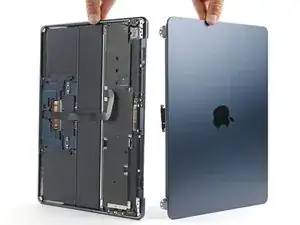
    • Hold the main body steady and push the screen away from the body, guiding both hinges out of the frame.

    • During reassembly:

    • Open the hinges fully.

    • Stand the main body and the new screen on their sides.

    • Make sure they're oriented so the display will close toward the keyboard.

    • Guide the hinges into their recesses on the frame.

Conclusion

Compare your new replacement part to the original part—you may need to transfer remaining components or remove adhesive backings from the new part before you install it.

To reassemble your device, follow these instructions in reverse order.

Take your e-waste to an R2 or e-Stewards certified recycler.

Repair didn’t go as planned? Try some basic troubleshooting or check out our Answers community for help.

Spencer Day

Member since: 14/09/22

88286 Reputation

24 comments

Does the screen display normally after replacing it with the aftermarket screen? As far as I know, after 2021, MacBooks have problems with screen output when they are replaced with aftermarket screens.

https://www.ifixit.com/News/73288/m2-mac...

wellbinnn -

Hi! We tested swapping screens between two M2 MacBook Airs and didn't find any issues with the screen. The problem is with the MacBook Pros.

Spencer Day -

I checked your comment. Thanks for checking!

wellbinnn -

Is this doable without scratching or chipping the body if done using the ifixit tool kit?

John Mashconzone -

Hello! It's definitely doable! If you're worried, I would take extra care when standing the laptop up to make sure you set it on a surface that won't scratch the body. Also, be careful when guiding the hinges out of the frame to avoid brushing against the frame.
Spencer Day -

If I swap screens between two macbooks will they lose the true tone?

Без Имени -

Yes, unfortunately the true tone functionality will be lost even between two of the same devices.

Spencer Day -

500$ for the screen is too expensive :(( Can you replace it for me for free ? ;))

Eliot LeDragon -

I'm having an issue with the screen angle. I had to replace screens on three MacBooks. One worked great and the other two didn't. It works fine if the screen angle is open less than 30°. Opening further than this disables the screen and touchpad.
James Swafford -

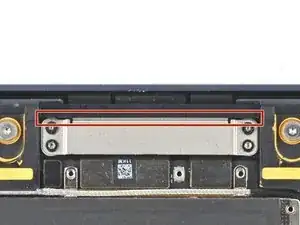
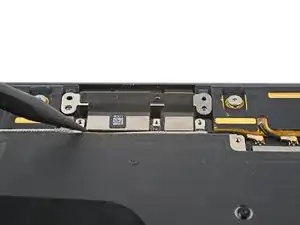
Hi James! It sounds like there might be a problem with the lid-angle sensor. It might be folded in a weird way, at a strange angle, or damaged, causing the laptop to think it's closed when it's open. I would suggest taking the lower case off and checking the cable.

Spencer Day -

I've checked and reseated that cable. Tried another cable and no difference. If I put the original screen back on it works fine. It makes me think it has something to do with whatever actually transmits the angle to that cable. Is there a magnet or sensor in the hinges or screen itself? Is there a way to recalibrate it?

James Swafford -

Unfortunately, the only way to recalibrate it is by going through Apple. I'm surprised it was still happening after trying a different cable. As for magnets or sensors, I can check tomorrow and get back to you.

Spencer Day -

Hi James, I checked the area of the laptop around the lid angle sensor with magnetic viewing film today and it looks like there's a magnet very close to the lid angle sensor on the frame near the power button. I didn't see anything on the screen.

Spencer Day -

I’m having an issue of “water marks” inside the screen, so my macbook got washed up in a rain and the water is going inside the screen, right now the condition is all functioning well, the water already dried up but it left a huge marks inside the screen. Is it doable to tear the screen and clean it up and reassembly it again, thanks

Ichwanul Hakim -

Hi! No,You need to get new display.Cheers

Jerry Butcher -

Very nice presentation!

Do you know if the Air 13" M2 and M3 display screens are interchangeable?

Thanks.

Liem Nguyen -

I have followed these instructions and installed the new screen. I turned it on and everything started to work. Then after about 5 minutes the screen went off and it stopped working again. I opened the bottom again, undid the screen connectors and redid them. The computer turned on again and then went off after a couple of minutes. Is there a trick to getting those connectors seated correctly?

Samuel Lopez -

Hi Samuel! Reconnecting press connectors can be tricky. Here's a guide that covers some general information about them. For larger connectors like the screen ones, press down on one side until it clicks into place, and then press down on the other side. Don't try pressing down in the middle.

Spencer Day -

With regards to the lid angle sensor. My T2 from the fixit Manta driver kit doesn't fit and there is not a T1 in the kit. I had to abandon the repair :(

Jack -

Add this to your tool Kit! Precision T1 Torx Screwdriver, JAKEMY Professional Electronics Repair Screwdriver, Reinforced S2 Tool Steel

https://a.co/d/hqDGzdz

Macrepair SF -

Any suggestions to diagnose a blank screen after install ? Cable seems seated well. Are there steps or connections that if not properly made will disable the display ?

The removal part went well. Would love tips for re-attaching the tiniest screws like the lid angle sensor. It was often pulled toward the magnetized hinge metal before I could seat it.

befix -

Angle position sensor. I noticed on new aftermarket they now have an adjustment on the side on the hinge to correct this issue.

James Swafford -

I see various listings on eBay for "raw displays". Those type of listings are much cheaper compared to the fully assembled displays. Is it possible to change the display without changing the back cover?

Leonardo -

so... to replace a cracked LCD, one must replace the entire top of the laptop?

ioinva -