Introduction
Use this guide to replace a worn-out or dead battery in your Logitech G915 TKL wireless keyboard.
Lithium-ion batteries have a limited lifespan. If your keyboard dies quickly and doesn't hold a charge, it may be time to replace the battery.
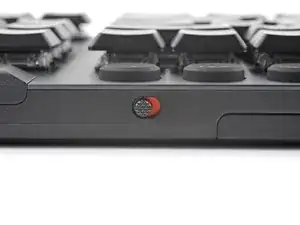
If possible, follow this guide after your battery has fallen below 15% charge—this is indicated when the battery light on the top edge of the keyboard is red. While your G915 TKL keyboard has a relatively small battery, any charged battery is a potential safety hazard if accidentally bent or punctured.
If your battery looks puffy or swollen, take extra precautions.
-
-
Slide the power switch on the top edge of your keyboard into the OFF position.
-
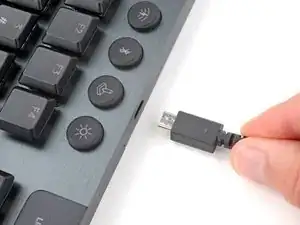
Unplug all cables from your keyboard.
-
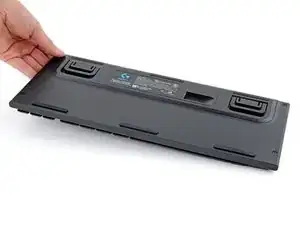
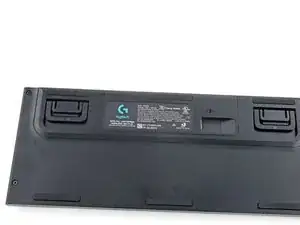
Lay your keyboard down with the feet facing up on a clean work surface.
-
-
-
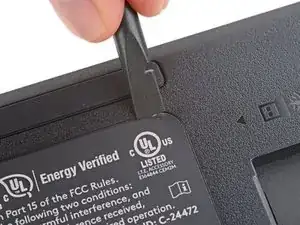
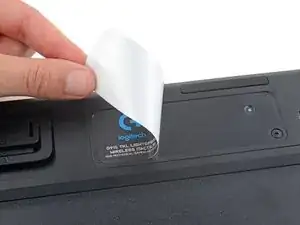
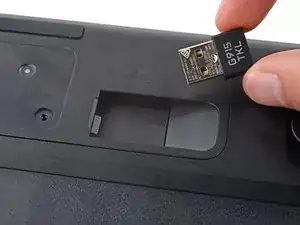
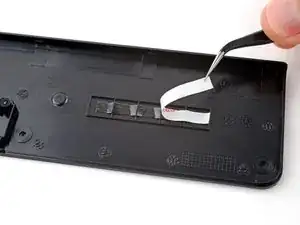
Use the flat end of a spudger or a fingernail to peel up a corner of the sticker.
-
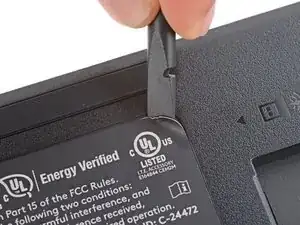
Use your fingers to peel up and remove the sticker.
-
-
-
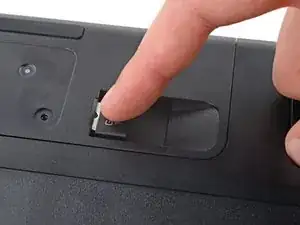
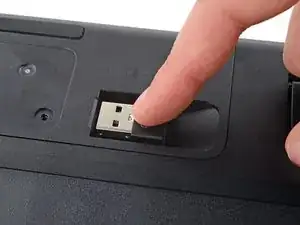
If you have a USB receiver stored in the battery cover compartment, use your finger to slide it out and remove it.
-
-
-
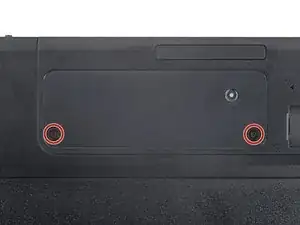
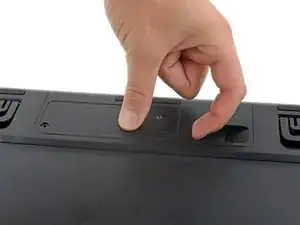
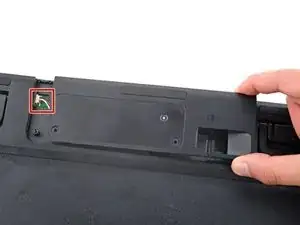
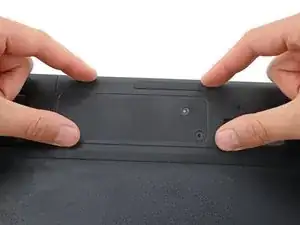
Insert your finger in the USB receiver compartment on the battery cover.
-
Pull up the bottom edge of the cover to release the clips.
-
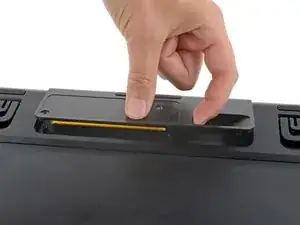
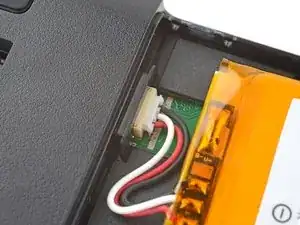
Gently pull the cover to the right so you can access the battery connector on the left side of the recess.
-
-
-
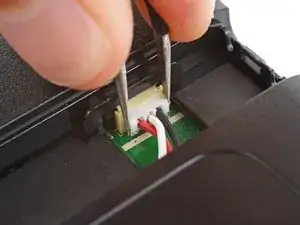
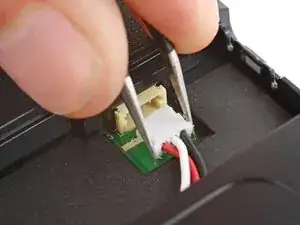
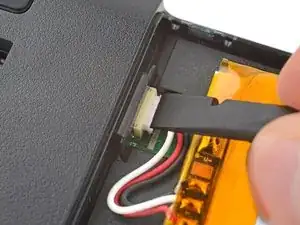
Use a pair of angled tweezers to firmly grip the battery connector.
-
Slide the connector straight out of its socket.
-
-
-
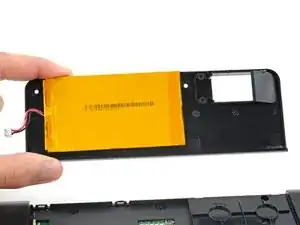
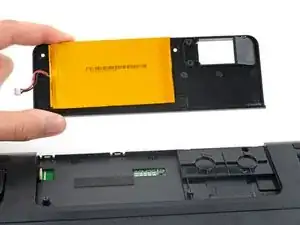
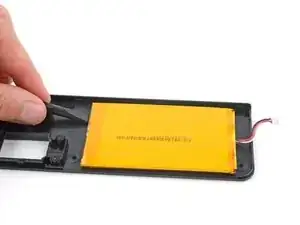
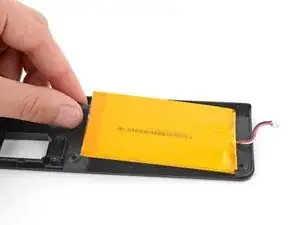
Gently slide the flat end of a spudger under one of the short edges of the battery and lift to separate the adhesive.
-
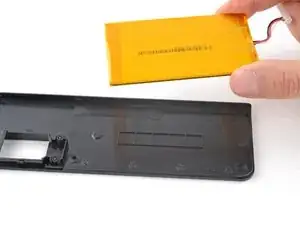
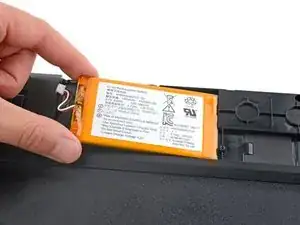
Remove the battery from its cover.
-
-
-
Lay your new battery into its recess in the keyboard so the cable is on the left edge, near the battery connector.
-
-
-
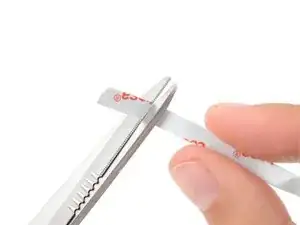
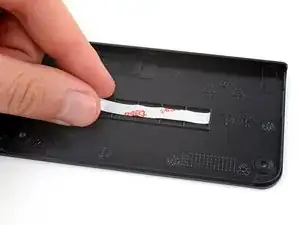
Cut a piece of double-sided tape so it fits on the line of squares on the bottom of the battery cover.
-
Press the tape firmly into place on the squares and remove the plastic backing.
-
-
-
Insert the new battery's connector into its socket so the side with exposed pins is on the bottom.
-
Use a spudger to push the battery connector fully into its socket.
-
-
-
Set the battery cover into place and firmly press down around its edges to engage all the clips.
-
To reassemble your device, follow these instructions in reverse order.
Take your e-waste to an R2 or e-Stewards certified recycler.
Repair didn’t go as planned? Try some basic troubleshooting, or ask our Answers community for help.