Introduction

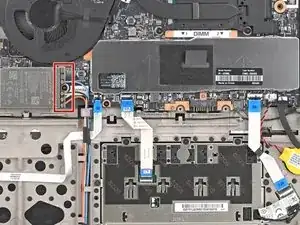
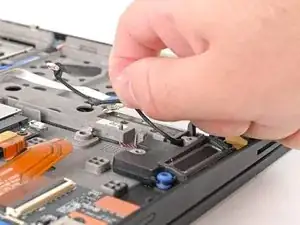
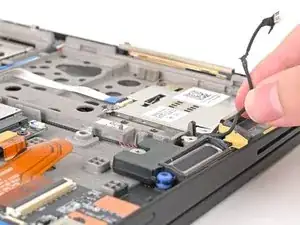
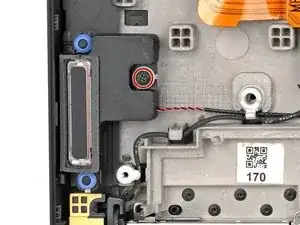
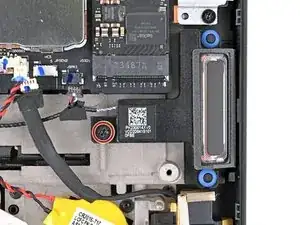
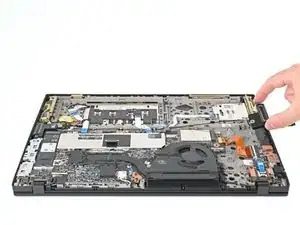
Follow this guide to replace the speakers in your Lenovo ThinkPad T16 Gen 3 laptop.

You may need to replace the speakers if they produce distorted sound, crackling noises, or no sound at all. The speakers are not designed to be replaced individually as they are connected by a wire.

The Lenovo part number for the speakers is 5SB1M76544 or 5SB1M76545, depending on the model. This guide features the former, but the process is identical for the latter.

  1. xxNOPMoGoWYkTGQE
    xxNOPMoGoWYkTGQE
    GUnBXysNB2NxAUKS
    YNC2EdVroQAhUjPC
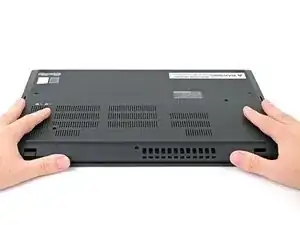
    • For your safety, discharge your battery below 25% before disassembling your laptop. A charged battery may catch fire if damaged. If your battery is swollen, take appropriate precautions.

    • Completely shut down your laptop (don't just put it in sleep mode) and disconnect all cables.

    • Flip the laptop upside-down, and rotate it so the screen hinge faces towards you.

  2. RbWgoD2uaUqYYHy2
    RbWgoD2uaUqYYHy2
    3yXt1uueHCgFQBV2
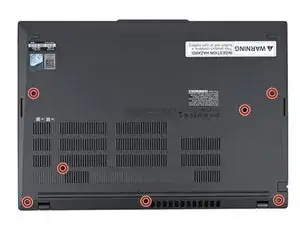
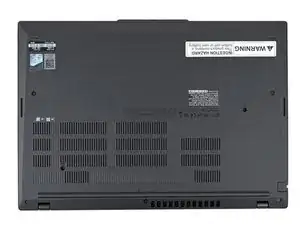
    • Use a Phillips screwdriver to fully loosen the seven captive screws securing the base cover.

  3. xyP2CA2xDRghTaRR
    xyP2CA2xDRghTaRR
    BIgZKvTMkNb2MBQK
    ahNyGAEmIWqnirIT
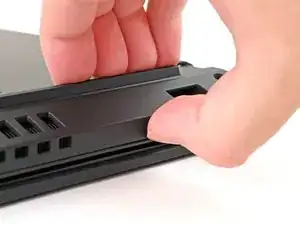
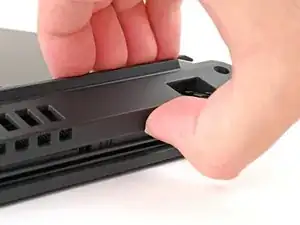
    • Insert your fingernail or an opening pick into the gap between the base cover and keyboard deck, next to one of the screen hinges.

    • Pry up the base cover until the clips unfasten.

  4. rQiUEKGPLWPWJRrm
    rQiUEKGPLWPWJRrm
    cb5tJFXBhvJPoSPQ
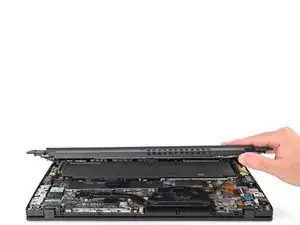
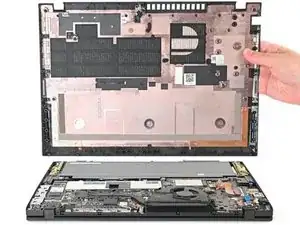
    • Grasp the base cover along the screen hinge edge and lift slowly to unfasten the remaining clips.

    • Lift and remove the base cover.

    • During reassembly, lay the base cover into the frame, inserting it into the tabs along the battery edge. Press down firmly around the perimeter to reengage all the clips.

  5. tkYPg2EhajlcGZG6
    tkYPg2EhajlcGZG6
    kewyINYhKrkeCqNM
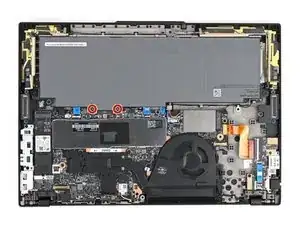
    • Because of the battery connector's design, the only way to disconnect the battery is by physically removing it.

    • Use a Phillips screwdriver to fully loosen the two captive screws securing the battery connector.

  6. VbFsBodaaINR1abt
    VbFsBodaaINR1abt
    OBXrUehAO2CM5QdQ
    YXbYLqdNKDUOLNDm
    • Lift the edge of the battery with the connector to disconnect it.

    • You may feel a little resistance from the battery connector as it disconnects—that's normal.

    • Remove the battery

    • During reassembly:

    • Slide the plastic tabs on the long edge of the battery into their recesses in the frame.

    • Lower the battery into place so the connector goes over its socket.

  7. DnhAbJtlbQ1uQhHB
    DnhAbJtlbQ1uQhHB
    eNMRUK3X3tPLKLLY
    rBmZ5caPFVgSv1Vs
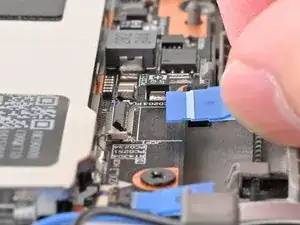
    • Use your fingernails to grip the right speaker connector by the lip near the back and gently pull the connector out of its socket (labeled "JSPK1").

    • Alternatively, you can use the point of a spudger to push on alternating sides of the connector to walk it out of the socket.

  8. NadAZSlJFwPUntDY
    NadAZSlJFwPUntDY
    NauVwRAljciATvrQ
    XcX5Biu4ZMJHTDIo
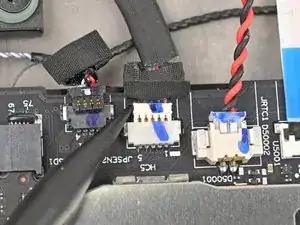
    • Use your fingernails to grip the WWAN antenna connector by the lip near the back and gently pull the connector out of its socket (labeled "JPSEN2").

    • Alternatively, you can use the point of a spudger to push on alternating sides of the connector to walk it out of the socket.

  9. OMxyBaQ6xCWbtF63
    OMxyBaQ6xCWbtF63
    J1MBND6BSDMnnE4G
    wo2cryLDR2Fgi3No
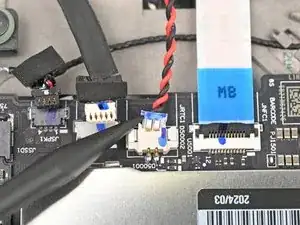
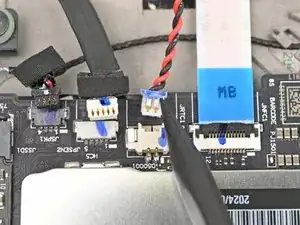
    • Use your fingernails to grip the CMOS battery connector by the lip near the back and gently pull the connector out of its socket (labeled "JRTC1").

    • Alternatively, you can use the point of a spudger to push on alternating sides of the connector to walk it out of the socket.

  10. rJ2NndqThmvchHUW
    rJ2NndqThmvchHUW
    U3wACSpo5bRX4GJv
    lrh5HAF6VSggtCmZ
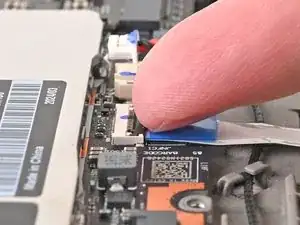
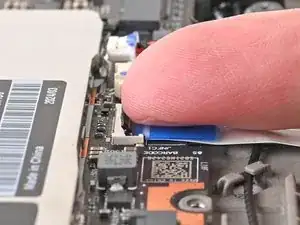
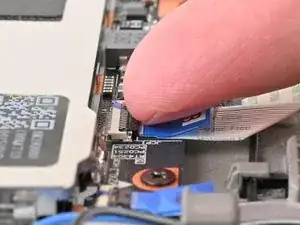
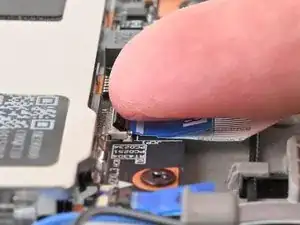
    • Use a clean fingernail or the flat end of a spudger to flip up the locking flap on the NFC interconnect cable connector, labeled "JNFC1."

    • Use tweezers or your fingers to grip the cable's plastic pull tab and gently pull the cable out of its socket.

  11. v2vPU1YfNFDJGFhM
    v2vPU1YfNFDJGFhM
    lZJn5TvRVZoJJA1K
    dujaw6jmlcSsLBge
    • Use a clean fingernail or the flat end of a spudger to flip up the locking flap on the trackpad interconnect cable connector, labeled "JCP1."

    • Use tweezers or your fingers to grip the cable's plastic pull tab and gently pull the cable out of its socket.

  12. 3GphrerkZsrCLmx4
    3GphrerkZsrCLmx4
    1HsGdAQxVPEhp5XO
    QccIfHwKaQSWheeO
    • Use a clean fingernail or the flat end of a spudger to flip up the locking flap on the smart card reader interconnect cable connector, labeled "JSC1."

    • Use tweezers or your fingers to gently pull the cable by its pull tab out of its socket.

  13. XstXPKJ5aaMNYpnd
    XstXPKJ5aaMNYpnd
    qoOlalDAeZP3AWFw
    MBwUbQInXwRhsIZV
    • Insert one arm of your angled tweezers under the metal neck of one of the antenna coaxial connectors on the WWAN card and lift straight up to disconnect it.

  14. dpuResI5Kj4tPap4
    dpuResI5Kj4tPap4
    vNVw4HDiJrPZZUEC
    hw1OUnS3vNiFWfSu
    • Repeat the process to disconnect the remaining antenna cables from the WWAN card.

    • During reassembly, use tweezers to hold each connector in place over its socket and gently press down with your finger or a spudger—the connector should "snap" into place. If you're having trouble, reposition the head instead of using more force.

  15. bBQ3hQQFBaqZyqQG
    bBQ3hQQFBaqZyqQG
    NyPFJ5pDa1jTnomM
    3qyNrUVOGLmuaFkL
    • Hold all the antenna cables together and weave them out of the clips holding it to the chassis.

  16. ZdcVw6C6ccT5YpLC
    ZdcVw6C6ccT5YpLC
    UIPf3HkHYQvwrJMG
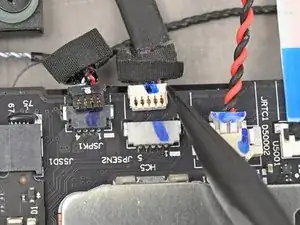
    • Use your fingernails to grab on the lip located at the back of the WWAN antenna connector labeled "JPSEN1."

    • Alternatively, you can use the point of a spudger to push on alternating sides of the connector to walk it out of the socket.

    • Unplug the connector from the motherboard.

    • Many of these connectors have a small marking that shows which side of the connector should be facing up. To reconnect, align the connector and use a spudger or clean fingernail to push it fully into the socket.

  17. WCsruEFKEOKZjU1c
    WCsruEFKEOKZjU1c
    TekVV2rMQuus23p1
    hXKijZTDQeLAmOVE
    • Use your fingers to guide the JPSEN1 cable out of its clips on the chassis.

  18. kSDVWQXPuwTEIHiP
    kSDVWQXPuwTEIHiP
    MtGvcdYXTevgZRGl
    • Use a Phillips screwdriver to remove the two 3 mm‑long screws securing the speakers (one in each).

  19. wiEXXRrdHgfQKNHH
    wiEXXRrdHgfQKNHH
    rRwCrceQNJVJW3kk
    Mk11eyF1X4tFDt3k
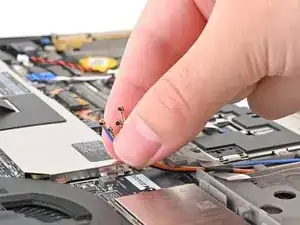
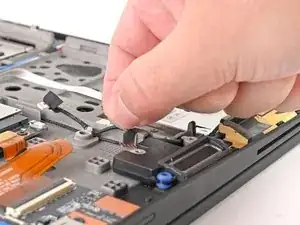
    • Lift one of the speakers off its post and guide the speaker cable out of its clips in the center of the laptop.

    • Once the cable is unclipped, remove the other speaker.

    • During reassembly, make sure your replacement speakers have rubber grommets installed on the top, middle, and bottom edges. If they don't, transfer them from your old speakers.

Conclusion

Compare your new replacement part to the original part—you may need to transfer remaining components from the new part before you install it.

To reassemble your device, follow these instructions in reverse order.

Take your e-waste to an R2 or e-Stewards certified recycler.

Repair didn’t go as planned? Try some basic troubleshooting, or ask our Answers community for help.

Nick Schultz

Member since: 24/03/24

13497 Reputation

0 comments