
Introduction
Over time, a car’s headlights will become foggy or yellow. UV exposure from the sun, road debris, and bulb heat degrade the plastic. A driver’s visibility is significantly reduced and is potentially hazardous to other drivers and pedestrians. This guide can be applied to any headlight made of plastic. A 2007 Nissan Versa is used as a demonstration for the guide.
Before beginning your project, keeping the car in a shaded and well-ventilated area is important. Direct sunlight will negatively affect the clear coat drying time and effectiveness in further steps. Make sure to monitor weather forecasts to avoid working during periods of precipitation.
-
-
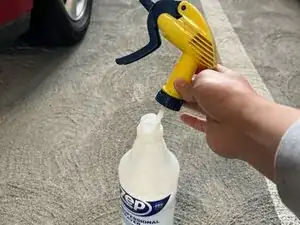
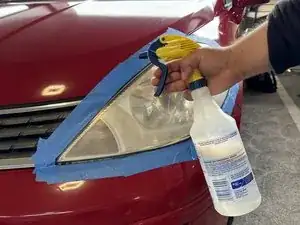
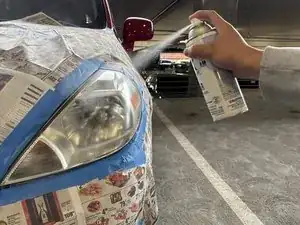
Use the spray bottle of soapy water to wet the 800-grit sandpaper.
-
Spray the sandpaper liberally and make sure it is completely wet.
-
-
-
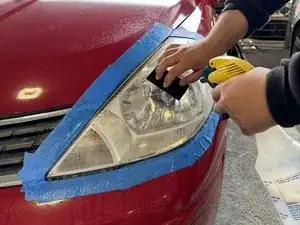
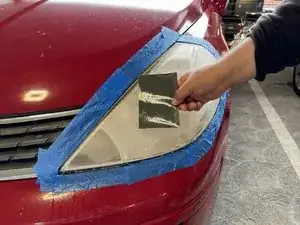
Spray the headlight with soapy water and sand the headlight's surface.
-
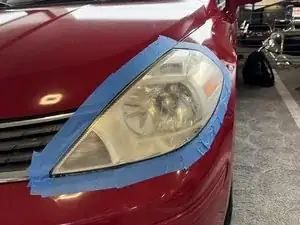
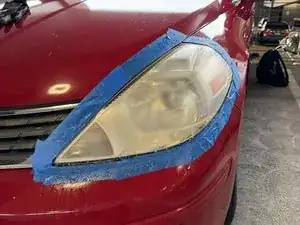
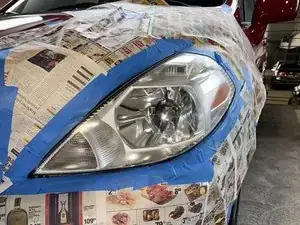
Stop sanding when the entire headlight appears foggy.
-
-
-
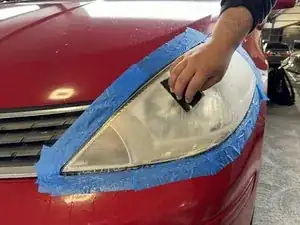
Spray the 2000-grit sandpaper with soapy water and ensure it is completely wet.
-
Stop sanding when the headlight appears slightly less cloudy (than in the previous step).
-
-
-
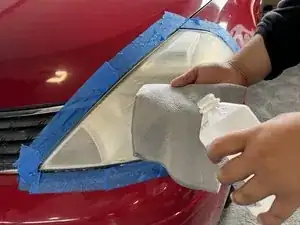
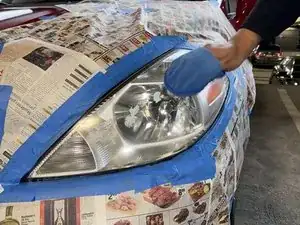
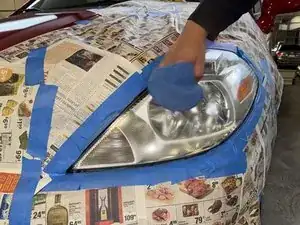
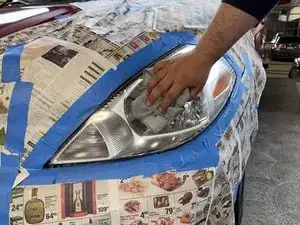
Lightly wet a small section of a clean microfiber cloth with 70% isopropyl alcohol.
-
Rub down the entire headlight surface with the microfiber cloth.
-
-
-
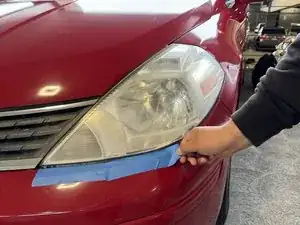
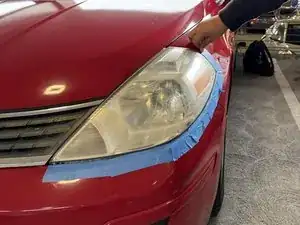
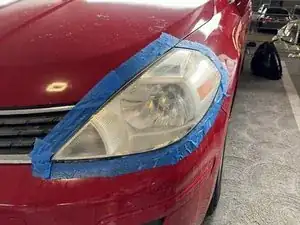
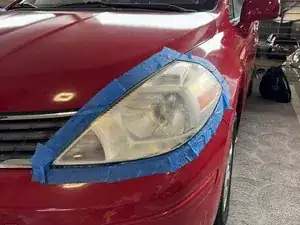
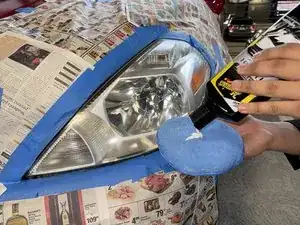
Carefully peel off the old masking tape.
-
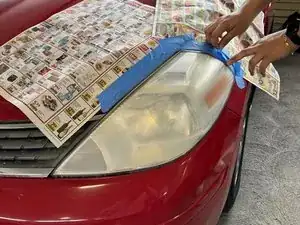
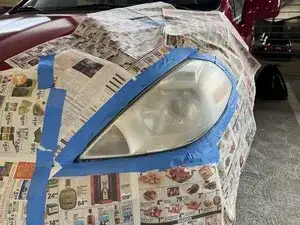
Use newspaper to cover the car's body using masking tape to hold it down.
-
-
-
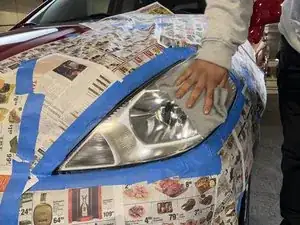
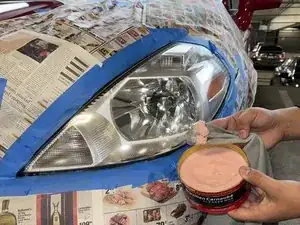
Apply a small amount of compound to a clean microfiber applicator pad.
-
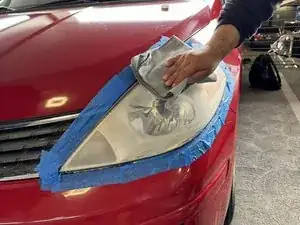
Dap the headlight's surface with the compound.
-
Work the compound into the headlight.
-
-
-
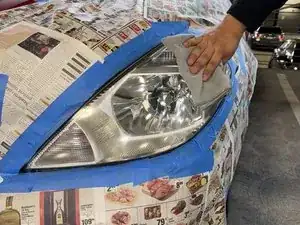
Wipe the headlight with a clean microfiber cloth.
-
Apply a small amount of polish onto a new, clean microfiber applicator pad.
-
Dap the polish onto the headlight, then work the polish onto the headlight.
-
-
-
Wipe the headlight with the clean side of a microfiber cloth.
-
Use a microfiber cloth to scoop about a quarter-sized amount of wax.
-
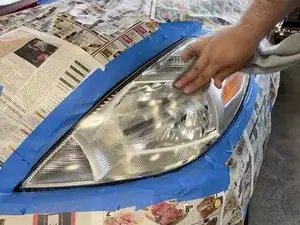
Rub the wax into the headlight with medium pressure and in a circular motion.
-
Continue rubbing until there is no more visible wax.
-
-
-
Wipe the headlight with a clean side of microfiber cloth.
-
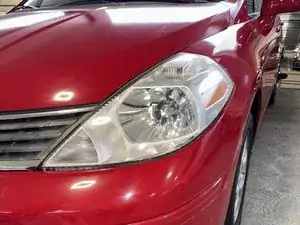
Carefully remove the newspaper and masking tape.
-
Enjoy the clear road with your newly restored headlights!
-


To reassemble your device, follow these instructions in reverse order.