
Introduction
Creating a Tails live USB is a straightforward process that allows you to use Tails OS on any computer without installing it. By creating a Tails Live USB you can use the privacy-focused Tails OS on any computer without leaving traces.
This guide acts as a rudimentary guide for creating a Tails OS Live USB. For users who want a more in-depth tutorial, consider taking a look at How to Install Tails OS (Guide for the Ultra Paranoid).
Materials
- A USB flash drive with at least 8GB capacity (Ideally with USB 3.0 Speed)
- A computer with an internet connection
Tools
-
-
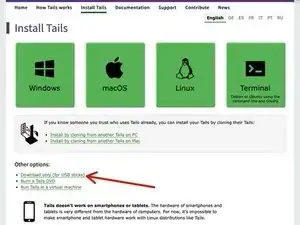
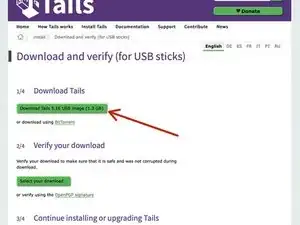
Open your web browser and visit the official Tails OS USB Downloads Page, and download the ISO file
-
-
-
In Etcher, click "Flash from file" and select the Tails ISO image you downloaded earlier.
-
Select the USB flash drive as the target device.
-
Click "Flash!" to start the process. Etcher will copy the Tails OS to the USB drive.
-
-
-
Insert the Tails live USB into the computer you want to use.
-
Restart the computer and enter the boot menu by pressing the appropriate key during startup (usually F2, F12, or Delete).
-
Select the USB drive as the boot device from the boot menu.
-
Tails will start, and you'll be presented with the Tails Greeter screen.
-

Creating a Tails live USB using this iFixit guide provides you with a secure and private way to use Tails OS on any computer without leaving traces. Remember to always use Tails responsibly and respect the privacy and security it offers.