Introduction
Follow this guide to adjust the settings on your FixHub Smart Soldering Iron using a computer. All changes made will be saved to the iron's onboard storage.
-
-
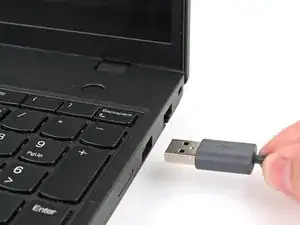
Plug the cable included with your iron or any USB cable that supports data transfer into your computer.
-
Navigate to iFixit.com/FixHub/console
-
-
-
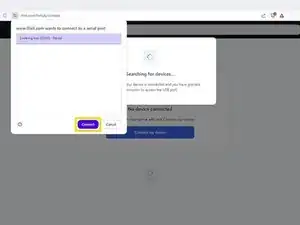
Click Connect my device.
-
Select your Smart Soldering Iron from the pop-up window asking you to connect a serial port.
-
Click Connect.
-
-
-
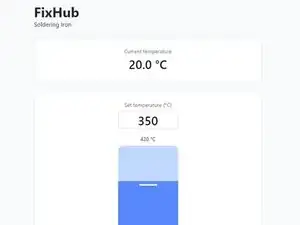
Current temperature shows the tip temperature in real time.
-
Set temperature allows you to change the iron's temperature with a slider.
-
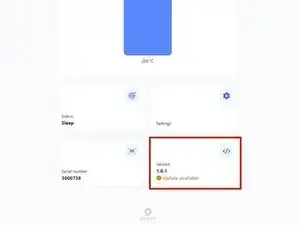
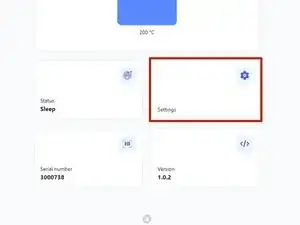
Status reflects the current status of the iron.
-
Settings allows you to change iron settings such as idle temperature and sleep timer.
-
Serial number shows the serial number of the connected iron.
-
Version shows the firmware version of the connected iron.
-
-
-
Select the Version box.
-
Click Update now and wait for the firmware update to complete. Don't disconnect your iron or close the window during the firmware update.
-
-
-
Drag the Set temperature slider to your desired temperature from 200 to 420 °C (395 to 790 °F).
-
-
-
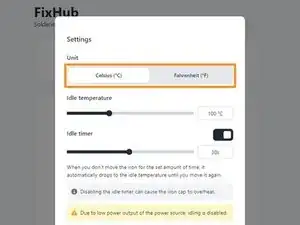
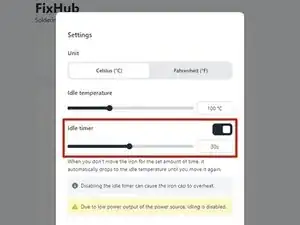
Click the Settings box.
-
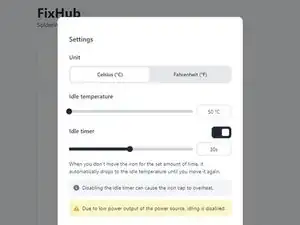
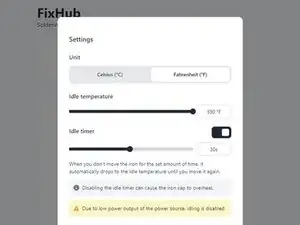
At the top of the Settings window, select your desired unit for temperature under the Unit tab.
-
-
-
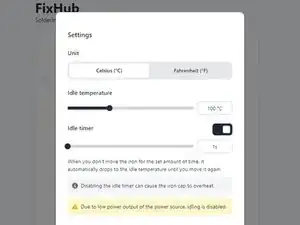
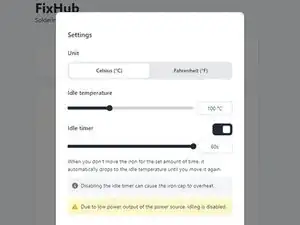
Drag the Idle temperature slider to your desired temperature from 50 to 200 °C (125 to 390 °F).
-
-
-
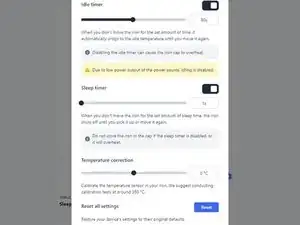
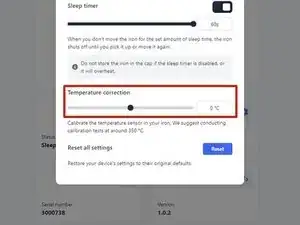
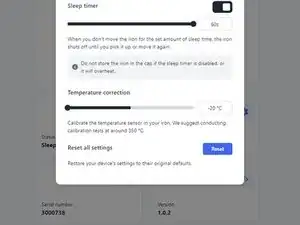
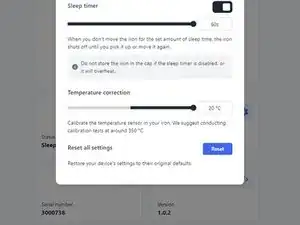
Drag the Temperature correction slider to the desired amount from -20 to +20 °C (-36 to 36 °F).
-


That's it! You're ready to configure your Smart Soldering Iron to your individual preferences.
Still struggling? Try some basic troubleshooting, or ask our Answers community for help.
