Introduction
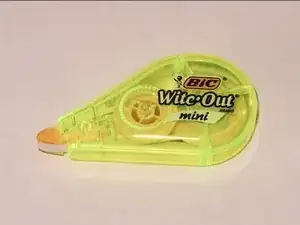
If your BIC Wite-Out Mini is jammed or dismantled, little to no white-out strips will come out. Use this guide to fix the BIC Wite-Out Mini back to working order.
The white-out strip within the correction device transmits white-out strips onto paper to cover up mistakes or marks. A tangled or jammed white-out strip will not run smoothly through the gears onto paper.
This may cause headaches and inconsistencies when covering up mistakes. Fortunately, fixing a white-out strip often takes little time, and helps prevent unnecessary waste from ending up in landfills. You’ll need tweezers and a set of steady hands and you’ll be back to covering up mistakes in no time.
This guide will cover the fixing and assembly of a BIC Wite-Out Mini.
Tools
-
-
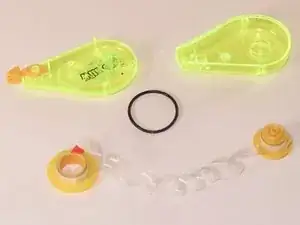
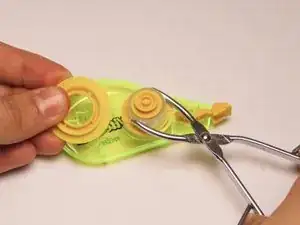
Place the dispenser component with the logo facing down, with other components laid out on a clean, flat surface.
-
-
-
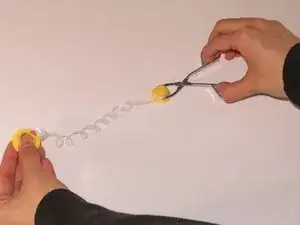
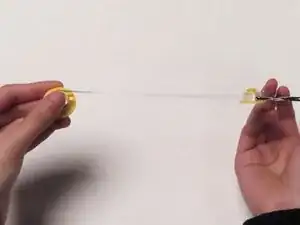
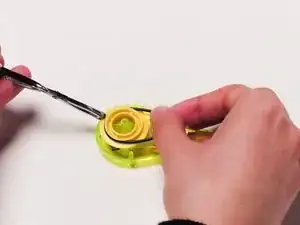
Untangle the plastic strip by rotating the large gear in a circular motion, going in the opposite direction of the spiral.
-
Stop once the plastic strip connecting the gears is straight.
-
-
-
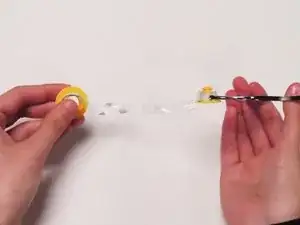
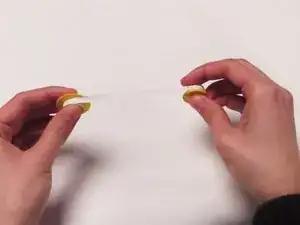
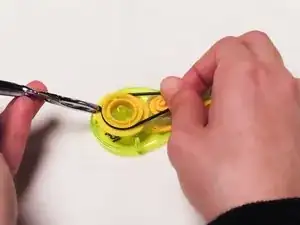
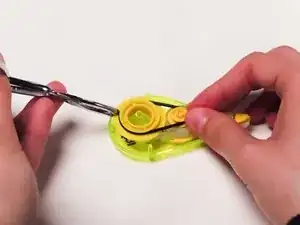
Feed the plastic strip into the small gear until the white-out strip is visible.
-
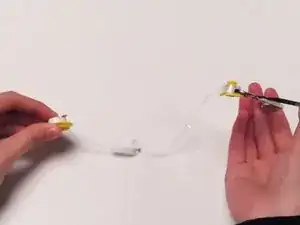
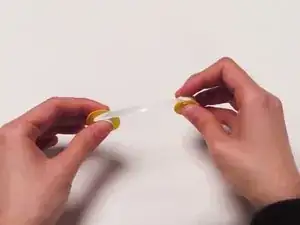
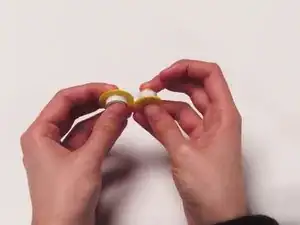
Turn the big gear toward the small gear until they are close to each other.
-
-
-
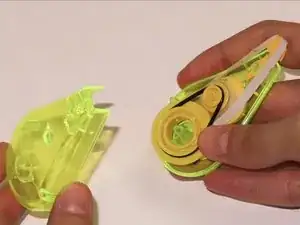
Place gears back into dispenser component with the logo.
-
Place the small gear onto the module closer to the dispensing slot.
-
Place the large gear onto module farthest from the dispensing slot.
-
-
-
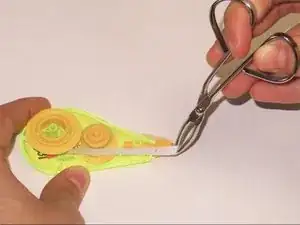
Hold the white-out strip with tweezers and pull to wrap the strip around the dispensing slot.
-
Make sure to stabilize the gears.
-
Congrats! You have just successfully repaired your BIC Wite-Out Mini!
Test your BIC Wite-Out Mini to make sure that it works correctly. If it does not work, repeat steps 1-8 and try again!
