Introduction
This repair guide was authored by the iFixit staff and hasn’t been endorsed by Google. Learn more about our repair guides here.
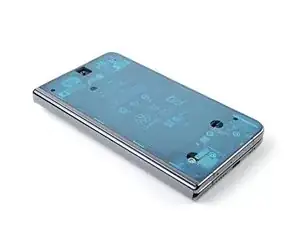
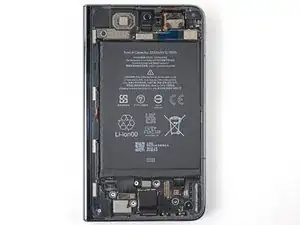
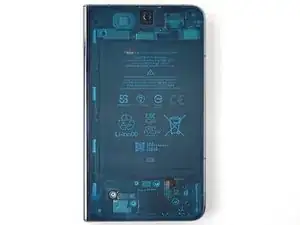
Use this guide to replace the outer screen adhesive in your Google Pixel Fold following a repair.
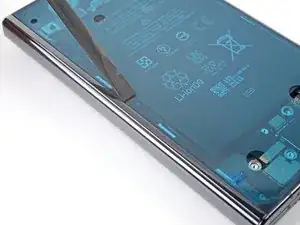
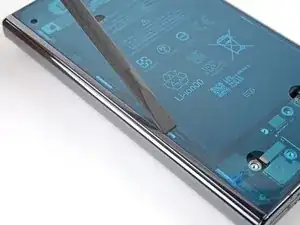
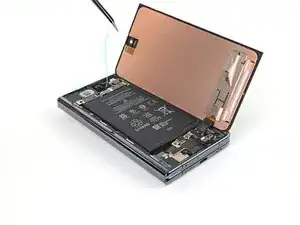
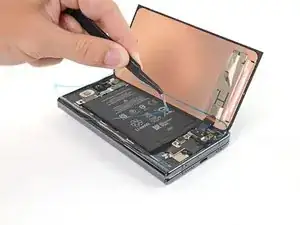
Follow this guide to remove the outer screen, if you haven't done so already.
-
-
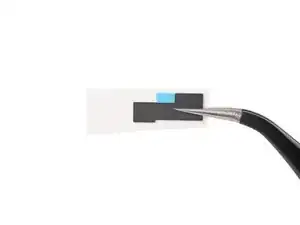
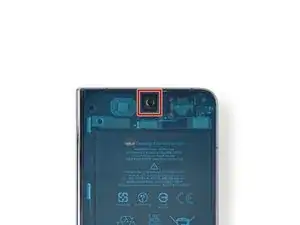
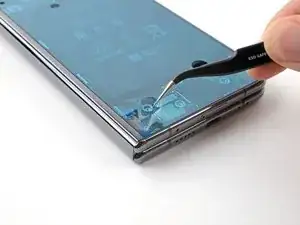
Peel off the new small top right adhesive strip from its clear liner.
-
Place the new adhesive on the top right bracket of the frame.
-
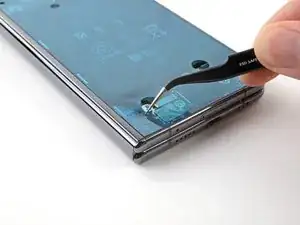
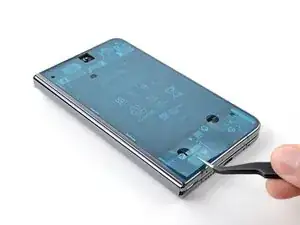
Use a spudger, or your fingers, to press down the adhesive to adhere it.
-
-
-
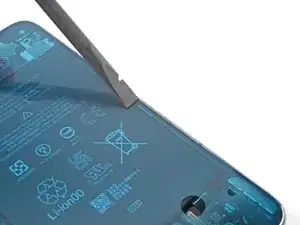
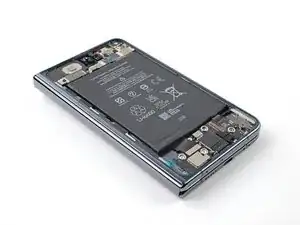
Before removing any liners, check if the large perimeter adhesive matches the frame.
-
Look for cutouts in the liner to help orient the adhesive.
-
-
-
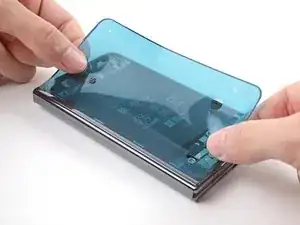
Peel off the new adhesive strip from its clear liner.
-
Align the adhesive over the frame, starting with the top left and bottom left edges.
-
Place the adhesive over the perimeter of the frame.
-
-
-
Use flat end of a spudger, or your fingers, to press down the adhesive and adhere it to the frame.
-
-
-
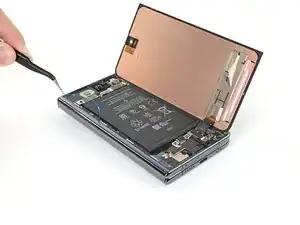
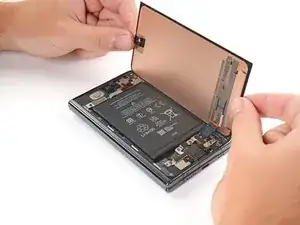
Support the screen with your hand or prop it up on something sturdy.
-
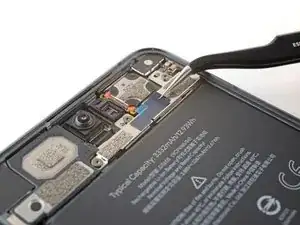
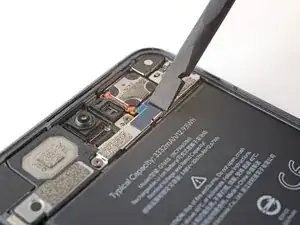
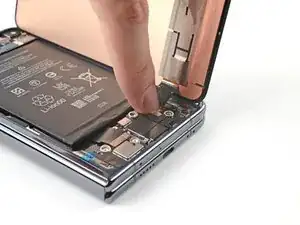
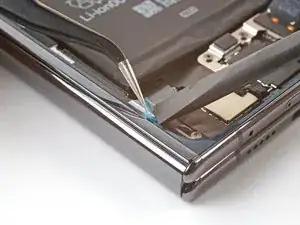
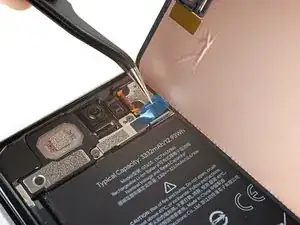
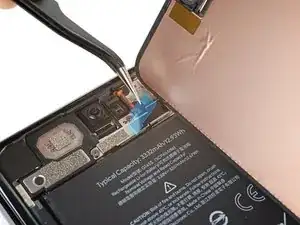
Reconnect the screen cable.
-
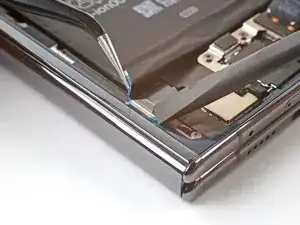
Reconnect the flip battery cable.
-
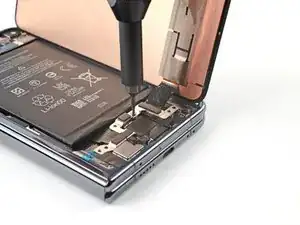
Use a Torx Plus 3IP driver to refasten the bottom bracket.
-
-
-
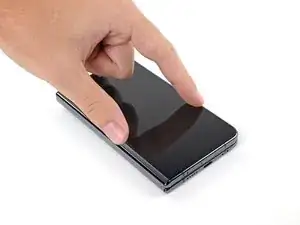
Align the screen over its cutout in the frame.
-
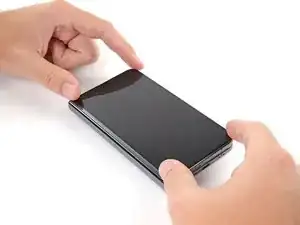
Place a right edge of the screen on the frame, making sure there are no gaps or jutting adhesive.
-
Place the left edge of the screen on the frame.
-
-
-
Press down along the perimeter of the screen to adhere it to the frame.
-
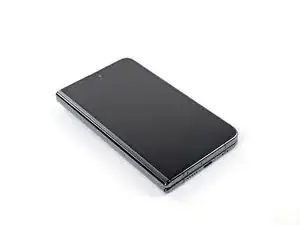
Let the phone sit a few hours for the adhesive to cure.
-


Repair didn’t go as planned? Try some basic troubleshooting, or ask our Google Pixel Fold Answers Community for help.

2 comments
Thanks for the write-up!
It was a simple enough process, but having clear and consise step-by-step instructions like this really takes most of the intimidation factor out of DIY repairs for many.
Cheers man,
Lots of appreciation from VA.
Is the center screen above just the touch screen for $800.000
If not where can I buy one? No LCD NEEDED. Just inner screen