Introduction
If your Apple Watch's silicone band is torn, this guide provides step-by-step instructions for an effective repair. This method works for any Apple Watch model with a silicone band, helping you restore its integrity and prevent further damage.
The process includes carefully cleaning and bonding the torn area, with steps to ensure a smooth finish and a strong, lasting bond.
For best results, work in a well-lit, ventilated area, and handle UV-curable glue with care.
Follow each step closely to create a durable repair that restores your band’s usability and comfort.
Tools
-
-
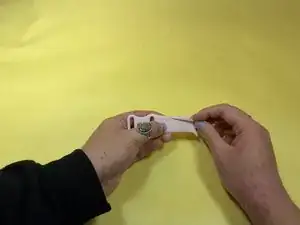
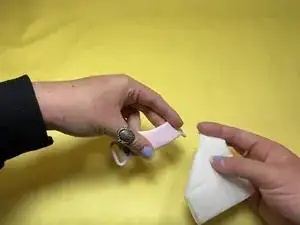
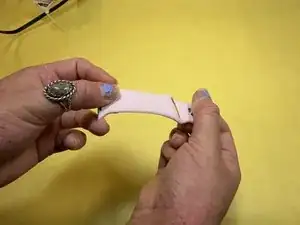
Gently bend the watch strap to expose the inner part of the tear and use an alcohol wipe to thoroughly clean the area surrounding and inside the tear.
-
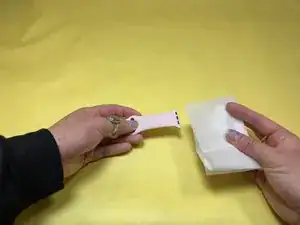
Allow the silicone band to air dry until no longer visibly wet.
-
-
-
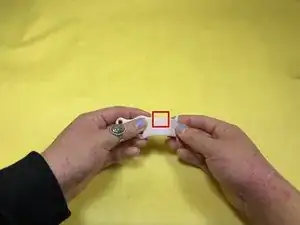
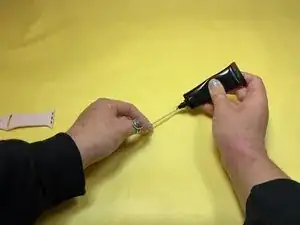
Bend the watch band to expose the inner part of the tear.
-
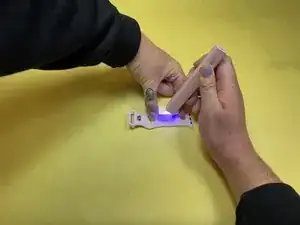
Apply the dot of glue to the inner part of the tear.
-
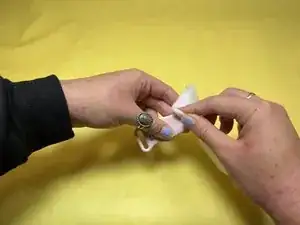
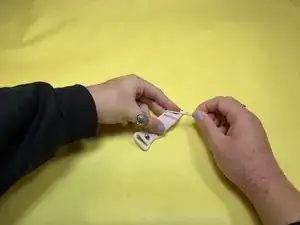
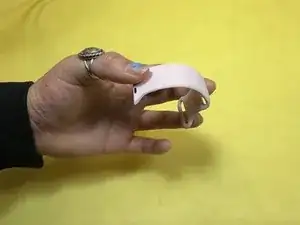
Release the band from the bent position so that it lies in its natural position.
-
Using a new toothpick, wipe away excess glue that may have splurged out of the tear on both sides of the band.
-
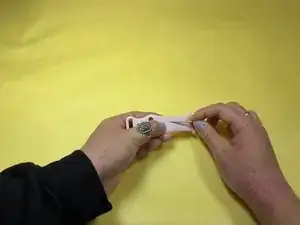
Wipe the toothpick across the glue from the inner part of the tear to the outer edge of the watch band to create a thin, even layer of glue across the outer surface of the tear.
-
-
-
If remaining texture from the dried glue is not aesthetically pleasing, carefully use a nail buffer to smooth out any excess texture. (optional)
-


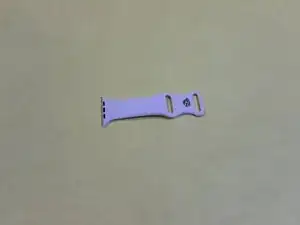
Your Apple Watch band repair is complete. Allow the glue to fully cure before use, and avoid excessive water exposure.