Introduction
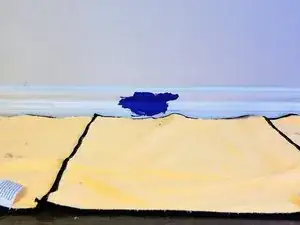
Baseboards often suffer from paint stains during wall painting or renovation projects. Over time, these stains can detract from the appearance of your room, making it look untidy. This guide will show you how to safely and effectively remove old paint stains from baseboards and restore them to their original condition, without damaging the wood. You’ll learn a step-by-step process using common tools and materials, making this a task anyone can accomplish.
-
-
Lay down a drop cloth or plastic sheeting to protect the floor from dust and paint.
-
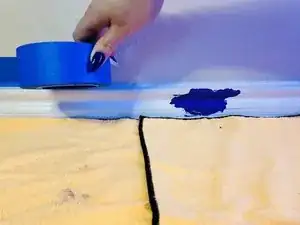
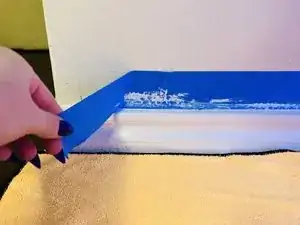
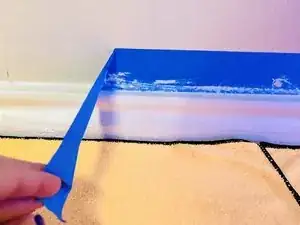
Use painter's tape to mask off the edges where the baseboard meets the wall and the floor to prevent damage to other surfaces.
-
-
-
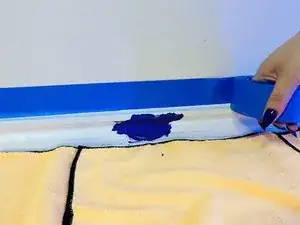
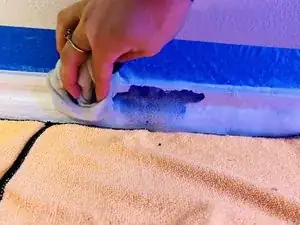
Clean the baseboard with a solution of mild detergent and a clean wet cloth.
-
Wipe the baseboard dry with a clean cloth.
-
-
-
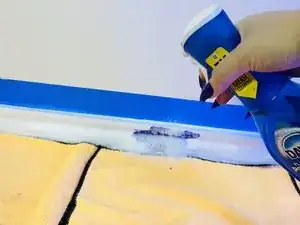
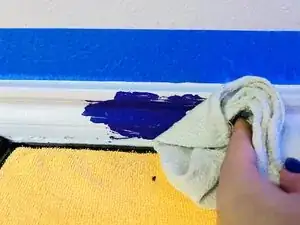
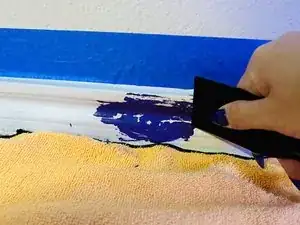
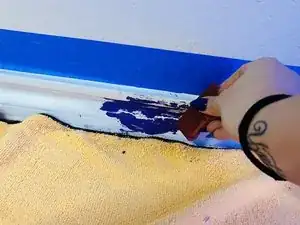
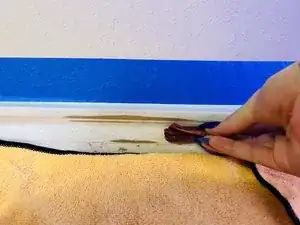
If the paint stain is raised or thick, use a putty knife or paint scraper to gently scrape off as much of the old paint as possible without damaging the wood underneath.
-
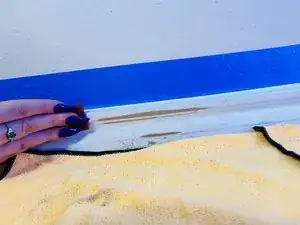
Use 120-grit sandpaper to sand the stained area, smoothing out any rough edges and removing the remaining paint.
-
-
-
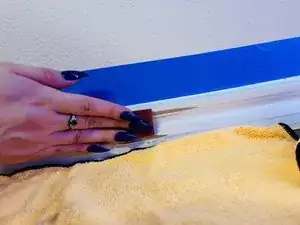
Use 220-grit sandpaper to smooth the area further, blending it seamlessly with the surrounding surface.
-
-
-
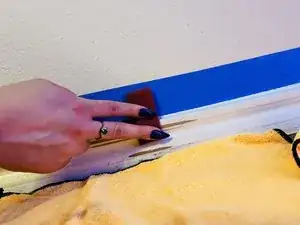
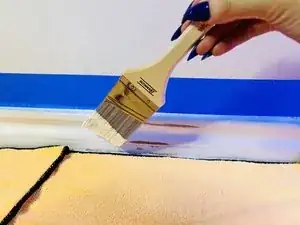
Use a paint brush to apply a coat of primer to the sanded and repaired area to ensure the paint adheres well.
-
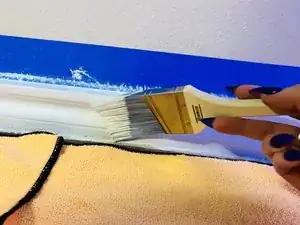
Use a small paintbrush to apply paint to the repaired area, ensuring an even coat. Select a paint that matches the existing color of the baseboard for a seamless finish.
-
Apply a thin, even coat and let it dry completely before applying additional coats if necessary.
-
-
-
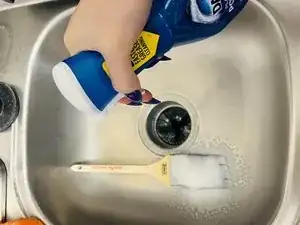
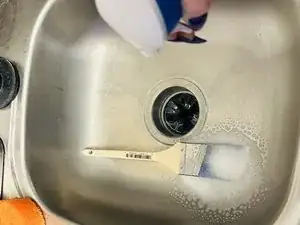
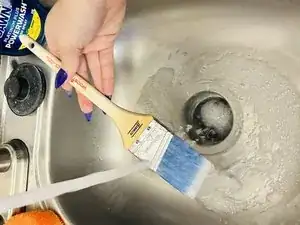
Clean your tools with appropriate solvents (water for latex paint, mineral spirits for oil-based paint).
-
Dispose of any used materials properly.
-
-
-
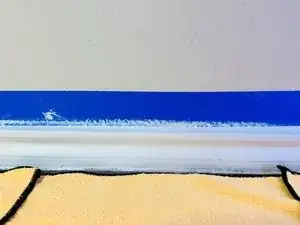
Check the repaired area to ensure it blends seamlessly with the rest of the baseboard.
-
Touch up any imperfections as needed.
-


To reassemble your device, follow these instructions in reverse order.
