Introduction
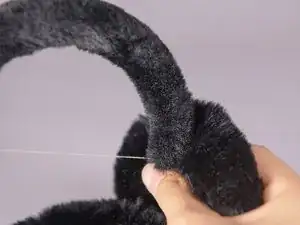
If your winter earmuffs are torn at the connection between the earmuffs and headband, this guide will help you sew them back together.
Before beginning, gather your sewing tools and ensure you’re familiar with basic sewing techniques. An invisible seam stitch is required for this guide. A tutorial on this stitch can be found at the following link: How To Sew An Invisible Seam By Hand.
You can restore your earmuffs and keep them functional for the season with little effort.
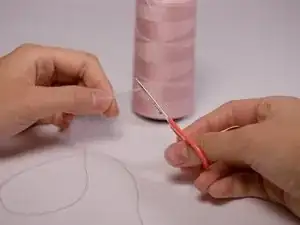
For easier visibility, these images show a thread color that contrasts with the earmuffs. Be sure to choose a thread color that matches with your earmuffs.
Tools
-
-
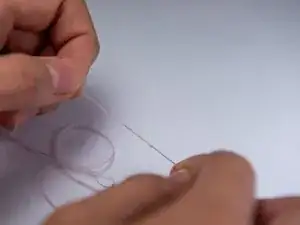
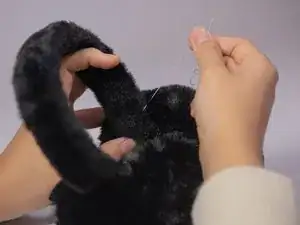
Pull the thread through the eye of the needle until equal amounts of thread are on each side.
-
-
-
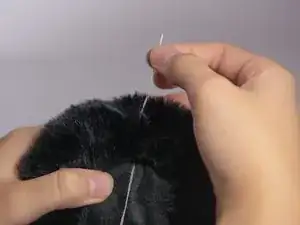
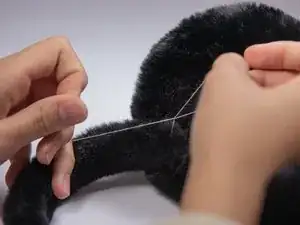
Near the knot, insert the needle and thread into the earmuffs.
-
Pull the needle and thread out of the earmuffs towards yourself.
-
-
-
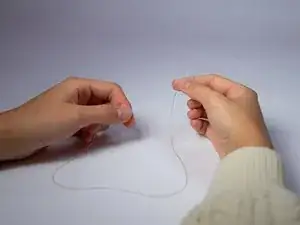
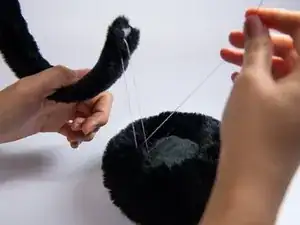
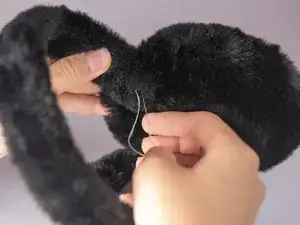
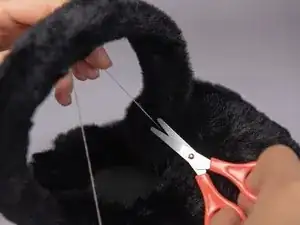
Locate any additional excess thread.
-
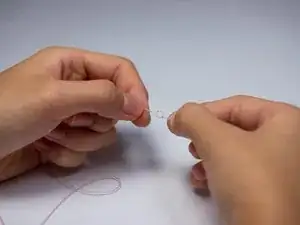
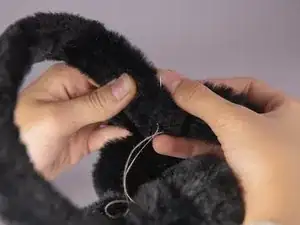
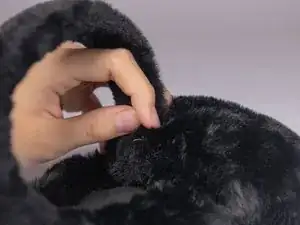
Pull the earmuff fabric gently to tuck the thread inside.
-

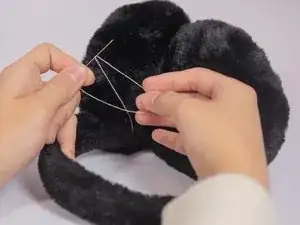

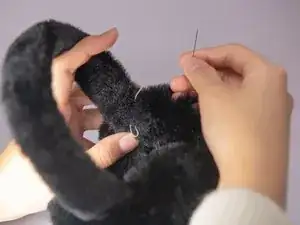
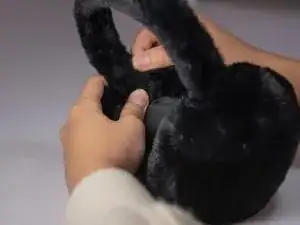
You have now fixed your winter earmuffs. Congratulations!