Introduction

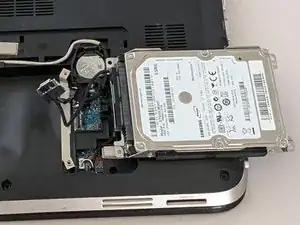
The hard drive is an important part of the laptop because it stores all your data and the operating system. This guide will show you how to remove it from your HP Pavilion DV6-6C35DX.

Before you start, try to back up your data if possible. Make sure the laptop is completely turned off and unplugged from the charger.

  1. RB1CR3cI44ZySc4Y
    RB1CR3cI44ZySc4Y
    1JuXs1gQeghVbHcy
    NTF2psgZcCSWVgl3
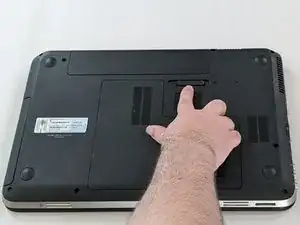
    • Flip the laptop so the bottom is facing up.

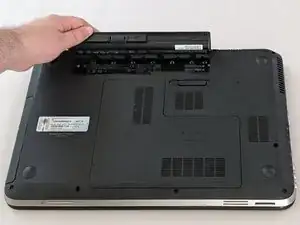
    • Push the sliding latch to the left to release the battery and remove it from the laptop.

  2. l3RdBRPijUdHwt5X
    l3RdBRPijUdHwt5X
    SZnkV5doiEKGtidT
    O1DrMCwarRjOqBo5
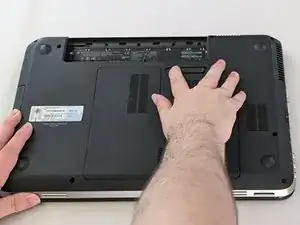
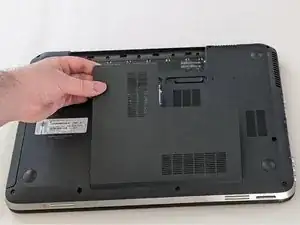
    • Push the same sliding latch to the right to release the L-shaped panel.

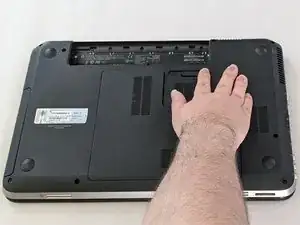
    • Remove the panel from the laptop.

    • You may need to use a spudger to pry out the L-shaped panel and release any clips before removing it.

    • When reassembling the device, make sure to start by inserting the bottom of the panel first (see image 3).

  3. S2YpDPtJ61OVBKKF
    S2YpDPtJ61OVBKKF
    luCeLPKOZ5r1jhAU
    • Use a Phillips #0 screwdriver to remove the four 4 mm screws that secure the hard drive.

  4. CgiEygDQnDJuxyLH
    CgiEygDQnDJuxyLH
    IwJJVfH3HB4xXjGO
    W6anoSsvHWaAQtG2
    • Lift the hard drive out of the slot from the side under the RAM slot.

    • Be careful not to pull on the cable connecting the hard drive to the laptop.

    • Use a spudger to help lift the drive out of the chassis if you are unable to with your fingers.

  5. uwyxpEuY4c2XQYl6
    uwyxpEuY4c2XQYl6
    BNtT1o5NhWlDCs4P
    svrfhZvNjWl5kGax
    • Pull the plastic ribbon attached to the connector to disconnect hard drive from the laptop.

  6. eKwfTqS1YwVBHjNK
    eKwfTqS1YwVBHjNK
    IqWx4bwHDoCYAtfe
    6UTZmt6McnfuZlGW
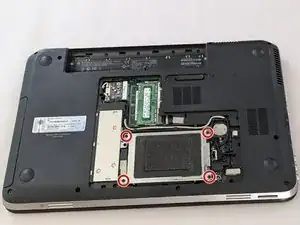
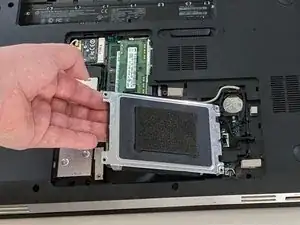
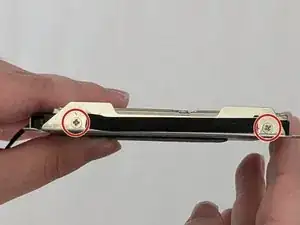
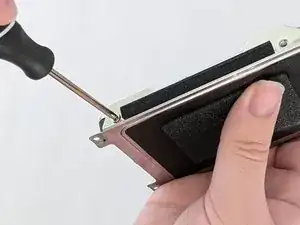
    • Use a Phillips #0 screwdriver to remove the four 4 mm screws on the side of the hard drive cage.

    • When removing the screws, hold the drive cage carefully to prevent the hard drive from falling out.

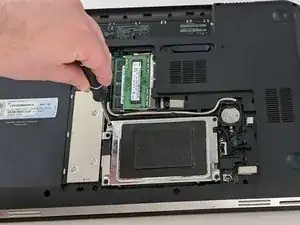
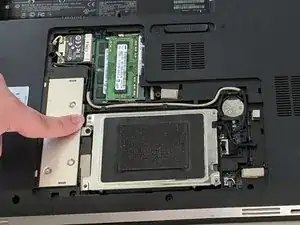
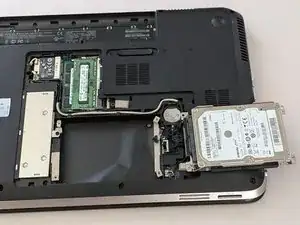
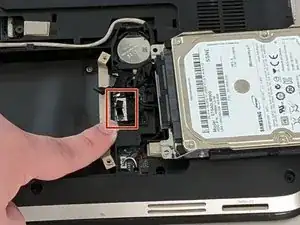
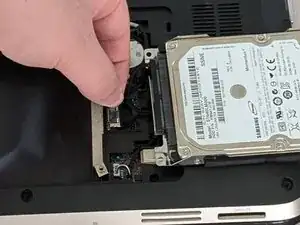
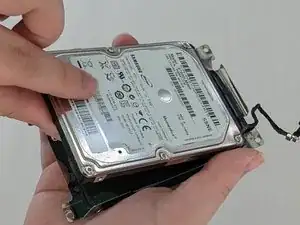
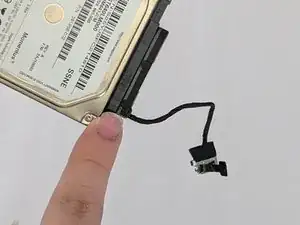
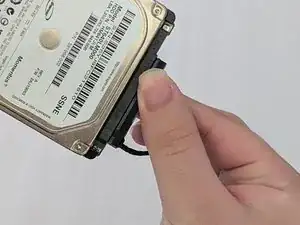
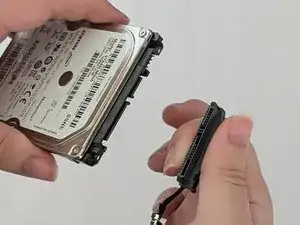
    • Remove the hard drive from the cage.

  7. Zx2YPZrGTtQLXKWY
    Zx2YPZrGTtQLXKWY
    WDilsKLprunUVdXu
    DgYwM4jFuHm5IJrr
    • Disconnect the SATA cable from the hard drive.

Conclusion

To reassemble your device, follow these instructions in reverse order.

Jake M.

Member since: 24/06/24

145 Reputation

0 comments