Introduction

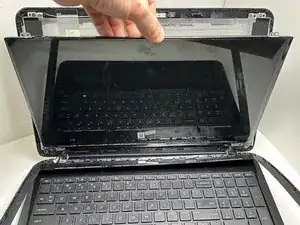
This guide will walk you through the process of removing the screen on your HP 15-g029wm. If the screen is broken, cracked, or otherwise damaged, you may need to follow this guide to replace the screen.

  1. L1mvMIFD6dnsx3wE
    • Unplug any charging cord or accessories connected to the device before beginning.

  2. HYZNZDhWbgAZ1XIu
    • Place the laptop bottom-side up on a secure, flat surface.

  3. rfcESNBDQb4GSsBF
    rfcESNBDQb4GSsBF
    cRy6FhROsYRmCcUD
    FWCI6xnnLvyrHceD
    • Slide each of the two switches that secure the battery to the left.

    • This will reveal an image of an unlocked lock.

  4. KOCkBxLGybMC4nE3
    KOCkBxLGybMC4nE3
    URF1YoapUg1W1jPL
    QmfALseeldUZxHAg
    • Use your hands to gently pull the disconnected battery out of the device.

    • When inserting the new battery, pay special attention to align the battery connections correctly.

  5. IKSgamodFVAPPvQl
    • Open the laptop lid.

  6. 4UpZkpErsMBqdUoS
    4UpZkpErsMBqdUoS
    C2cJLMFHaJvgTSmK
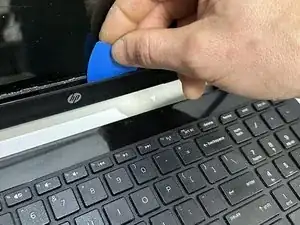
    • Insert an opening pick beneath the display bezel.

    • While periodically prying, slide the opening pick around the perimeter of the bezel to sever the adhesive.

  7. XLJpNAdBiG1cXCY2
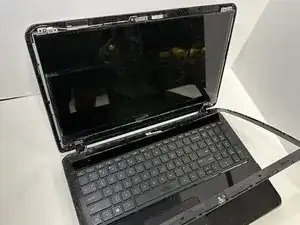
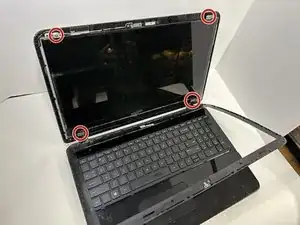
    • Once the majority of the adhesive is severed, use an opening pick or your hands to fully remove the bezel.

  8. ZPNLgURxMsLlTHpP
    ZPNLgURxMsLlTHpP
    CqJAdkQAqlgHGFt4
    • Use a Phillips screwdriver to remove the four 4 mm screws that secure the LCD panel.

  9. G5SyrSxMuvKHDFvo
    • Use your hands to carefully remove/lift the panel away from the device.

    • The screen is connected to the device by a cord-do NOT pull it completely away or you risk damaging the device.

  10. RtHaddUucF5IJKH2
    RtHaddUucF5IJKH2
    1dCmIWTJ2Od2moYK
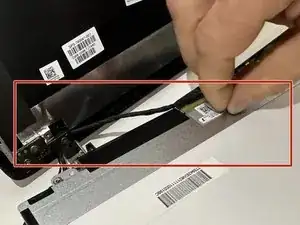
    • Gently peel up the tape over the display cable.

    • If there is a hinge, flip it up.

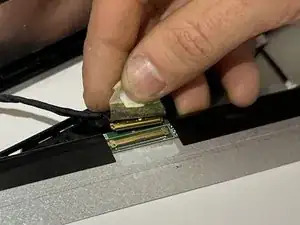
    • Remove the display cable.

Conclusion

To reassemble your device, follow these instructions in reverse order.

Lawrence Bailey

Member since: 29/01/24

208 Reputation

0 comments