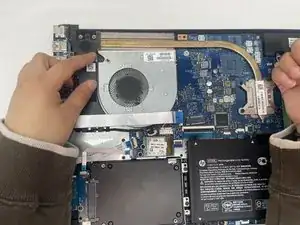
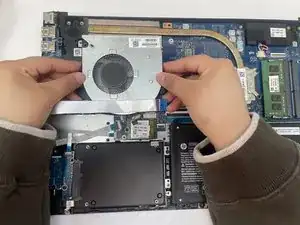
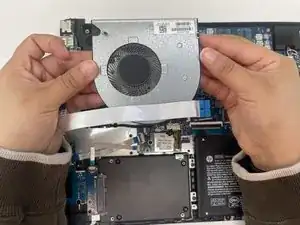
Introduction
If your HP 15-dw0037wm laptop is freezing or running slowly, a clogged or malfunctioning fan could be the cause. The fan helps keep your laptop cool, and dust or debris can reduce its efficiency, leading to overheating and performance issues. If your laptop feels hot or the fan is noisy, replacing the fan may resolve the issue. Before replacing the fan make sure to power off your device.
Tools
Parts
-
-
Power off your laptop and disconnect the charger and any peripheries before beginning disassembly.
-
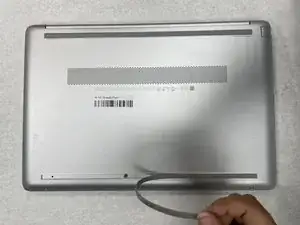
Set the laptop down with the lower case facing up.
-
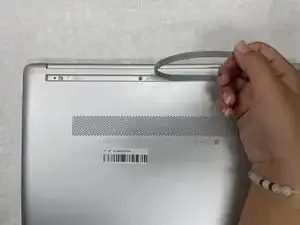
Lift a corner of the lower silicone foot and peel it completely off.
-
Repeat for the upper silicone foot.
-
-
-
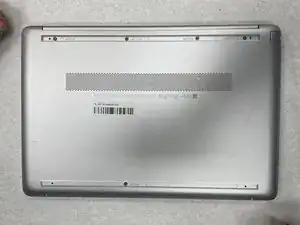
Use a Phillips screwdriver to remove the five 8 mm screws.
-
Remove the two 5 mm Phillips screws.
-
-
-
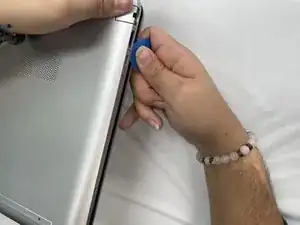
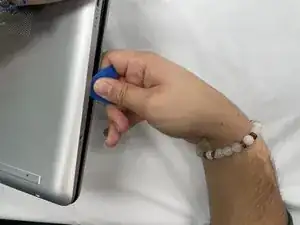
Insert an opening pick into the gap between the lower case and chassis.
-
Slide the pick around the entire perimeter of the device until the lower case fully releases.
-
Remove the lower case.
-
-
-
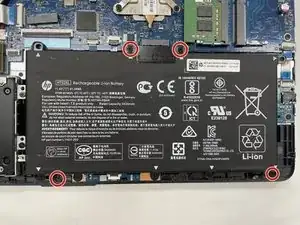
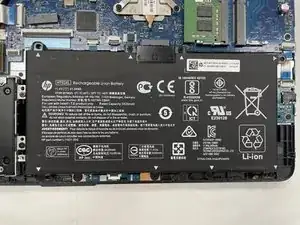
Lift the battery out slowly to disconnect it from the socket that connects it to the motherboard.
-
-
-
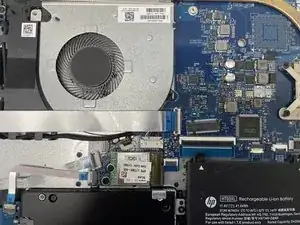
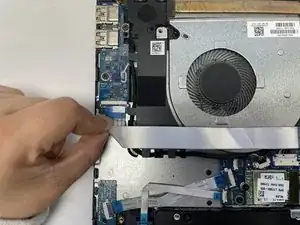
Use your fingernail or a spudger to gently lift the black ZIF locking flap that secures the ribbon cable.
-
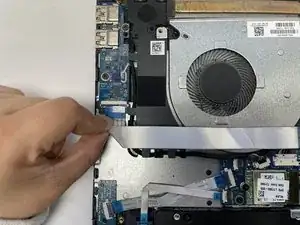
Repeat the previous bullet on the other end of the ribbon cable.
-
-
-
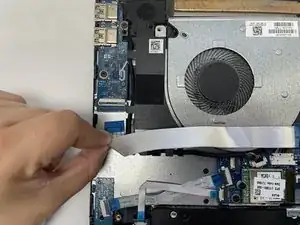
Slide the ribbon cable out from the socket gently.
-
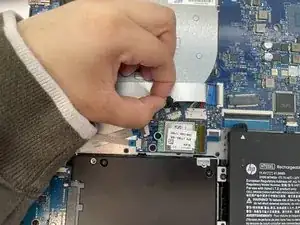
Repeat on the other end of the ribbon cable.
-
To reassemble your device, follow these instructions in reverse order.

