Introduction
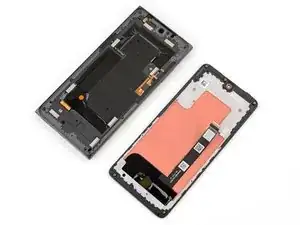
Follow this guide to replace a broken, cracked, or non‑responsive screen on your HMD Skyline Business Edition smartphone.
Tools
Parts
-
-
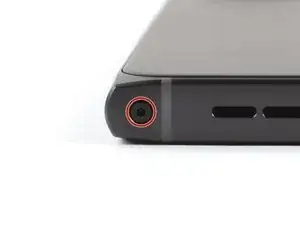
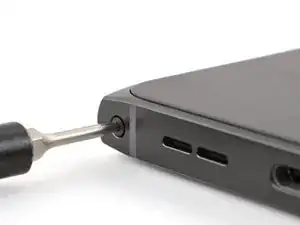
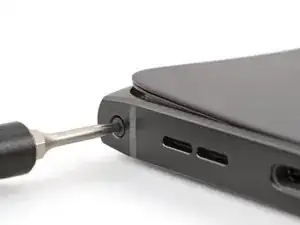
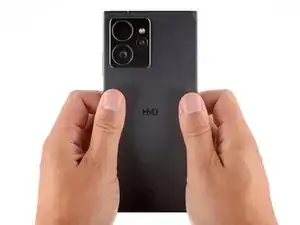
With the back cover facing up, use a T3 Torx screwdriver to turn the screw in the bottom edge counterclockwise until the back cover pops up.
-
-
-
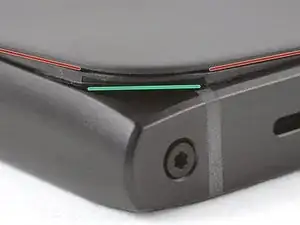
There's a seam just under the back cover panel. Don't insert your tool here.
-
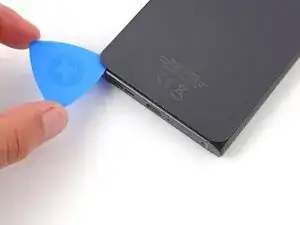
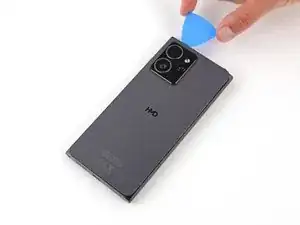
Insert your tool completely under the back cover, so it's between the frame and the underside of the back cover.
-
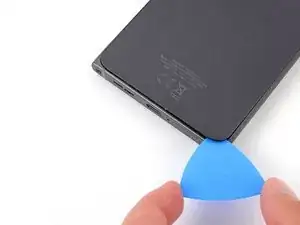
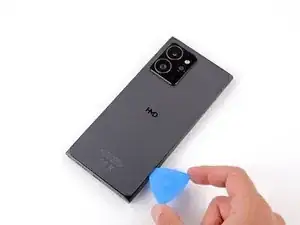
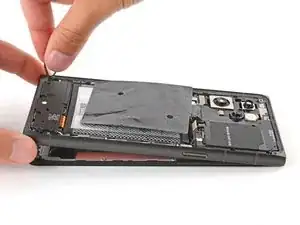
Insert an opening pick under the bottom left corner of the back cover and slide it along the bottom edge to release the clips and separate the adhesive.
-
-
-
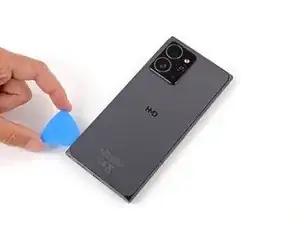
Continue sliding the pick under the perimeter of the back cover to fully separate the clips and adhesive.
-
-
-
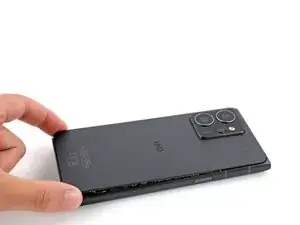
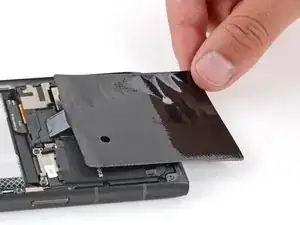
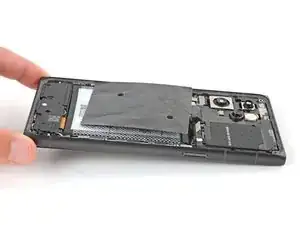
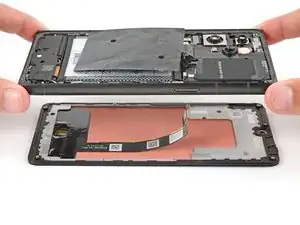
Lift and remove the back cover.
-
Now is a good time to test your phone before sealing it up. Power it on and check that it works. Power it back down before you continue reassembly.
-
Make sure you remove all liners from the underside.
-
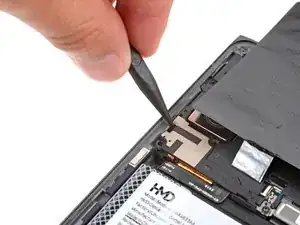
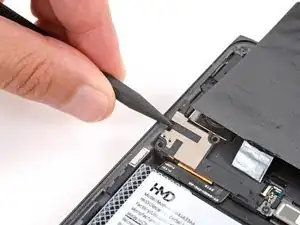
Use the flat end of a spudger to press the small cable above the wireless charging coil into place over its alignment posts.
-
Place the back cover onto the frame and firmly squeeze around the perimeter to reengage all the clips.
-
-
-
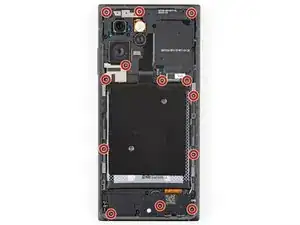
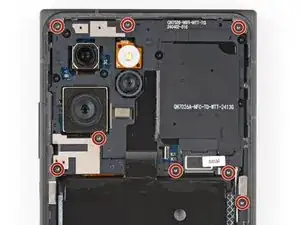
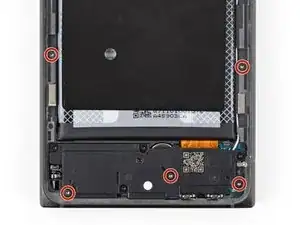
Use a T3 Torx screwdriver to remove the thirteen 4.9 mm‑long screws securing the screen to the frame.
-
-
-
Insert the point of a spudger in the notch on the left edge of the battery connector cover and pry up to release its clips.
-
Remove the cover.
-
-
-
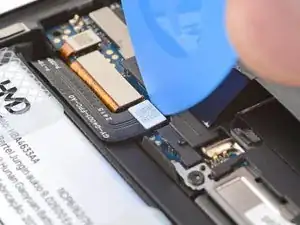
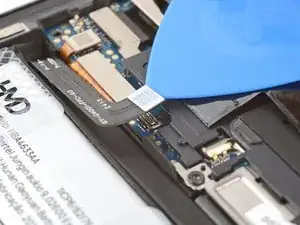
Insert the tip of an opening pick under the top edge of the battery press connector and pry up to disconnect it.
-
Check if the rear camera press connector got disconnected during the previous step. If it did, reconnect it.
-
-
-
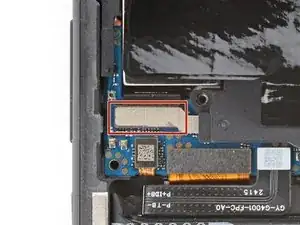
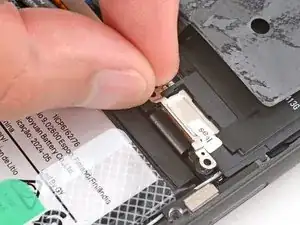
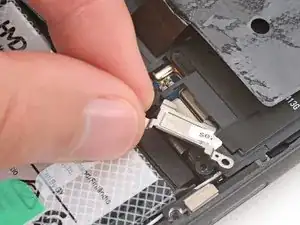
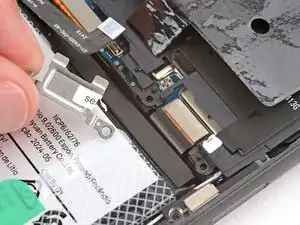
Use your fingers to grip a bottom corner of the metal screen-connector cover.
-
Lift the bottom edge of the cover and pull it towards the bottom of your phone to tear the "seal" sticker and remove the cover.
-
-
-
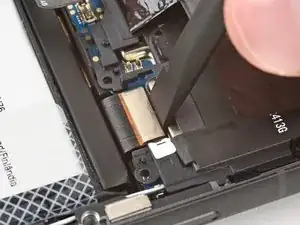
Insert the flat end of a spudger under the top edge of the screen cable press connector and pry up to disconnect it.
-
-
-
Use one hand to grip the bottom corners of the frame and lift your phone slightly off of your work surface (about 1/2 an inch or roughly 15 mm).
-
With your free hand, use a SIM eject tool (or something of similar size, like a straightened paperclip) to gently push down on the screen through the cutout in the bottom left corner of the frame—this should separate the screen, causing it to fall onto your work surface.
-
Guide the screen cable through its cutout and lift the frame off the screen.
-
Set the frame down on a clean surface so the cameras are facing up.
-
-
-
Remove any tape or liners from the back of the screen—check the screen cable and front facing camera cutout.
-
Hold the frame in one hand and your replacement screen in the other.
-
Thread the screen cable through its cutout on the front of the frame and press the screen into place so it's flush in the frame.
-
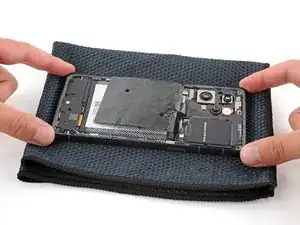
Lay your phone screen side down on a soft cloth, making sure the screen doesn't detach from the frame.
-
Simultaneously press down on all four corners of your phone to fully seat the screen in the frame.
-
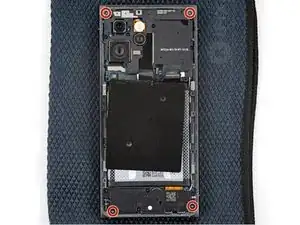
Use a T3 Torx screwdriver to install four screen screws in the corners of the frame—this ensures that the screen doesn't detach from the frame during reassembly.
-
To reassemble your device, follow these instructions in reverse order, starting with this step.
Take your e-waste to an R2 or e-Stewards certified recycler.
Repair didn’t go as planned? Try some basic troubleshooting, or ask our Answers community for help.
