Introduction
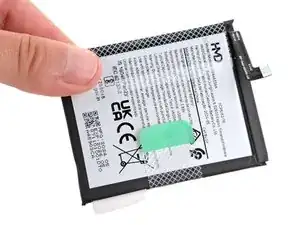
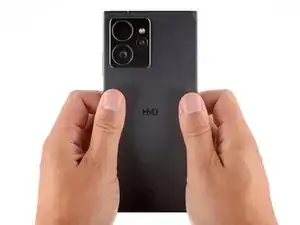
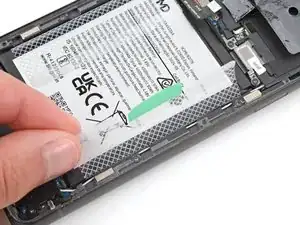
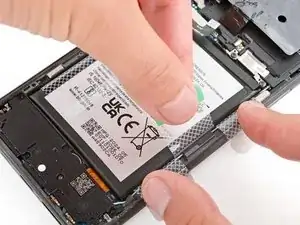
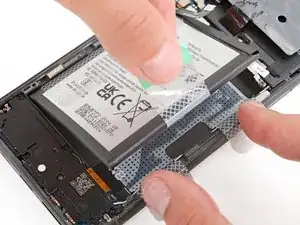
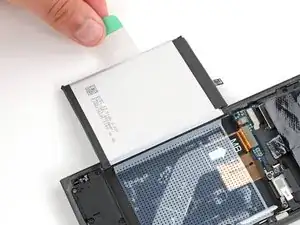
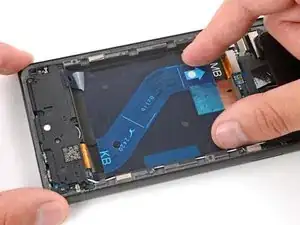
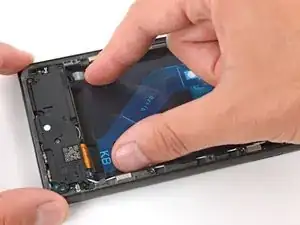
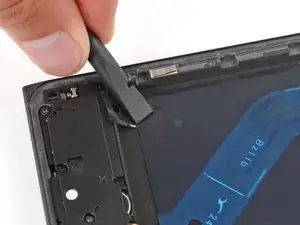
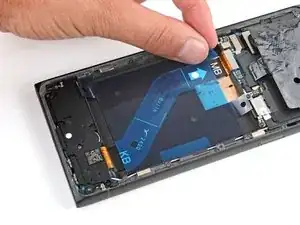
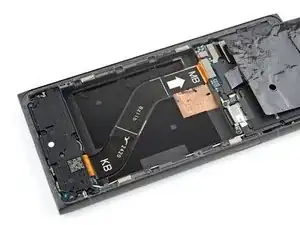
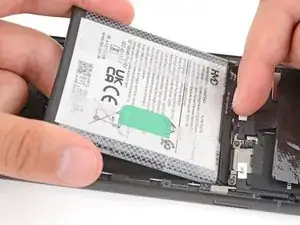
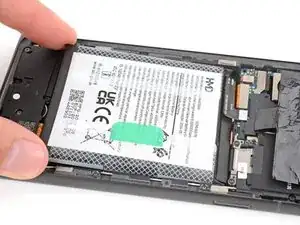
Follow this guide to replace a dead or worn-out battery in your HMD Skyline smartphone.
Your phone's lithium-ion battery has a limited lifespan. If your phone dies quickly and doesn't hold a charge, it may be time to replace the battery.
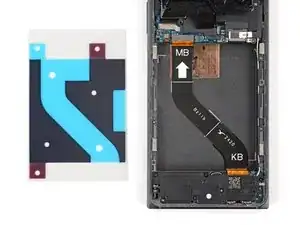
You'll need replacement battery adhesive to complete this repair.
If your battery is swollen, take appropriate precautions.
Tools
Parts
-
-
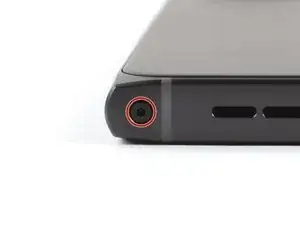
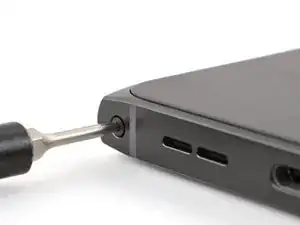
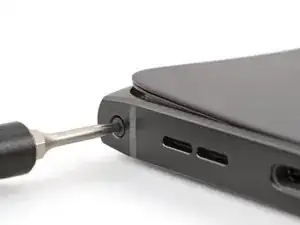
With the back cover facing up, use a T3 Torx screwdriver to turn the screw in the bottom edge counterclockwise until the back cover pops up.
-
-
-
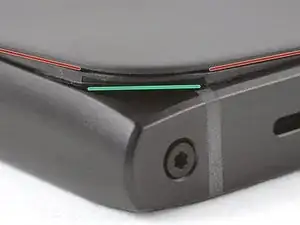
There's a seam just under the back cover panel. Don't insert your tool here.
-
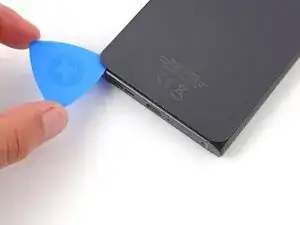
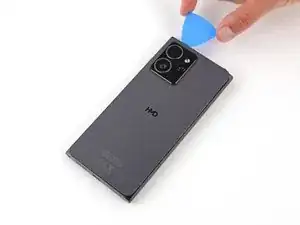
Insert your tool completely under the back cover, so it's between the frame and the underside of the back cover.
-
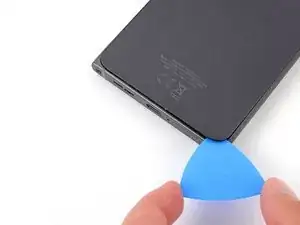
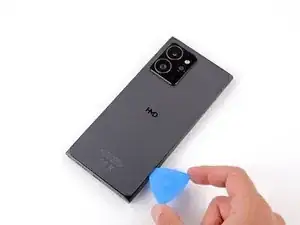
Insert an opening pick under the bottom left corner of the back cover and slide it along the bottom edge to release the clips and separate the adhesive.
-
-
-
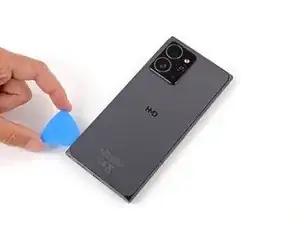
Continue sliding the pick under the perimeter of the back cover to fully separate the clips and adhesive.
-
-
-
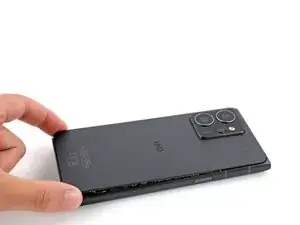
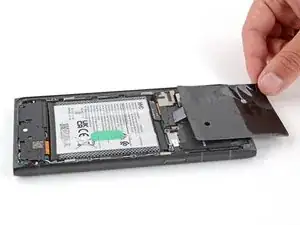
Lift and remove the back cover.
-
Now is a good time to test your phone before sealing it up. Power it on and check that it works. Power it back down before you continue reassembly.
-
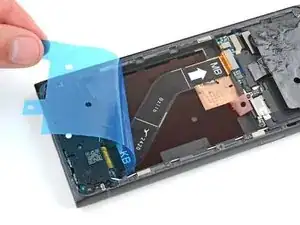
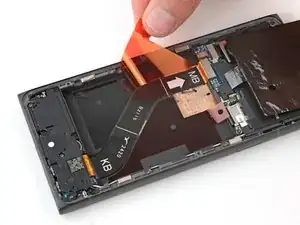
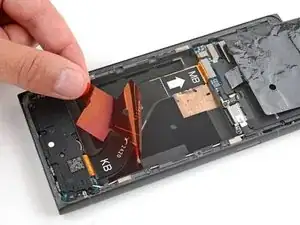
Make sure you remove all liners from the underside.
-
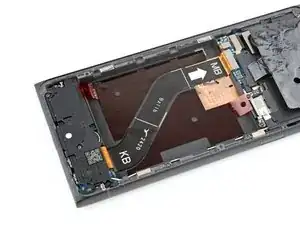
Use the flat end of a spudger to press the small cable above the wireless charging coil into place over its alignment posts.
-
Place the back cover onto the frame and firmly squeeze around the perimeter to reengage all the clips.
-
-
-
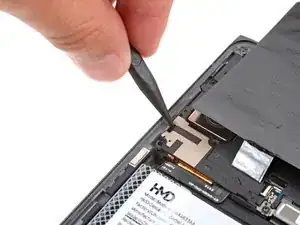
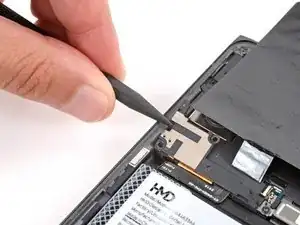
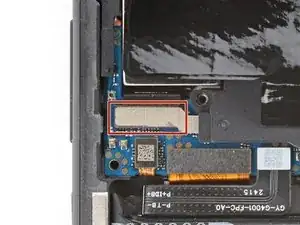
Insert the point of a spudger in the notch on the left edge of the battery connector cover and pry up to release its clips.
-
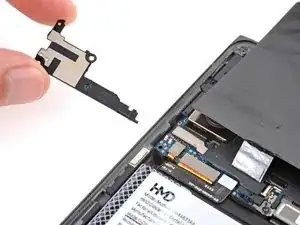
Remove the cover.
-
-
-
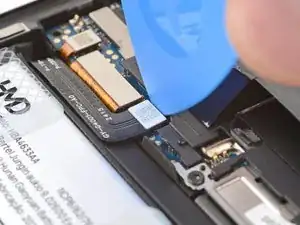
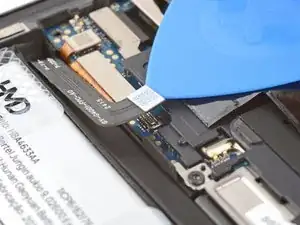
Insert the tip of an opening pick under the top edge of the battery press connector and pry up to disconnect it.
-
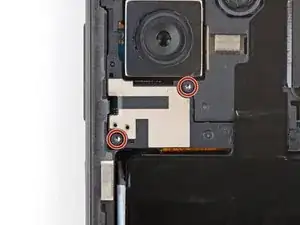
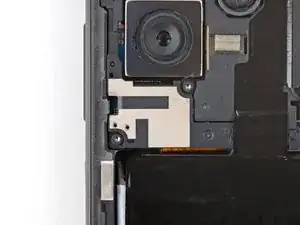
Check if the rear camera press connector got disconnected during the previous step. If it did, reconnect it.
-
-
-
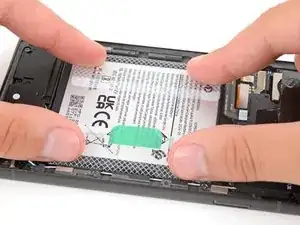
Use your fingers to carefully peel the three plastic tabs from the right side of the battery.
-
-
-
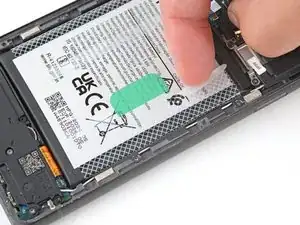
With one hand, fold the clear outer tabs out of the way of the battery and firmly hold them down to secure the frame.
-
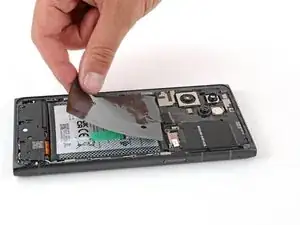
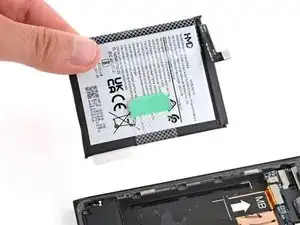
With your free hand, grip the green center pull tab and pull straight up to fully separate the battery adhesive.
-
Lay the battery over the left edge of your phone.
-
-
-
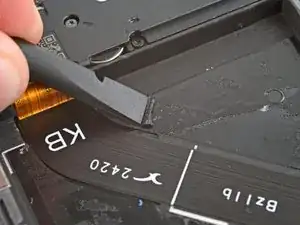
Use a spudger to scrape up a corner of the old adhesive until you can grip it with a pair of tweezers.
-
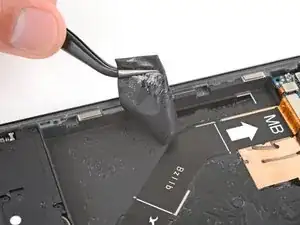
Grip the adhesive with your tweezers and slowly peel it up.
-
Repeat the process to peel up and remove all the old adhesive.
-
-
-
Use a few drops of highly-concentrated (more than 90%) isopropyl alcohol and a microfiber cloth to remove all the adhesive residue.
-
-
-
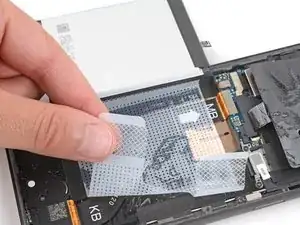
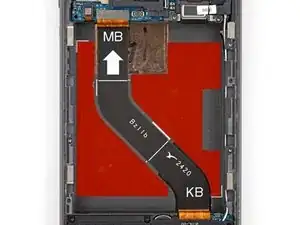
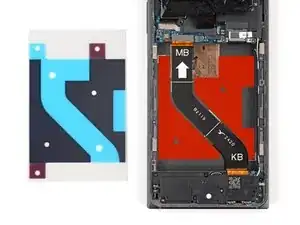
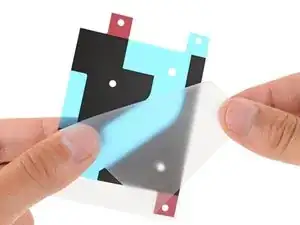
Hold the replacement adhesive so the clear textured liner is on the bottom and place it into the battery recess to find the proper orientation.
-
-
-
Remove the clear textured liner to expose the adhesive.
-
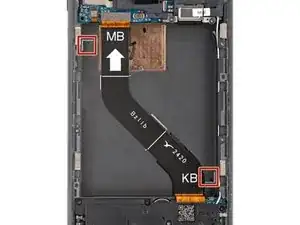
Carefully place the adhesive into the battery recess, using the white marks to align the top left and bottom right corners.
-
-
-
Press down on the entire surface of the adhesive with your fingers to secure it in the recess.
-
Use the flat end of a spudger to press down and secure the edges of the adhesive.
-
-
-
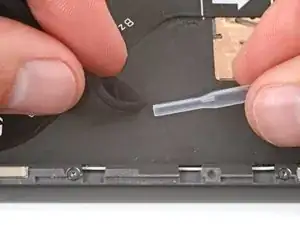
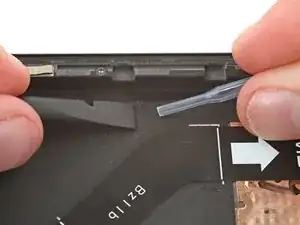
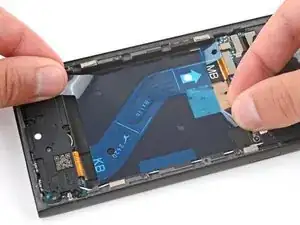
Use the pull tabs in the bottom left and top right corners to remove the two remaining red liners.
-
-
-
Carefully hold the battery above its recess and reconnect the press connector—this ensures proper fit and alignment.
-
Firmly press the battery into its recess to secure it with the adhesive.
-
Return to your original repair manual and continue with reassembly.
-
To reassemble your device, follow these instructions in reverse order, starting with this step.
For optimal performance, calibrate your newly installed battery after reassembling your phone.
Take your e-waste to an R2 or e-Stewards certified recycler.
Repair didn’t go as planned? Try some basic troubleshooting, or ask our Answers community for help.
One comment
Where can you order the battery from?
