Introduction

This repair guide was authored by the iFixit staff and hasn’t been endorsed by Google. Learn more about our repair guides here.

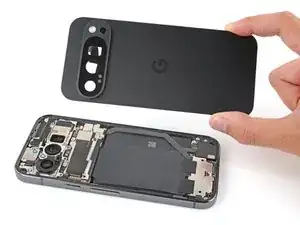
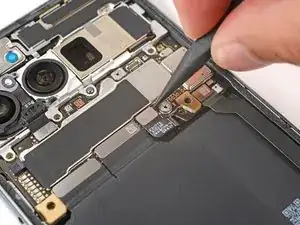
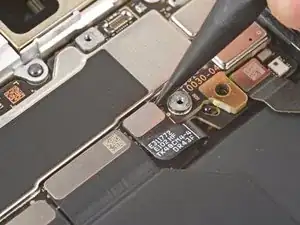
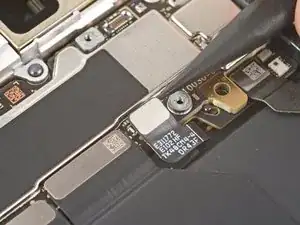
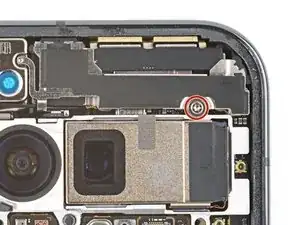
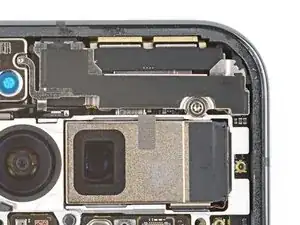
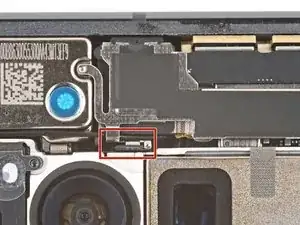
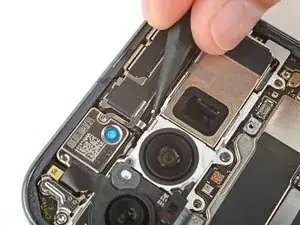
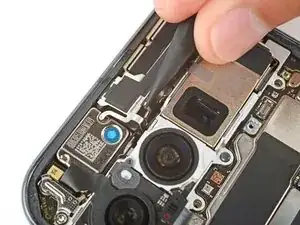
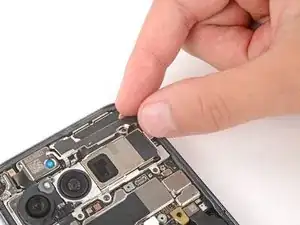
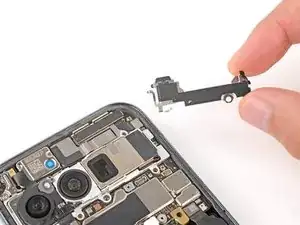
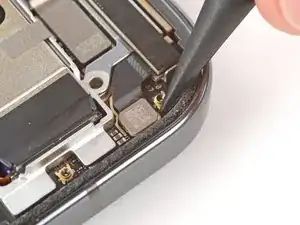
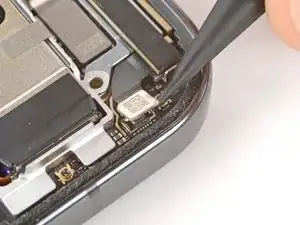
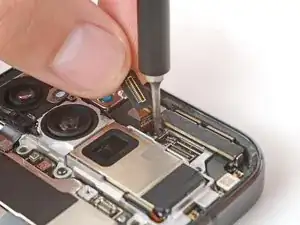
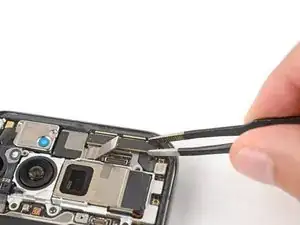
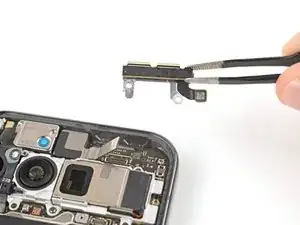
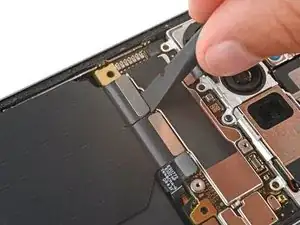
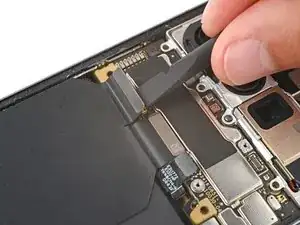
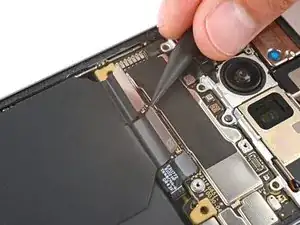
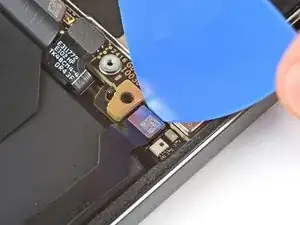
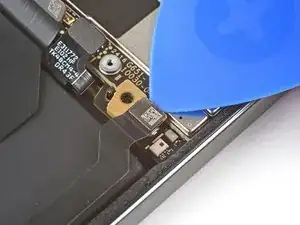
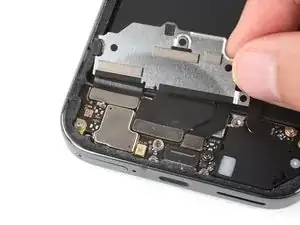
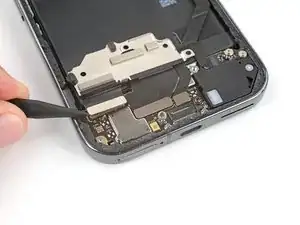
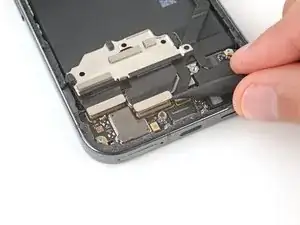
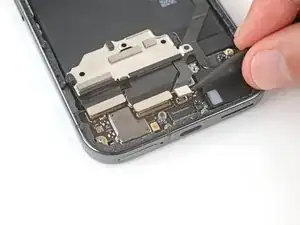
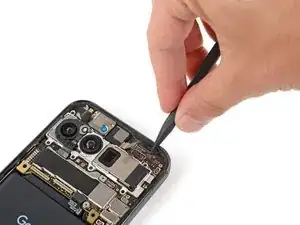
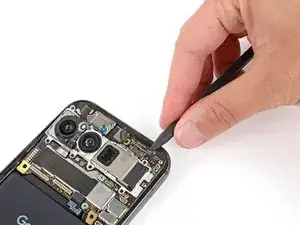
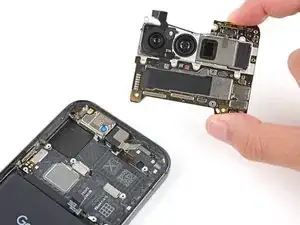
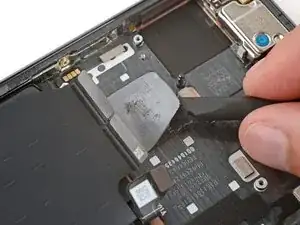
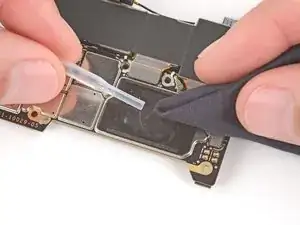
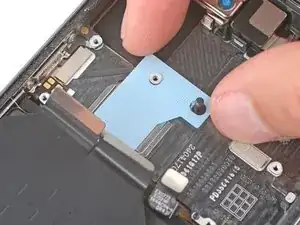
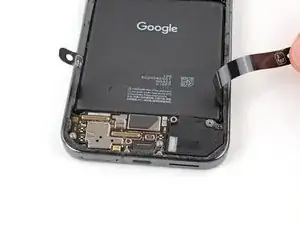
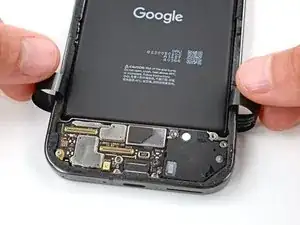
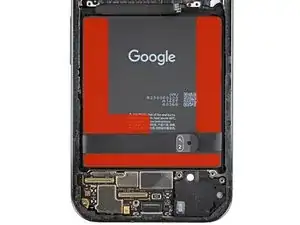
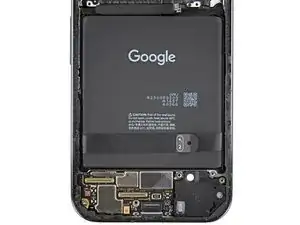
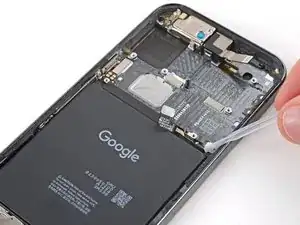
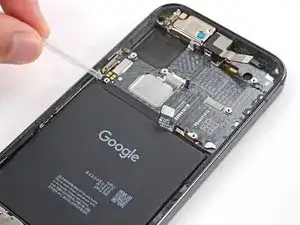
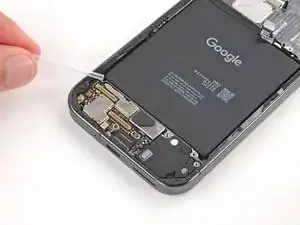
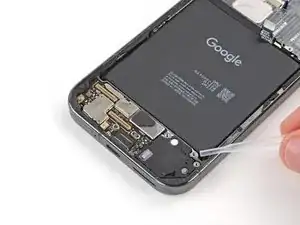
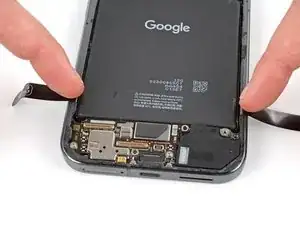
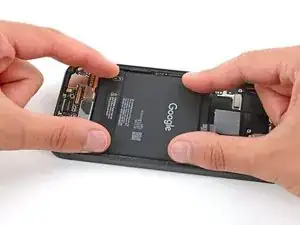
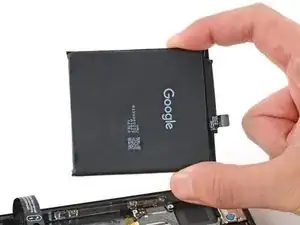
Follow this guide to remove or replace the battery in your Google Pixel 9 Pro.

Lithium-ion batteries have a limited lifespan. If your phone doesn't hold a charge or dies unexpectedly, it might be time to replace the battery.

If your battery is swollen, take appropriate precautions.

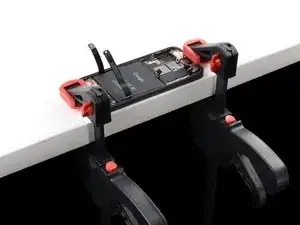
This procedure requires clamping your phone to your workspace. If you don't have clamps, you'll need a second person to secure the phone.

You'll need replacement rear cover adhesive to complete this repair.

Note: Any repair can compromise the water resistance of your phone. Retaining water resistance after the repair will depend on how well you reapply the rear cover adhesive.

  1. iywHWnu1SHN2uQYh
    • Let your Pixel's battery drain completely before starting this repair. A charged lithium‑ion battery may catch fire if damaged.

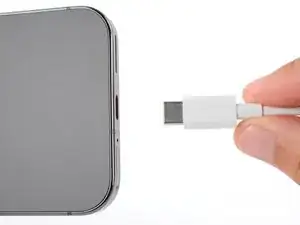
    • Unplug all cables from your phone.

  2. r4ALN1nNrl6VZPRt
    r4ALN1nNrl6VZPRt
    qQcMm3UWVCfl6HRf
    EjiIYYrMD66sFdQJ
    • Adhesive secures the perimeter of the rear cover to the frame.

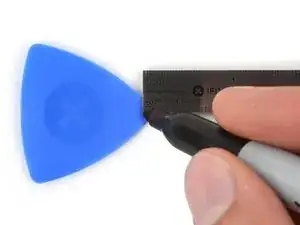
    • When separating the adhesive, don't insert your tool more than 3 mm under the rear cover to avoid damaging the internal components.

    • Measure 3 mm from the tip and mark your opening pick with a permanent marker. Alternatively, you can tape a coin to a pick 3 mm from the tip.

  3. OaiCwDY1lk41A6Xf
    OaiCwDY1lk41A6Xf
    kptZ6ACd6oUwu3FY
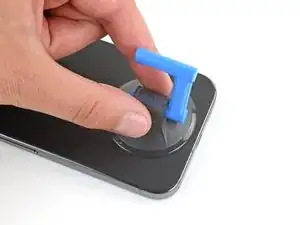
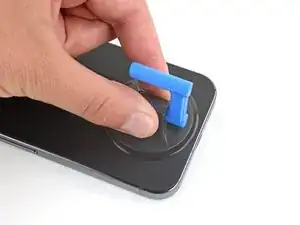
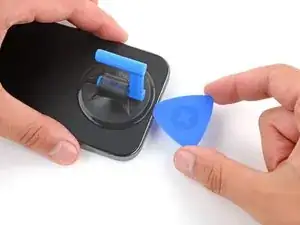
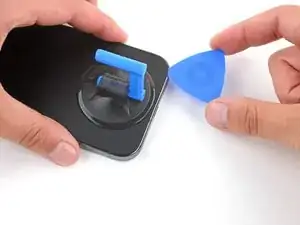
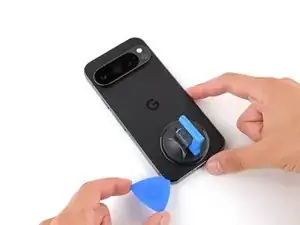
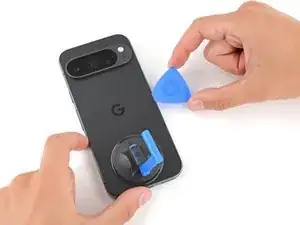
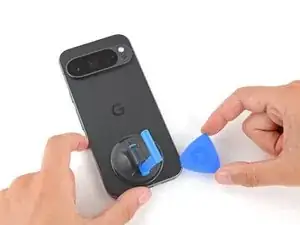
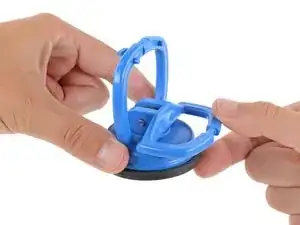
    • Attach a suction handle to the bottom edge of the rear cover, as close to the edge as possible.

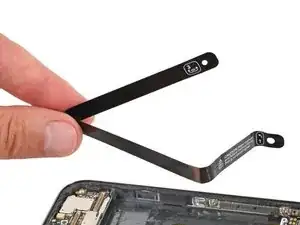
  4. yw1EJlOiABskBdKL
    yw1EJlOiABskBdKL
    MxJdqYHajYtvTpSA
    RvEdZYgHwdnXfwaC
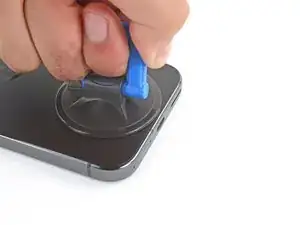
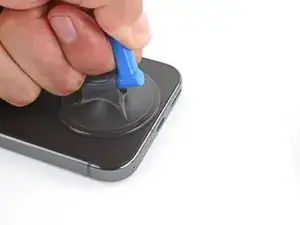
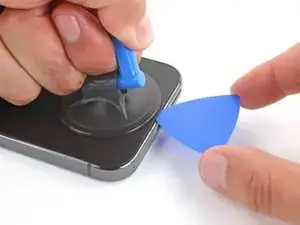
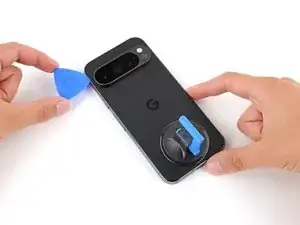
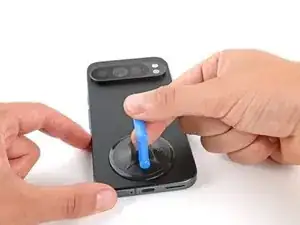
    • Pull up on the suction handle with strong, steady force to create a small gap under the rear cover.

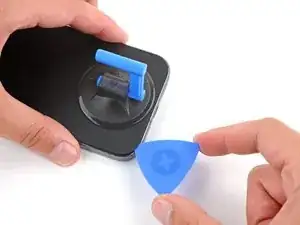
    • Insert the tip of an opening pick in the gap.

  5. HkyuyubdI1H2AhKb
    HkyuyubdI1H2AhKb
    HILCAWMvJaJoS2do
    DTIPQw3bSMMYWUqI
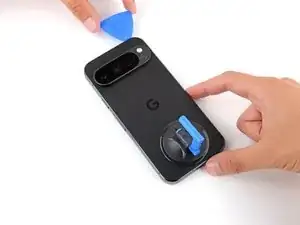
    • Slide your opening along the bottom edge to separate the adhesive securing it.

    • Remember: don't insert the opening pick deeper than 3 mm.

  6. 2oRhYpMIYHSnHhvr
    2oRhYpMIYHSnHhvr
    ByXnLwODUBeEsTgO
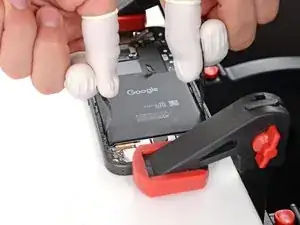
    y53cfD3QiL45NIBY
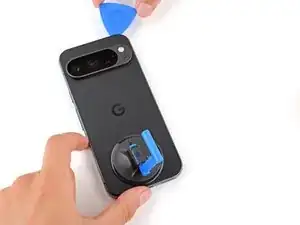
    • Slide your opening pick up the left edge and along the top edge to separate the adhesive.

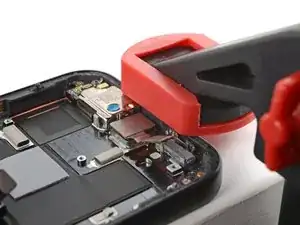
  7. ePjwYS6ZGdYRDf4q
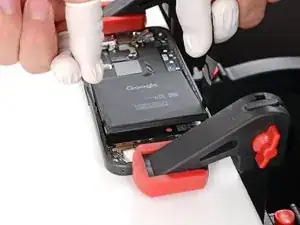
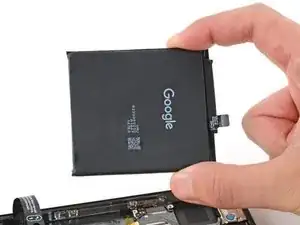
    ePjwYS6ZGdYRDf4q
    uKjPnqP535TdUNLG
    Mt6r5HGxaAyYrvKR
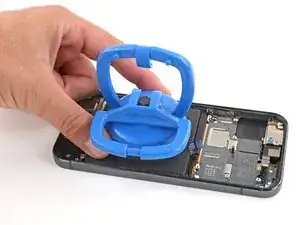
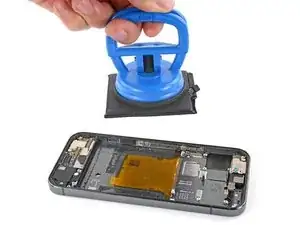
    • Slide your pick down the right edge to separate the remaining adhesive.

  8. a64JCxAf6WAEjlSJ
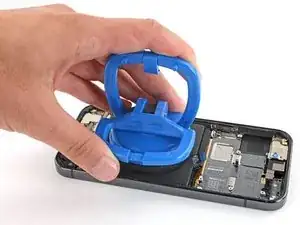
    a64JCxAf6WAEjlSJ
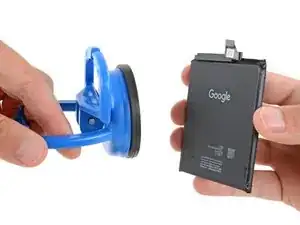
    MqLTIYyuFFQiNKZk
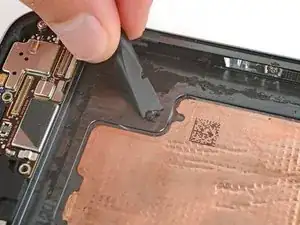
    WUgS3xMwUVOvUvHB
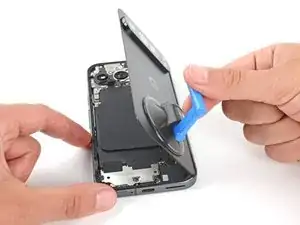
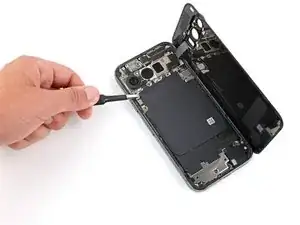
    • Don't try to fully remove the rear cover yet, as a ribbon cable on the right edge connects it to the phone.

    • Use the suction handle to lift the left edge of the rear cover and swing it over the right edge, like opening the cover of a book.

    • If you're having trouble, check the perimeter for any remaining adhesive and use your opening pick to separate it.

    • Prop up the rear cover with the suction handle so you can access the ribbon cable near the top right corner.

  9. 66aIrYAPU4i4HiZU
    66aIrYAPU4i4HiZU
    hCGfmqdfkPVXG4Lt
    • Throughout this repair, keep track of each screw and make sure it goes back exactly where it came from.

    • While the Pixel 9 Pro uses Torx Plus screws, standard Torx bits will also work. Make sure to apply constant, downward force to prevent stripping.

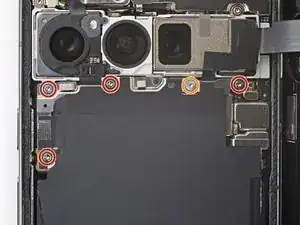
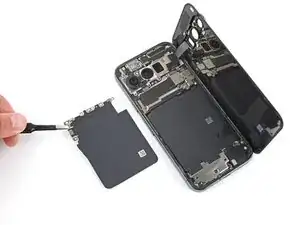
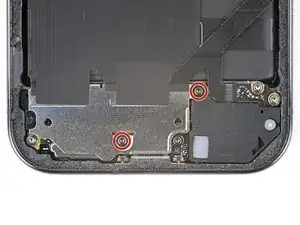
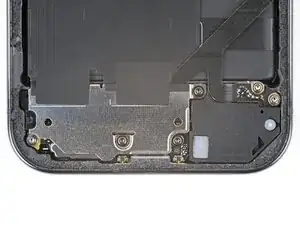
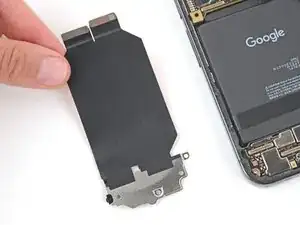
    • Use a Torx Plus 3IP screwdriver to remove the five screws securing the wireless charging assembly:

    • Four 5.4 mm‑long screws

    • One 1.5 mm‑long screw

    • This screw is non‑magnetic—you may need to use tweezers to remove it.

  10. hKAIaU4MZwhsZRlZ
    hKAIaU4MZwhsZRlZ
    QnykGc5nV5kE6DYC
    TBHeGEuOjKuve1vr
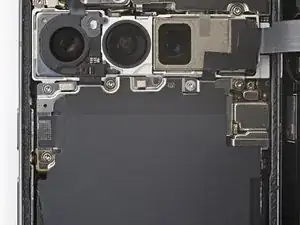
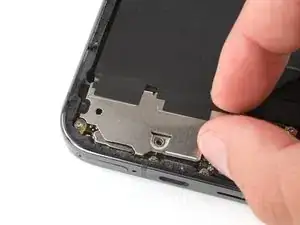
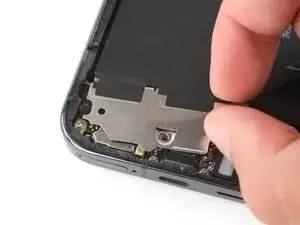
    • Be very careful not to damage the spring contacts under the top left edge of the wireless charging assembly.

    • Use tweezers or your fingers to remove the wireless charging assembly.

  11. rSnjRcnCWblHBYMk
    rSnjRcnCWblHBYMk
    hoDxgUy6VJ4AXXGb
    oKWQwECZU1Kk13VE
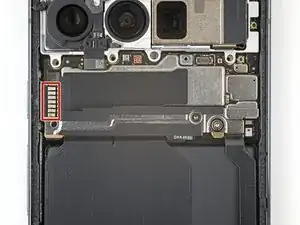
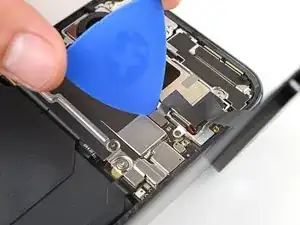
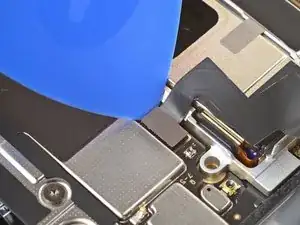
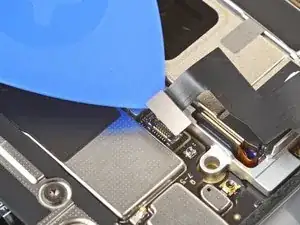
    • Insert the tip of an opening pick under the left edge of the rear cover press connector and pry straight up to disconnect it.

  12. STTS2uRwvgWxLPE1
    • Remove the rear cover.

    • During reassembly, follow this guide to apply new adhesive and install your rear cover.

  13. pPGv2aqVakk2DE4U
    pPGv2aqVakk2DE4U
    H4fucq3PBbKnRNIv
    • Use a Torx Plus 3IP screwdriver to remove the two screws securing the cable cover:

    • One 2.3 mm‑long screw

    • One 5.4 mm‑long screw

  14. Bc25GgHgUSuwaECa
    Bc25GgHgUSuwaECa
    hgYdqevYDnyPi1X4
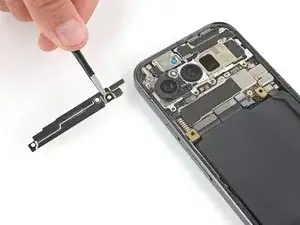
    • Use tweezers or your fingers to remove the cable cover.

  15. 1kq1526UmsCVWp4B
    1kq1526UmsCVWp4B
    qmDfGDcEcckKqjKo
    qAT61BVg4vUFtIpE
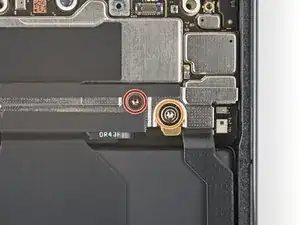
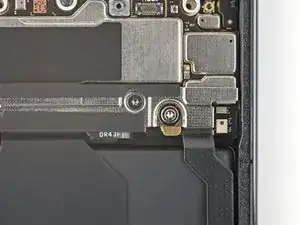
    • Insert the point of a spudger under the right edge of the battery press connector and pry straight up to disconnect it.

  16. ktRbBqJYBEhuA1au
    ktRbBqJYBEhuA1au
    6DtiNIOMdhSR6YN6
    • Use a Torx Plus 3IP screwdriver to remove the 5.4 mm‑long screw securing the mmWave antenna cover.

  17. 5iaKkCqY14B6FAlX
    5iaKkCqY14B6FAlX
    EEJM6MrBRCXi52Vj
    UN14JY5iUoOhqklF
    • Insert the point of a spudger under the clip near the bottom left corner of the mmWave antenna cover and pry up to unclip it.

  18. YUyYpTECqDA5iOgV
    YUyYpTECqDA5iOgV
    lpQPBFSsMNCkCVYK
    • Gently pull the right edge of the cover towards the bottom of the phone and remove the cover.

    • During reassembly, insert the two tabs on the top corners under their recesses in the frame and push the cover down to clip it into place.

  19. 21vpZNr3u2MyxMtx
    21vpZNr3u2MyxMtx
    pJmnHJBX11eBVdDF
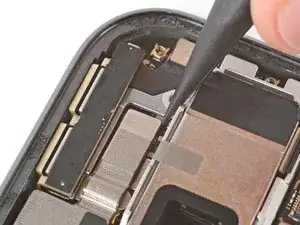
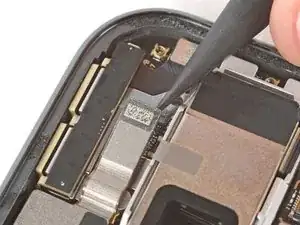
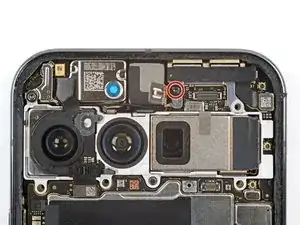
    • Use the point of a spudger to pry up and disconnect the mmWave antenna press connector from the top right corner of the logic board.

  20. PDKrhWY1VSUKnJGT
    PDKrhWY1VSUKnJGT
    ByYJJO1Zum3CF5Ol
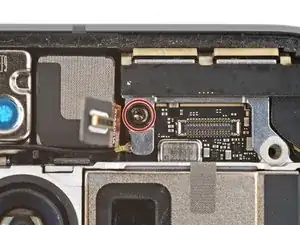
    • Use the point of a spudger to pry up and disconnect the front facing camera press connector.

  21. QORnSQpu1SX1JNGA
    QORnSQpu1SX1JNGA
    fnR3iIbisHLHUpQE
    sZjE3FSnMdmlWpuA
    • Be very careful not to touch the cameras during this step. If you accidentally do, wipe them with a clean microfiber or lint‑free cloth.

    • Carefully hold the front facing camera cable out of the way so you can access the mmWave antenna screw.

    • Use a Torx Plus 3IP screwdriver to remove the 4.3 mm‑long screw securing the mmWave antenna.

  22. crsiDaMxXqKEAx2F
    crsiDaMxXqKEAx2F
    eAsOCWAxBWWWVJCf
    • Use tweezers or your fingers to remove the mmWave antenna.

    • During reassembly, make sure the mmWave antenna goes under the front facing camera cable.

  23. COVH55Ug21BbfGqc
    COVH55Ug21BbfGqc
    UQ5OPRHIuZ1VGTqL
    Lqgj2HUYmibMDhGl
    • Use the flat end of a spudger to pry up and disconnect the press connector near the bottom left corner of the logic board.

    • Use the point of a spudger to disconnect the press connector just to the right of the previous one.

  24. 6IaVGJtyYdK2MKDy
    6IaVGJtyYdK2MKDy
    xQQoDPMATuZtciml
    • Insert the tip of an opening pick under the top edge of the press connector near the bottom right corner of the logic board.

    • Be very careful not to damage the small, surface-mounted components to the right of the connector.

    • Use the pick to pry up and disconnect the press connector.

  25. R226FMjRkJYLFt5Y
    R226FMjRkJYLFt5Y
    rkCp1qoIBr2j1sSy
    • Use a Torx Plus 3IP screwdriver to remove the two 4.3 mm‑long screws securing the charging board cover.

  26. 4Rh6gA1PWCBDq5P3
    4Rh6gA1PWCBDq5P3
    UlMlDd22kt3b3YSk
    DdGBqyFLyWLWVy2P
    • Use your fingers to pull the right edge of the charging board cover towards the top of your phone to unclip the left side of the cover.

    • Flip the cover away from the charging board so you can access its press connectors.

  27. fSeC2X2KGMUYpWrf
    fSeC2X2KGMUYpWrf
    ud2fkj6pEbjUoemN
    DUBdfHIOXaNEYuBG
    • Be very careful not to damage any of the small, surface‑mounted components on the charging board.

    • Use the point of a spudger to pry up and disconnect the three press connectors on the top edge of the charging board.

  28. BOcw6PWA4DAR5gKv
    • Use your fingers to remove the left interconnect cable.

  29. ZPR1OXtRFZ1AqCRL
    ZPR1OXtRFZ1AqCRL
    2uHMIJgFC1na5eVO
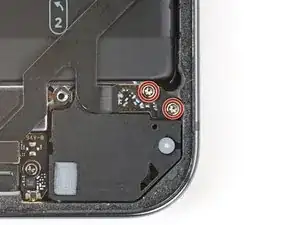
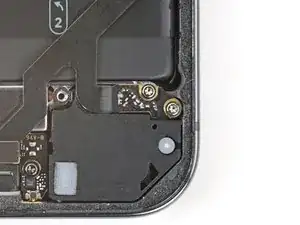
    • Use a Torx Plus 3IP screwdriver to remove the two 2.5 mm‑long screws securing the bottom of the right interconnect cable.

  30. m1ieSl1cHUrTs56X
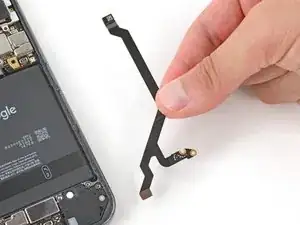
    • Use your fingers to remove the right interconnect cable.

  31. xywLbnckVjFUHWV5
    xywLbnckVjFUHWV5
    fS46JNf3gFSJCZDg
    • Use a Torx Plus 3IP screwdriver to remove the 5.4 mm‑long screw securing the antenna cover in the top left corner.

  32. M1ytgjumwNfcFI4G
    M1ytgjumwNfcFI4G
    PsWXsOZyhcTDIBUC
    • Use tweezers or your fingers to remove the cover.

  33. WtgbOOlhmPwJZSsR
    WtgbOOlhmPwJZSsR
    6GvZKtiwRLFCvAwu
    2AyvslkERTB6fNsQ
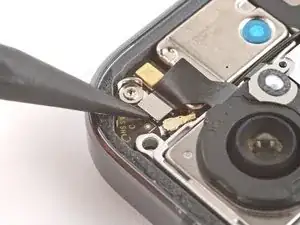
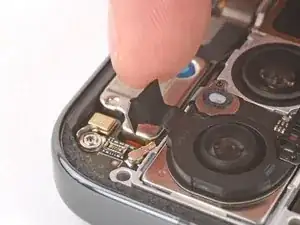
    • Use the point of a spudger to pry up and disconnect the autofocus sensor press connector from the top left corner.

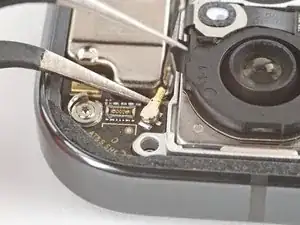
    • Carefully move the cable out of the way so you can access the metal antenna connector underneath.

  34. DYKQEGFeSJTW3Dt6
    DYKQEGFeSJTW3Dt6
    spEBYnLyFLCZuvOL
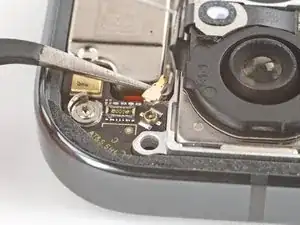
    • Slide one arm of your angled tweezers under the metal neck of the antenna connector and lift straight up to disconnect it.

    • To reconnect, hold the connector in place over its socket and gently press down with your finger or a spudger—the connector should "snap" into place. If you're having trouble, reposition the head and try again.

  35. E3BgJY52GtQn42Ns
    E3BgJY52GtQn42Ns
    MkbSTOOJy5KwLgj5
    yptNTYMU1pwYovKG
    • Use a spudger to pry up the top edge of the logic board until you can grip it with your fingers.

    • Grip the right side of the logic board and remove it, being careful not to snag the front facing camera and battery cables.

    • During reassembly, hold the front facing camera cable out of the way and lower the logic board into place.

  36. WPVVCQP2mn6GZiaA
    WPVVCQP2mn6GZiaA
    XCpXhwiXNDFYPZim
    Q1aiqW4FvRVSMmqe
    • During reassembly:

    • Check the condition of the logic board thermal pad—it will either be on the bottom of the logic board or on the frame.

    • If the pad is undamaged, skip the rest of this step.

    • If the pad is damaged, use the flat end of a spudger to scrape it up and remove it.

    • Use isopropyl alcohol (greater than 90%) and a microfiber cloth to remove all thermal pad residue from the frame and bottom of the logic board.

    • Apply a new thermal pad to its spot on the frame.

  37. RH1vb3QnGZRW2jwo
    RH1vb3QnGZRW2jwo
    gfGUWZhXHNMDVYu3
    GWGAAXBG6uIgAgAO
    • Use your fingers to peel up the plastic tabs near the bottom edge of the battery.

    • Fold the tabs under the phone or tape them out of the way so they don't warp when heating the battery in the next step.

    • Wear finger stalls to help get a solid grip on the battery pull tabs in the next few steps.

    • If you don't have finger stalls, you can use rubber gloves instead.

  38. gwUmAHYk2TLv5EG6
    gwUmAHYk2TLv5EG6
    xdZINNMVSGYjMtUw
    5xgXLmRtebYxrQli
    • Before starting the battery removal process, carefully read the next three steps. The pull tabs are most effective immediately after heating the battery, so you'll want to know exactly what to do before starting the process.

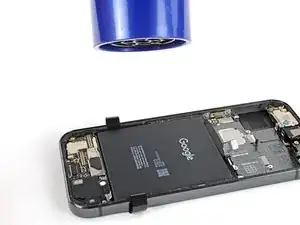
    • Strong strips of adhesive secure the battery to the frame. Heating the battery will soften the adhesive, making it easier to separate.

    • Use a hair dryer on High heat and Low speed settings to heat the battery for three minutes, while holding the hair dryer about three inches from the battery. Try to evenly spread the heat over the entire surface of the battery.

    • Alternatively, you can use a heat mat at 70 °C (158 °F) with your phone placed screen side down for 10 minutes.

  39. fLD5rKlLqUvcDeSP
    fLD5rKlLqUvcDeSP
    Q1o6GOJx3cZ556FI
    • Since the battery pull tabs require two hands, you'll need to firmly secure the phone to your work surface.

    • Before securing your phone, make sure nothing is under it. Only secure the phone by the raised lip of the frame, and be very careful not to press down on any internal components.

    • Move the pull tabs out from under your phone so they're accessible.

    • Use F‑Clamps or C‑Clamps to secure the phone to your work surface. At minimum, you'll need two clamps—one for the top edge and one for the bottom edge.

    • Use clamps with plastic or rubber pads, or be extra careful not to scuff your device.

    • If you don't have any clamps, have a friend hold the phone firmly in place.

    • Make sure to follow ESD precautions when securing the phone.

  40. lt1ElIBJ1TATEKNT
    lt1ElIBJ1TATEKNT
    5PdhtmVbsC5cNOgq
    1VqLcPQAILFBcdXk
    • Pull straight up on the battery pull tabs and apply constant, steady pressure until the battery separates from the frame.

    • If the battery doesn't separate after one minute of steady pressure, apply more heat and try again.

    • Remove the battery.

    • Never reuse a deformed or damaged battery—it's a fire hazard. Replace it with a new battery.

    • If you successfully removed the battery, congratulations! Skip down seven steps for reassembly information.

    • If the pull tab broke or accidentally slipped out from under the battery, don't worry! Go to the next step for an alternate battery removal method.

  41. jHD2FqwBRLSIo5Hb
    jHD2FqwBRLSIo5Hb
    y6gtwDbTGSXwUgqi
    • During the next two steps, don't apply more isopropyl alcohol than instructed, or you may damage your screen.

    • Apply two or three drops of isopropyl alcohol (greater than 90%) to the top corners of the battery.

  42. bKwPrX5tg1JAHPTu
    bKwPrX5tg1JAHPTu
    gcuGneASKdGKerHh
    • Apply two or three drops of isopropyl alcohol (greater than 90%) to the bottom corners of the battery.

    • Wait one minute to allow the alcohol to soften the battery adhesive.

  43. MAYyWG5bQqdQ2GVG
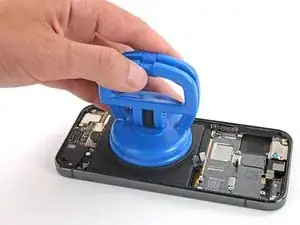
    MAYyWG5bQqdQ2GVG
    WbZ21WkBWsklHrOW
    bPhrEjahn22Obxi2
    • A heavy‑duty suction cup works very well for battery removal, but you can also use a smaller suction handle. If you're using the smaller suction handle, apply it to the bottom edge of the battery and Skip down two steps.

    • Pull the handle on the large suction cup down to open it.

    • Use your fingers to fold the plastic battery tabs fully out of the way of the battery.

    • Place the suction cup in the center of the battery.

  44. a1OMQVbZtMYQmtd6
    a1OMQVbZtMYQmtd6
    CYGCqyOMkrZW2sqd
    eEEQqdeEJMLlYR1u
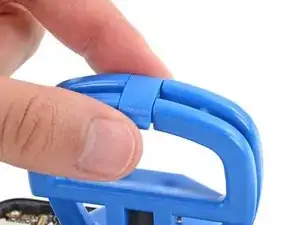
    • While gently pressing down on the suction cup, pull the handle up to lock it.

    • Flip the plastic clip on top of the suction cup over the handle and clip it to latch the handles together.

  45. QbVhGMjN3juf4VOY
    QbVhGMjN3juf4VOY
    iIAPnbnLaTkOHSVi
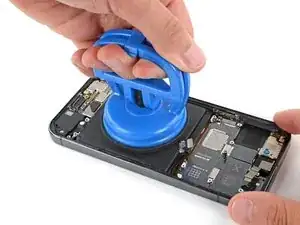
    • With one hand, firmly secure the phone to your work surface.

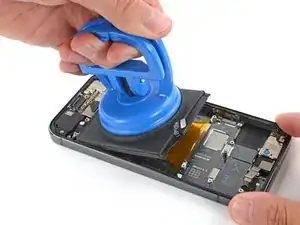
    • With your free hand, pull the suction cup towards the bottom of your phone with strong, steady force to lift the top edge of the battery. Apply constant pressure with the suction cup to allow time for the adhesive to separate.

    • If the battery doesn't budge after one minute, apply two to three drops of alcohol to the corners of the battery and try again. It may take multiple cycles of alcohol and steady pressure to detach the battery.

  46. vLEswLnQObU4pHQN
    vLEswLnQObU4pHQN
    wwi6DiELUWJdKXTq
    V3iIquuEmUQeuvyq
    • Never reuse a deformed or damaged battery—it's a fire hazard. Replace it with a new battery.

    • Remove the battery from its recess.

    • Take the suction cup off the battery.

    • If the battery pull tab stayed in the recess, remove it.

  47. ALmwWUUs2BTWOEZT
    ALmwWUUs2BTWOEZT
    wY53PnZ41CVhHSjg
    • Use a spudger to scrape up and remove all the old battery adhesive from the frame.

    • Once all the old adhesive has been removed, use isopropyl alcohol (greater than 90%) and a microfiber cloth to clean up any adhesive residue.

    • Allow the frame to completely dry before installing a replacement battery.

  48. FKP2hixFWTrKGPNK
    FKP2hixFWTrKGPNK
    ryKtnLfgncKOIgw2
    OQdhALCG3H4eXgBB
    • Remove any tape or liners from the battery cable.

    • Remove the larger plastic liner from the bottom of the battery to expose the adhesive.

    • If your battery doesn't have adhesive pre‑installed, apply strips of thin, double‑sided tape to the frame where the old adhesive was.

    • Firmly press the battery into its recess to secure it with the adhesive.

Conclusion

To reassemble your device, follow these instructions in reverse order starting with this step.

To run a diagnostics test with the built-in Pixel Diagnostic tool, click here.

For optimal performance, calibrate your newly installed battery after completing this guide.

Take your e-waste to an R2 or e-Stewards certified recycler.

Repair didn’t go as planned? Try some basic troubleshooting, or ask our Answers community for help.

Spencer Day

Member since: 14/09/22

88286 Reputation

One comment

Hello team, does this genuinely not need any heat for softening the adhesive in the first steps?
matteventu -