Introduction
This is an outdated guide—the newest version is available here.
If your Google Pixel 2 loudspeaker is blown, or making a crackling noise, this replacement guide will show you how to replace it.
-
-
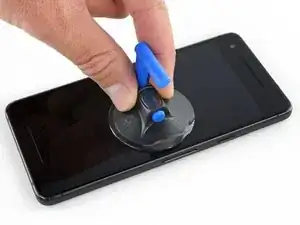
If your display glass is cracked, keep further breakage contained and prevent bodily harm during your repair by taping the glass. This also makes a smooth surface allowing the suction cup to bond.
-
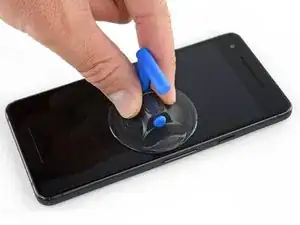
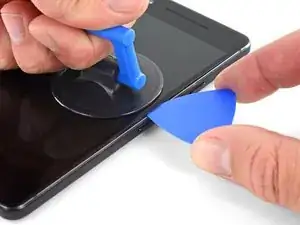
Apply a suction cup as close to the volume button edge of the phone as you can while avoiding the curved edge.
-
-
-
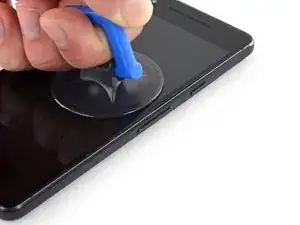
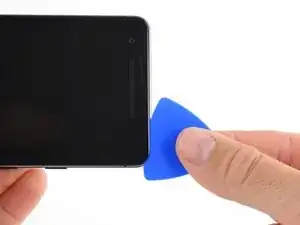
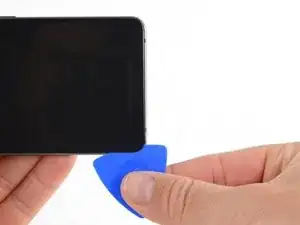
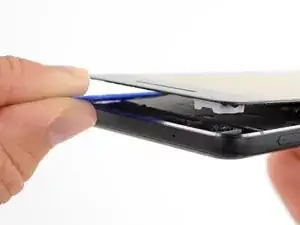
Pull up on the suction cup with firm, constant pressure and insert an opening pick between the front panel and rear case.
-
-
-
Do not insert the pick more than 9 mm into the bottom edge of the phone. If the pick contacts the folded portion of the OLED panel it can damage the display.
-
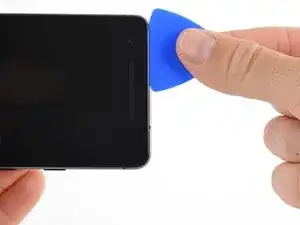
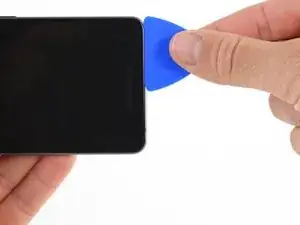
Only make very shallow cuts in the upper left corner, prying deeply can damage the front-facing camera.
-
-
-
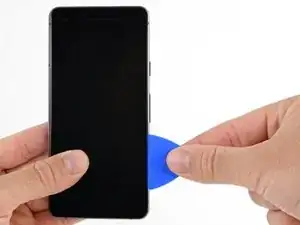
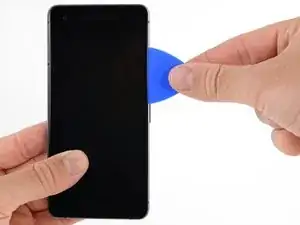
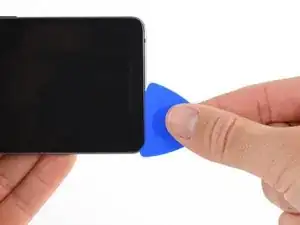
Slide the pick around the upper-left corner of the phone and down the left edge of the phone.
-
-
-
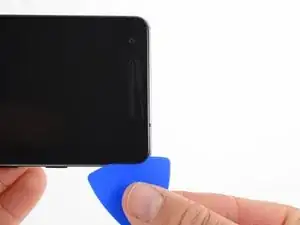
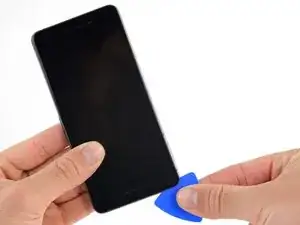
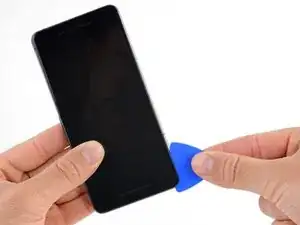
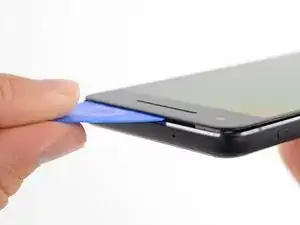
Slide the pick around the bottom-left corner and along the bottom of the phone. Keep pick at a slight angle away from the screen to avoid damage to the OLED corners.
-
-
-
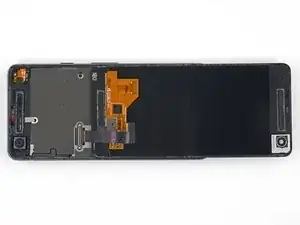
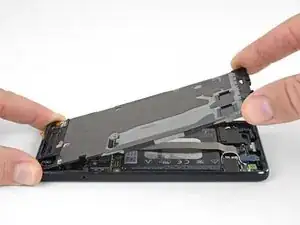
Carefully lay the display down on top of the rear case as shown, making sure not to crease or tear the display ribbon cable.
-
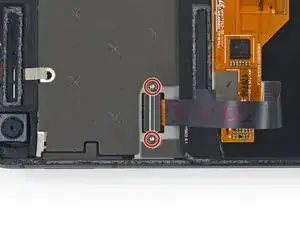
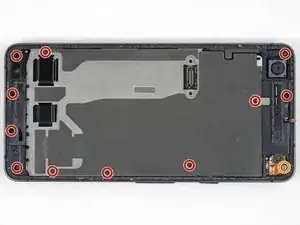
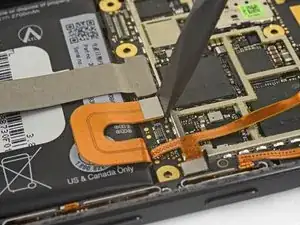
Remove the two 4.0 mm T5 Torx screws securing the display cable bracket.
-
-
-
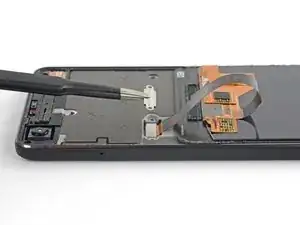
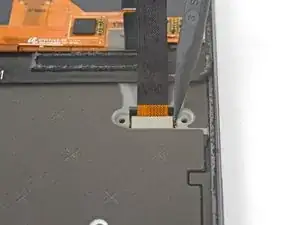
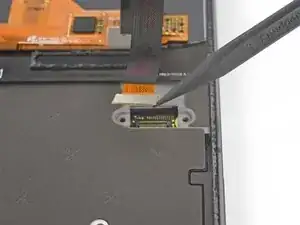
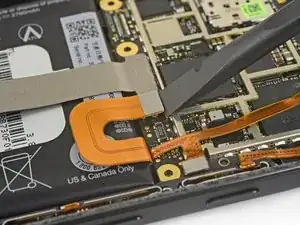
Use the point of a spudger to lift the display cable connector up and out of its socket on the motherboard.
-
-
-
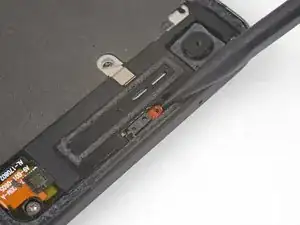
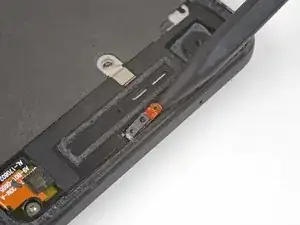
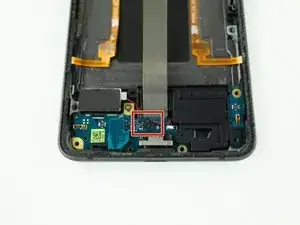
Apply a heated iOpener to the proximity sensor on the top edge of the midframe for two minutes to soften its adhesive.
-
-
-
Slide the point of a spudger under the proximity sensor cable, starting from the side closest to the front-facing camera.
-
Gently lift the edge of the sensor cable until the sensor is perpendicular to the midframe.
-
-
-
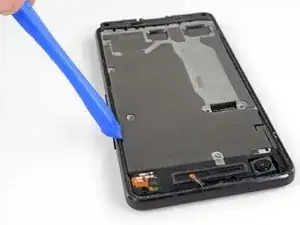
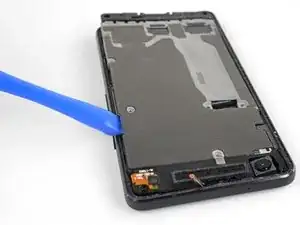
Insert an opening tool into the notch in the midframe near the hold button.
-
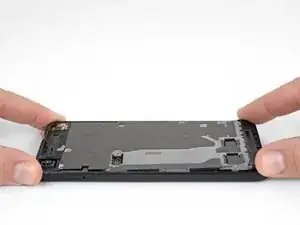
Pry the midframe up enough to create a gap between it and the phone case. The midframe cannot yet be completely removed.
-
-
-
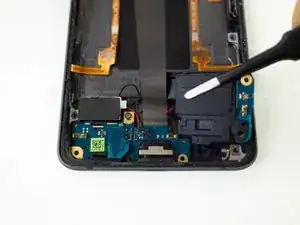
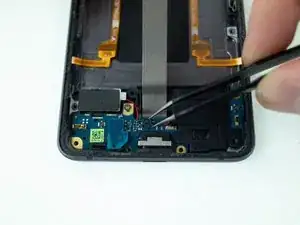
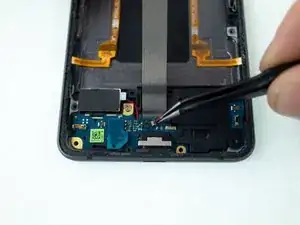
Wedge a spudger between the speaker and frame of the phone.
-
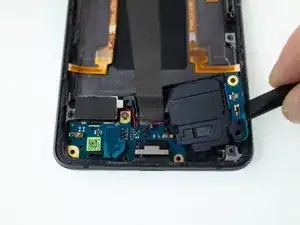
Pry upwards on the speaker to release it from the phone.
-
Remove the speaker.
-


To reassemble your device, follow these instructions in reverse order.

My screen is severly cracked. I would recommend clear packaging tape as it is wide enough to accomodate the suction cup. Thinner cellophane tape won’t seal properly.
John Tippitt -
Does the Google Pixel 2 have be powered off before removing the digitizer screen? Its not mentioned in this article...
Will the phone be damaged if the power is still on when disconnecting the broken screen?
Alex -
Replacing the battery in my Pixel 2 was successful because I read the comments. They are invaluable in this endeavor.
David Castro -
Suggest procedure revision:
Step 1: Read all steps and associated comments before proceeding.
Step 2: Ensure they supplied you with the right F$%^ING TOOLS in the kit before proceeding.
I'm F$%^ED because any store around me that might have this T4 Torx bit is already closed and my screen is already off. My kit came with a T2 Torx bit which is not used anywhere in this entire process.
Jens Davidsen -
I bought one of the kits and it had everything needed to change the battery except the alcohol, including spudgers, screwdriver, torx (2 sizes), tweezer, alcohol dispenser, glue strips and die-cut glue card that fit the phone case perfectly. I followed these instructions and read the comments. Applied alcohol and patience, took my time and got the job done without any damage to the phone. Thank you ifixit!
Jeffrey Price -