Introduction
The official guide has been updated and can be found here.
Over time, your DualShock 4 controller will probably be dropped, stepped on, or even thrown. The plastic shell helps to protect the internal components of the controller, but eventually, you might find that this protective shell needs to be replaced or re-aligned. This step-by-step process will show you how to fix this problem yourself.
-
-
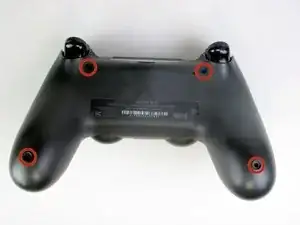
To remove the plastic shell, use the Phillips #00 screwdriver to remove the four 6.0 mm screws securing the back of the controller.
-
-
-
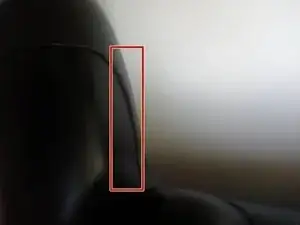
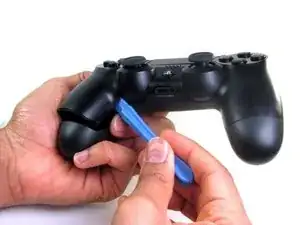
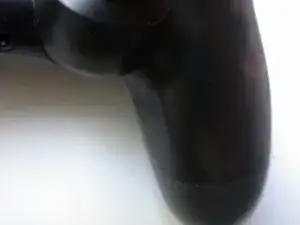
Wedge the plastic opening tool between the shell and the controller and carefully pry off the plastic.
-
-
-
Either re-align the old plastic shell, or align a new replacement shell with the controller. The little plastic tabs that snap together should be aligned.
-
Apply pressure on the plastic housing so that it clicks together.
-
-
-
Using the Phillips #00 screwdriver, replace and tighten the four 6.0 mm screws on the back of the controller.
-

To reassemble your device, follow these instructions in reverse order.