Introduction
The official guide has been updated and can be found here.
Use this repair guide to replace the DualShock 4 battery
Tools
Parts
-
-
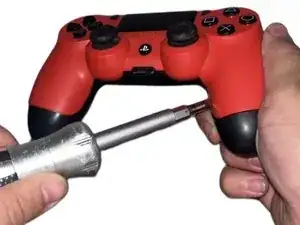
Using the Phillips #00 Screwdriver, remove the four 6.0 mm screws securing the rear cover to the controller.
-
-
-
Start with the right handle:
-
Squeeze both sides of the right handle to create a small opening
-
Wedge an opening tool into the opening and slide it up towards the joystick
-
Pull down on the plier until you hear a click as it separtes from the controllers body.
-
Repeat these steps for the left handle.
-
-
-
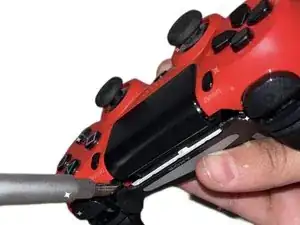
Wedge a plastic opening tool into the case-splittings and pull down to crack open the casing near the Share and Option button.
-
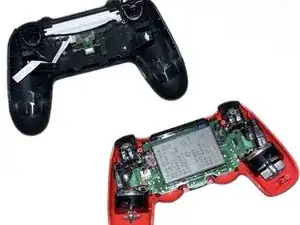
Split the plastic covers of the controller apart, but they will still be attached by circuit board ribbons.
-
-
-
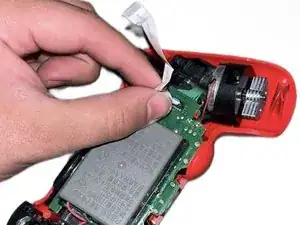
Detach the motherboard ribbon by pulling it straight out with your fingers.
-
Once the halves are separated, place the top of the controller off to the side.
-
-
-
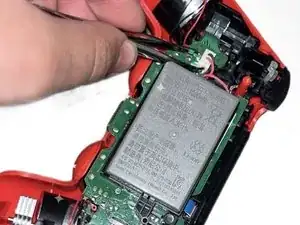
Using forceps, remove the battery plug by gently rocking the forceps side-by-side to loosen the plug.
-
Once the battery is unplugged, it can be lifted off of the controller.
-
To reassemble your device, follow these instructions in reverse order.


