Introduction
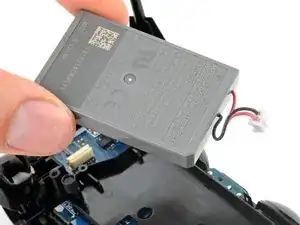
Follow this guide to replace the battery in your DualShock 4 model CUH-ZCT1U controller.
Tools
Parts
-
-
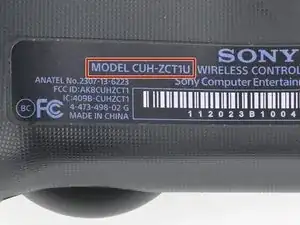
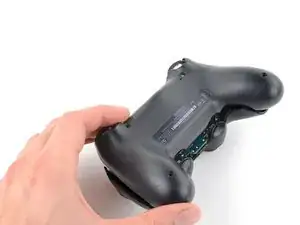
Check the model number on the back of your controller. This guide was written using model CUH-ZCT1U. If you have another model, the guide procedure and replacement parts may differ slightly.
-
-
-
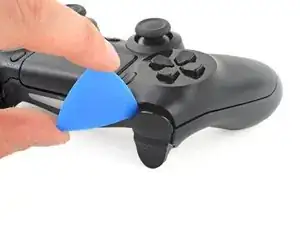
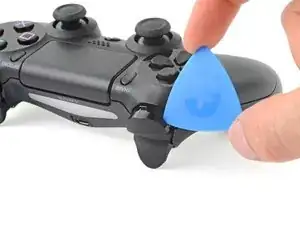
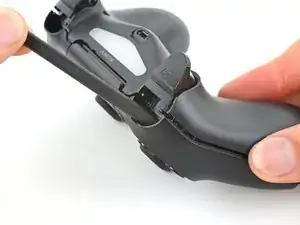
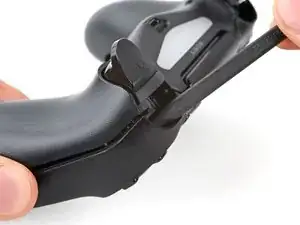
Use an opening pick to pry each corner of the L1 button from the front case.
-
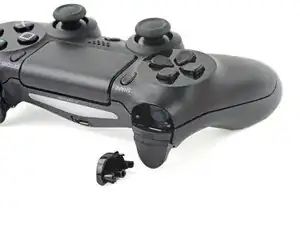
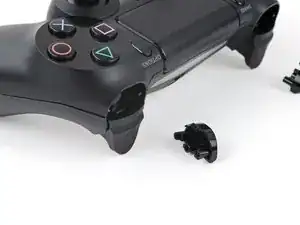
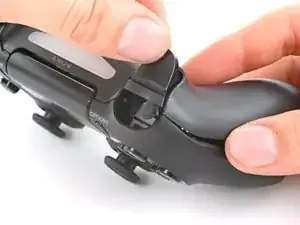
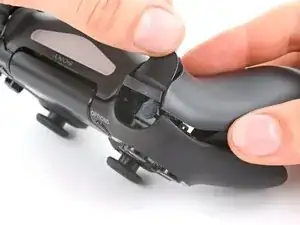
Remove the button.
-
-
-
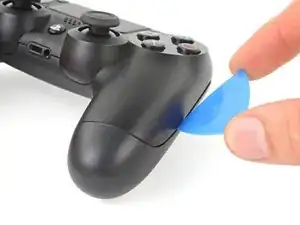
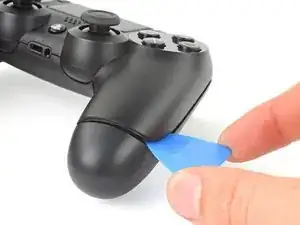
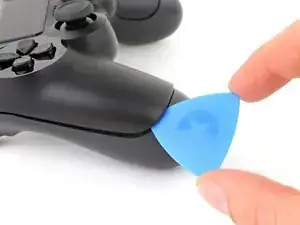
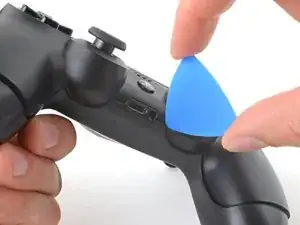
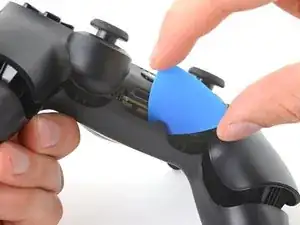
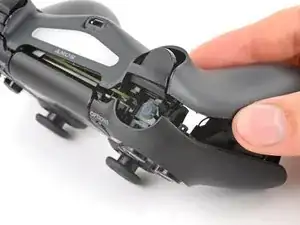
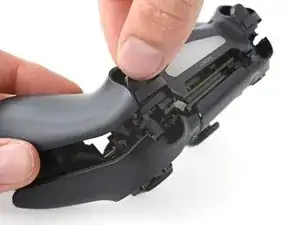
Insert your opening pick at a downward angle between the front case and rear case, halfway between the handle and the action buttons.
-
Slide your pick toward the handle and pry up to release the first clip.
-
Repeat this procedure on the other side of the controller to release the second clip.
-
-
-
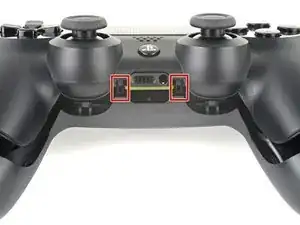
Two more clips secure the rear case near the extension port and the headphone jack.
-
Insert your opening pick between the front case and rear case at either side of the ports.
-
Twist your pick to unclip this section of the rear case from the front case.
-
-
-
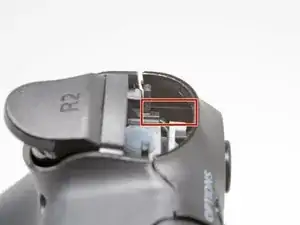
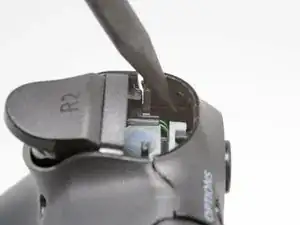
Insert the point of a spudger through the gap above the R2 button and push the retaining clip outward.
-
While pushing the clip outward, slowly pull the rear case away from the front case until you feel them separate.
-
Repeat this procedure for the clip near the L2 button.
-
-
-
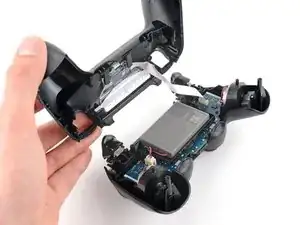
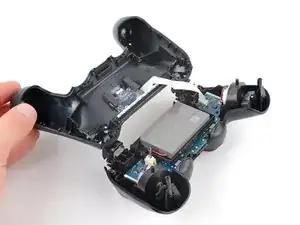
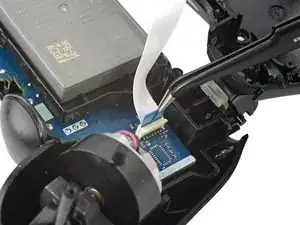
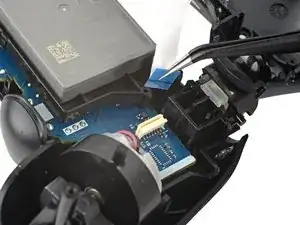
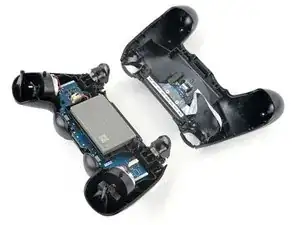
Flip the rear case over the top of the controller and lay it down, being careful not to strain the interconnect cable.
-
To reassemble your device, follow these instructions in reverse order.
Take your e-waste to an R2 or e-Stewards certified recycler.
Repair didn’t go as planned? Try some basic troubleshooting, or ask our Answers community for help.
29 comments
My Dualshock 4 wont turn on after the battery replacement.
Any idea on why this happened?
have you tried to charge it?
I had a problem with my console but with your guide it is possible to solve this one I think.
Praska -
I found a replacement battery here, you have to mod the tray a little, but it works like a champ and doubles the life.

model:cuh-zct2e
كيف يمكن ان افكها
Mhmod -