Introduction
The official guide has been updated and can be found here.
Use this guide to replace or clean the analog sticks on the Dualshock 4 controller.
Tools
Parts
-
-
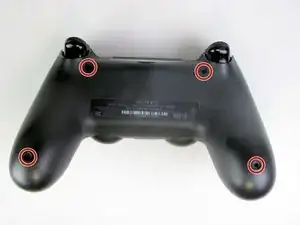
Using the Phillips #00 Screwdriver, remove the four 6.0 mm screws securing the rear cover to the controller.
-
-
-
Beginning with the left handle:
-
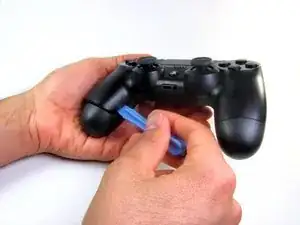
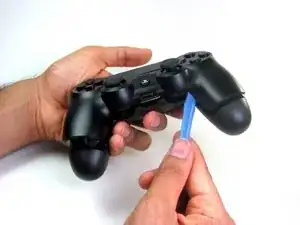
Pinch the left handle of the controller to introduce an opening.
-
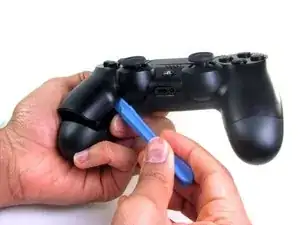
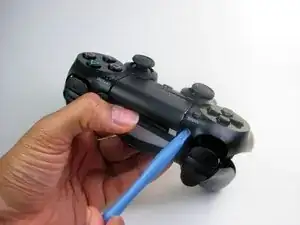
Wedge a plastic opening tool into the opening and slide it up towards the joystick.
-
Pull down on the plier to crack open the casing.
-
Repeat these steps for the right handle.
-
-
-
Wedge a plastic opening tool into the case-splittings and pull down to crack open the casing near the following buttons:
-
Share button
-
Options button
-
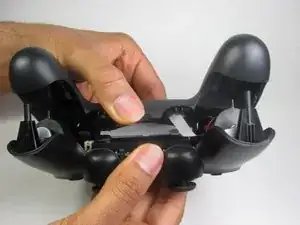
Split the plastic covers of the controller apart, taking note that they will still be attached by circuit board ribbons.
-
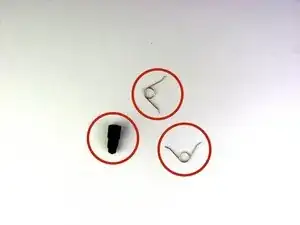
2 Trigger Springs
-
1 Grey Reset Button Extension
-
-
-
Remove the single 6.0 mm Phillips screw found below the battery retainer with the Phillips #00 Screwdriver.
-
-
-
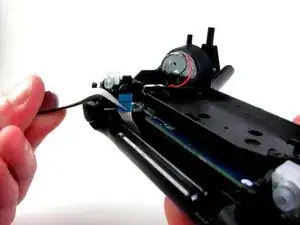
Gently detach the touchpad ribbon connected to the motherboard using the blunt forceps. The touchpad ribbon is connected to the motherboard by a connector that flips to tighten and loosen. During reassembly, to reattach the ribbon, the plastic tray will need to be gently removed from the motherboard and the flip-lock flipped up.
-
-
-
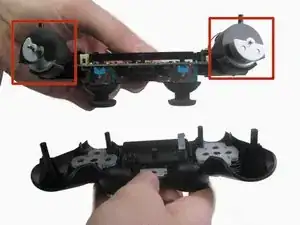
Carefully dislodge the motherboard assembly from the front cover.
-
Vibration motors are loosely attached to the motherboard assembly. Provide support at the two ends to ease the separation.
-
-
-
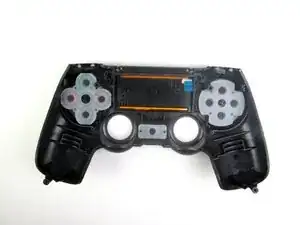
Successful disassembly of the controller will result in the following three parts, respectively:
-
Motherboard Assembly
-
Front Cover
-
Rear Cover
-
-
-
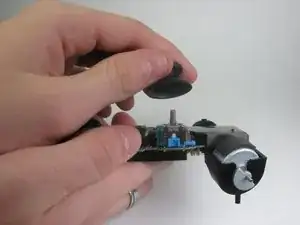
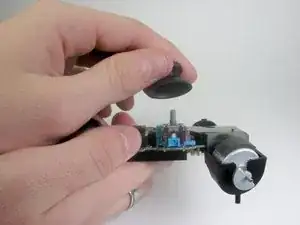
Pull the analog stick covers straight off the joystick posts attached to the motherboard with your fingers.
-
To reassemble your device, follow these instructions in reverse order.
