Introduction
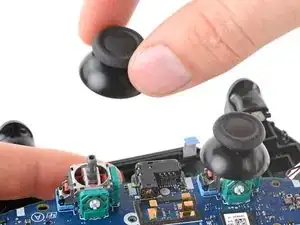
Follow this guide to replace worn out or broken analog stick covers in your DualShock 4 model CUH-ZCT1U controller.
Note that analog stick covers aren't responsible for stick drift. If your analog sticks aren't working as expected, you may need to clean or replace the analog stick module.
Tools
Parts
-
-
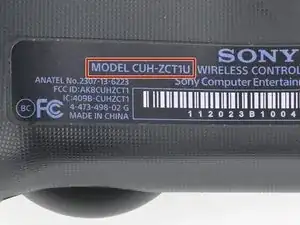
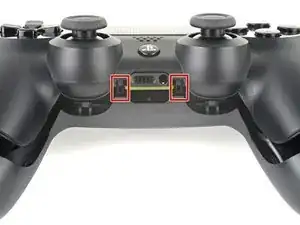
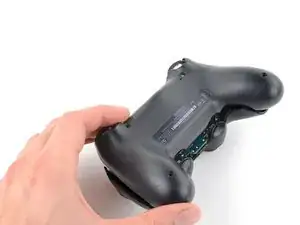
Check the model number on the back of your controller. This guide was written using model CUH-ZCT1U. If you have another model, the guide procedure and replacement parts may differ slightly.
-
-
-
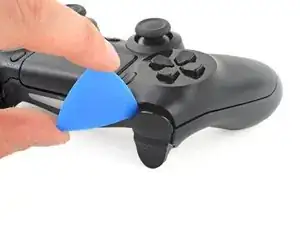
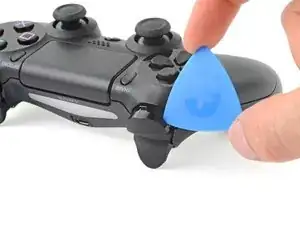
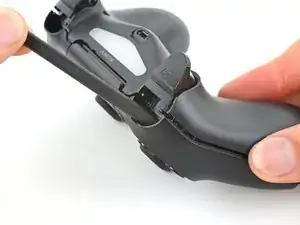
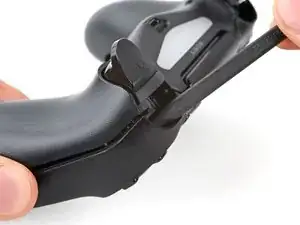
Use an opening pick to pry each corner of the L1 button from the front case.
-
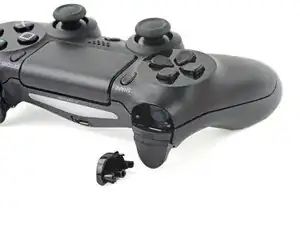
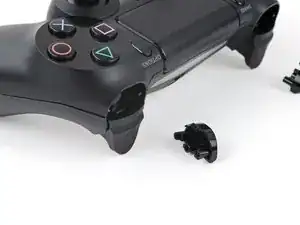
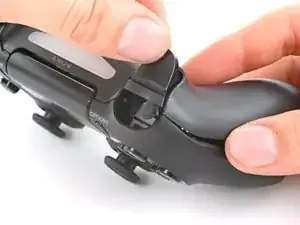
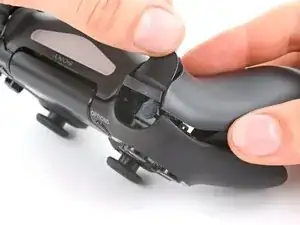
Remove the button.
-
-
-
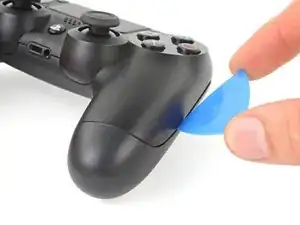
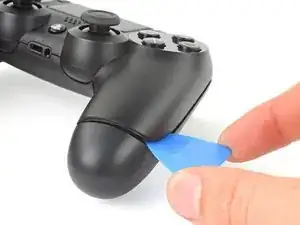
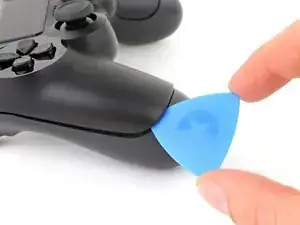
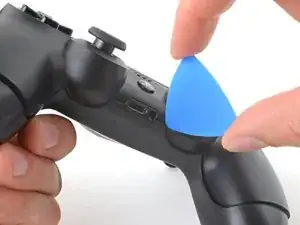
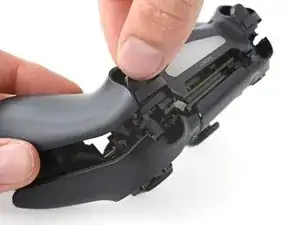
Insert your opening pick at a downward angle between the front case and rear case, halfway between the handle and the action buttons.
-
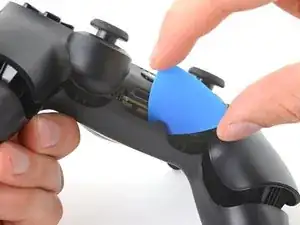
Slide your pick toward the handle and pry up to release the first clip.
-
Repeat this procedure on the other side of the controller to release the second clip.
-
-
-
Two more clips secure the rear case near the extension port and the headphone jack.
-
Insert your opening pick between the front case and rear case at either side of the ports.
-
Twist your pick to unclip this section of the rear case from the front case.
-
-
-
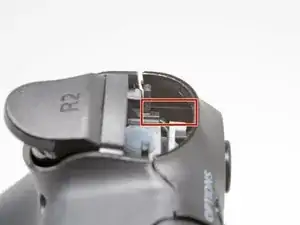
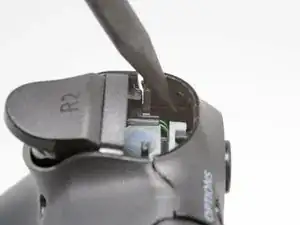
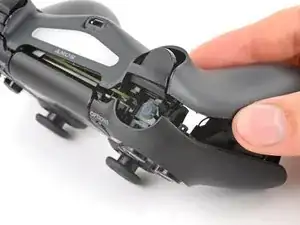
Insert the point of a spudger through the gap above the R2 button and push the retaining clip outward.
-
While pushing the clip outward, slowly pull the rear case away from the front case until you feel them separate.
-
Repeat this procedure for the clip near the L2 button.
-
-
-
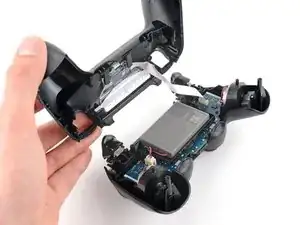
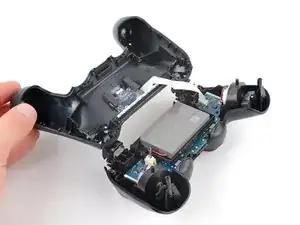
Flip the rear case over the top of the controller and lay it down, being careful not to strain the interconnect cable.
-
-
-
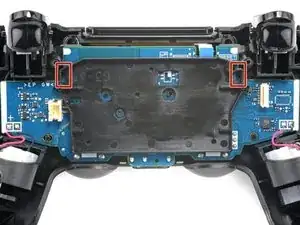
Locate the two clips securing the battery bracket to the motherboard.
-
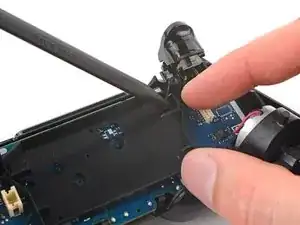
Insert the point of your spudger into the opening behind the right bracket clip.
-
Depress the clip to disengage it from the motherboard.
-
Lift up the right edge of the battery bracket.
-
-
-
Insert the point of your spudger in the opening behind the left bracket clip.
-
Depress the clip to disengage it from the motherboard.
-
Remove the battery bracket.
-
-
-
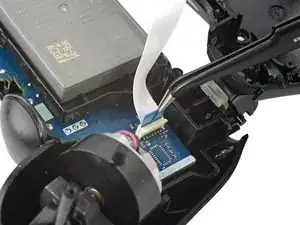
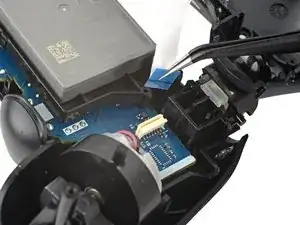
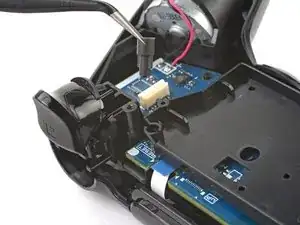
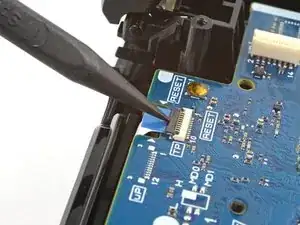
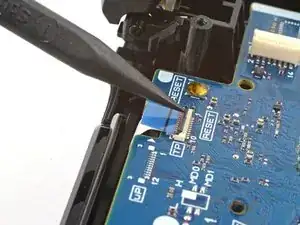
Use the point of your spudger to flip up the locking flap securing the touch pad cable ZIF connector.
-
Use tweezers or your fingers to disconnect the cable using its blue pull tab.
-
-
-
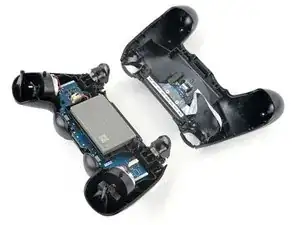
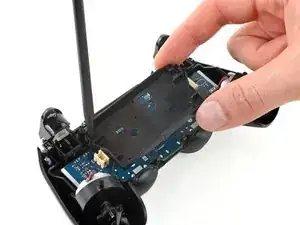
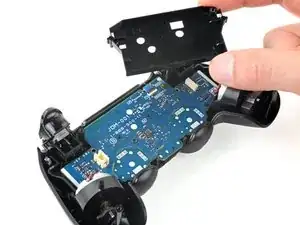
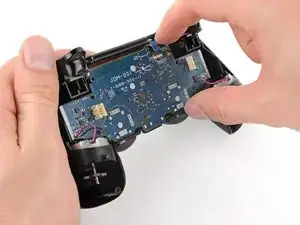
Lift the motherboard from the midframe.
-
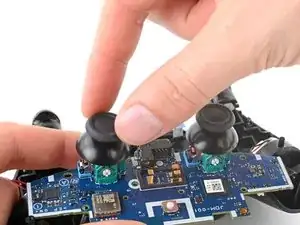
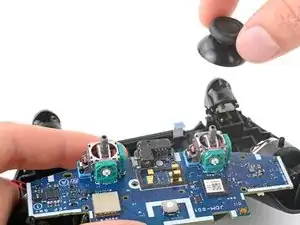
Guide the analog stick covers through their cutouts in the front case.
-
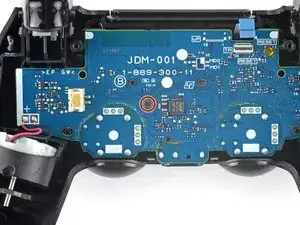
Flip the motherboard over the bottom of the controller, leaving the vibration motor cables attached.
-
To reassemble your device, follow these instructions in reverse order.
Take your e-waste to an R2 or e-Stewards certified recycler.
Repair didn’t go as planned? Try some basic troubleshooting, or ask our Answers community for help.
14 comments
So I followed all the steps, got the sticks in. But when I put the controller back together it Wouldent turn on. Do you guys have any clue as to what it could be?
Same exact thing happened to me, just wouldn't turn back on
Me too and all the reconnected cables are connected correctly, but it just won’t work.
Andy Hui -
Hope you guys still keep the parts, since the problem can be resolved by following the post below successfully. :)
Andy Hui -
i think you didn't put a wire in
Does this fix the issue with worn out sticks? Mine currently at idle will get stuck slightly pressing to the left, (in game, I'll be cruising left at a snail's pace) and pressing up/forward or sometimes pressing to the right doesn't fully work (in game this causes me to either not move at all, or move at about 2/3rds speed).
I've had them for about two years now, and they have seen some rigorous use, I tell you what. It is beginning to affect gameplay pretty badly, though.






model:cuh-zct2e
كيف يمكن ان افكها
Mhmod -