Introduction
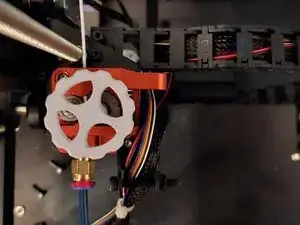
This guide will provide instructions on how to upgrade or replace the hot end nozzle on a Creality Ender 3 Pro (2022). A broken or clogged nozzle will often lead to printing errors, which wastes both time and filament.
-
-
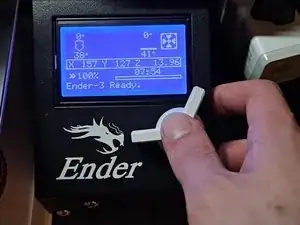
Press the knob to enter the Ender 3 Pro menu.
-
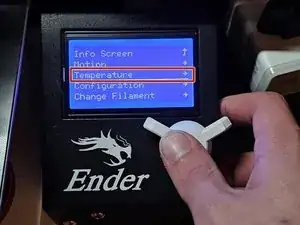
Turn the knob to navigate to the temperature menu.
-
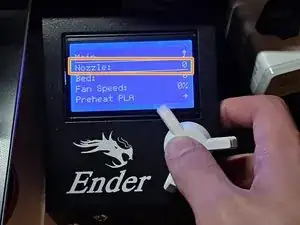
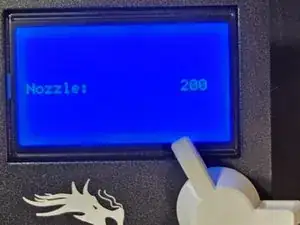
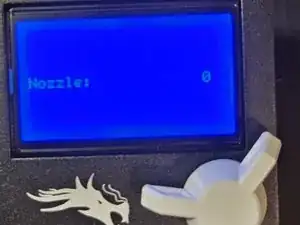
Click on the nozzle setting found in the temperature menu.
-
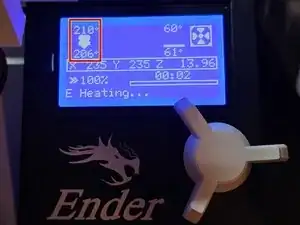
Turn the knob to set the nozzle to 200 C.
-
-
-
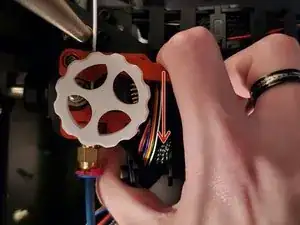
Depress the extruder spring using the handle.
-
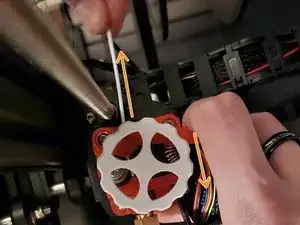
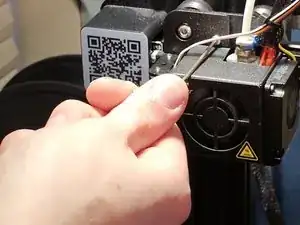
Pull the filament from the extruder, while keeping constant pressure on the extruder spring.
-
-
-
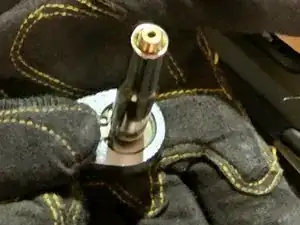
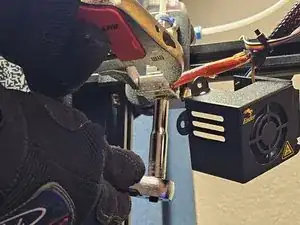
Place the new nozzle within the 7mm socket wrench.
-
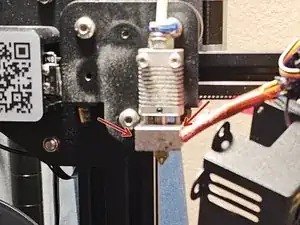
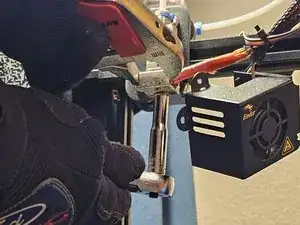
Grab the hotend using the adjustable wrench as seen in step 7.
-
Screw in the new nozzle again using the 7mm socket wrench.
-
-
-
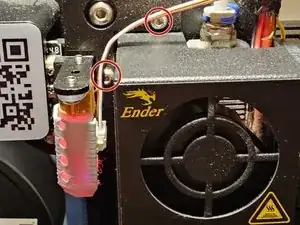
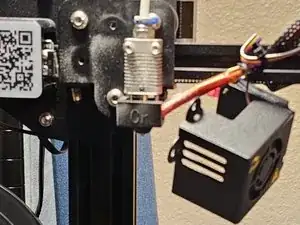
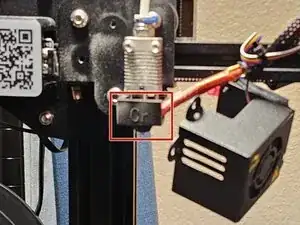
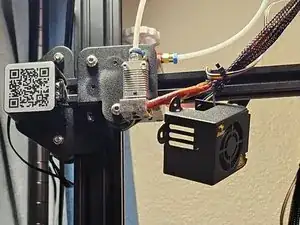
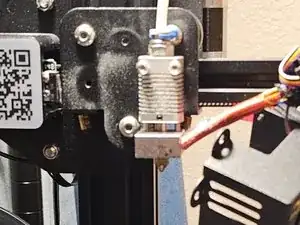
Reattach the fan shroud by screwing in the two screws.
-
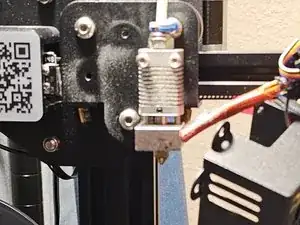
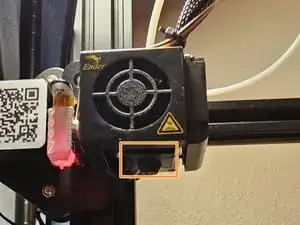
Place the silicon sock back on the hot end, avoiding contact with the metal.
-
-
-
Navigate back to the temperature menu.
-
Set the nozzle temperature to 0 C, allowing it to cool down fully.
-