Introduction
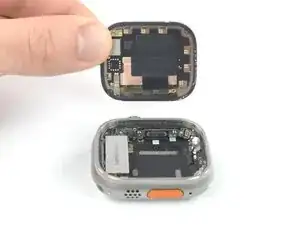
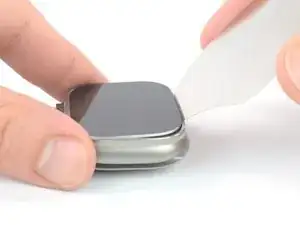
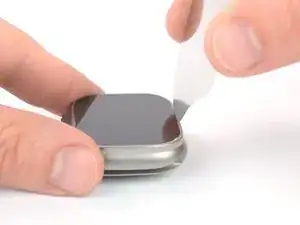
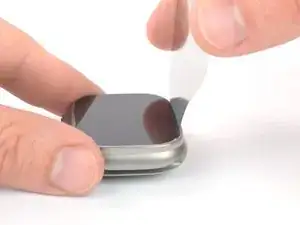
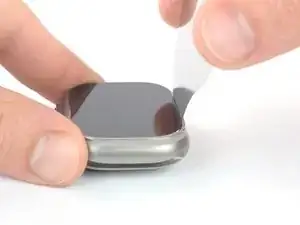
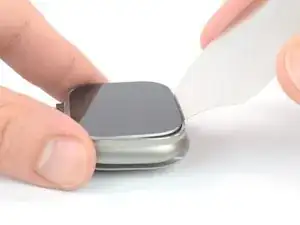
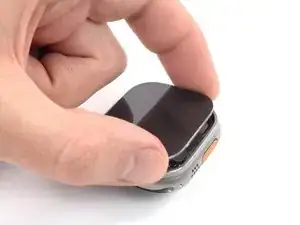
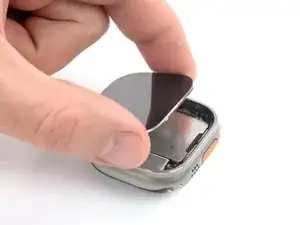
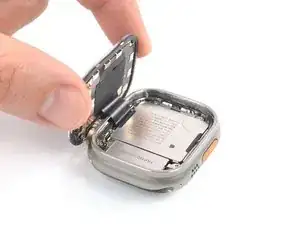
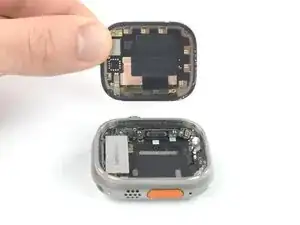
Follow this guide to replace a broken, cracked, or defective screen on your Apple Watch Ultra 2.
Replacing the screen can cause issues with Apple Pay. To reduce the likelihood of problems, delete all your Apple Pay account info from the watch before the replacement, and then re-enter it with the new screen installed.
If your battery is swollen, take appropriate precautions.
You’ll need replacement adhesive to reattach the screen when reassembling the watch. Once you've opened the watch, it will most likely lose its water resistance rating.
Tools
-
-
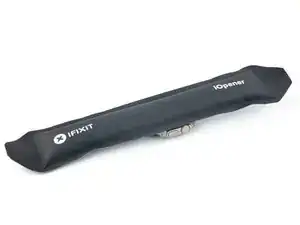
Heat an iOpener and apply it to the screen for two minutes to loosen the adhesive underneath.
-
-
-
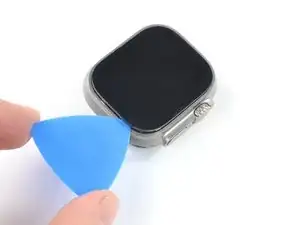
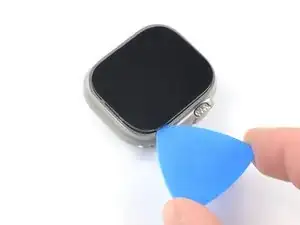
Place the tip of an iFlex along the edge opposite the Digital Crown and position it in the seam between the screen and the frame.
-
Press the iFlex firmly straight down into the gap.
-
-
-
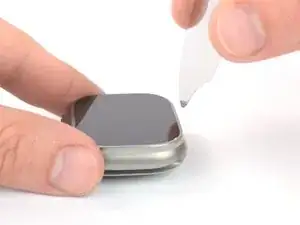
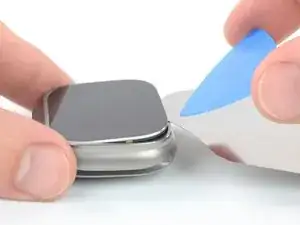
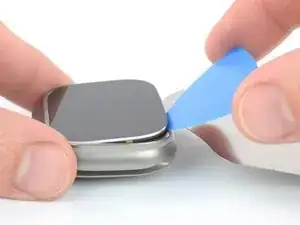
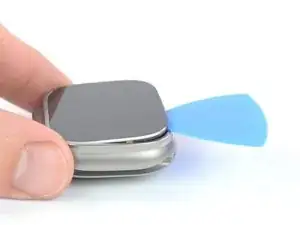
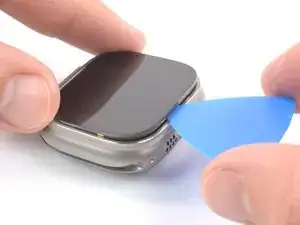
Insert an opening pick in the gap you created between the screen and the frame.
-
Remove the iFlex.
-
-
-
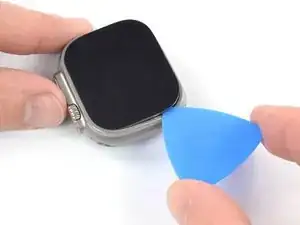
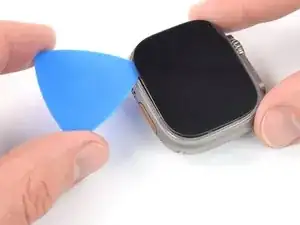
Slide the opening pick around the top left corner and along the top edge of the watch to slice the screen adhesive.
-
-
-
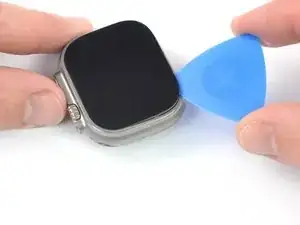
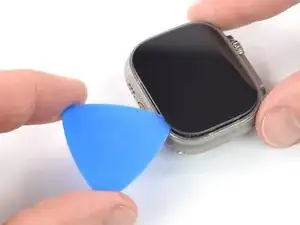
Insert an opening pick into the seam at the top left corner of the watch.
-
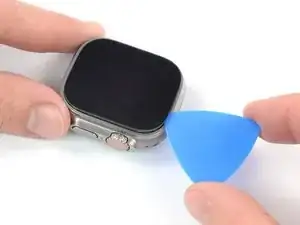
Slide the pick along the Action button edge to slice the adhesive.
-
-
-
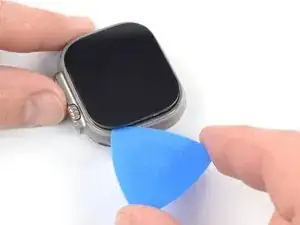
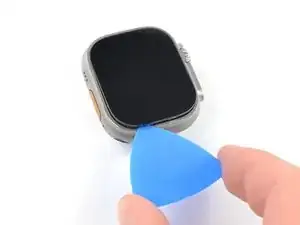
Slide the opening pick around the bottom left corner and along the bottom edge of the watch to slice the screen adhesive.
-
-
-
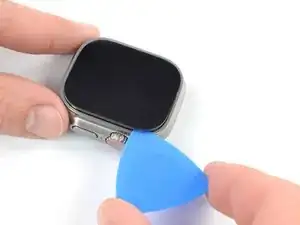
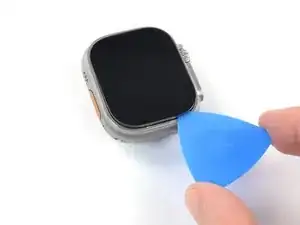
Slide the opening pick around the bottom right corner and stop before you reach the side button.
-
-
-
Insert the opening pick between the screen and frame at the opposite edge of the Digital Crown.
-
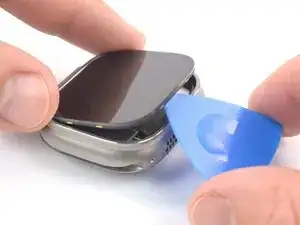
Pry up the screen until you can get a good grip with your fingers.
-
-
-
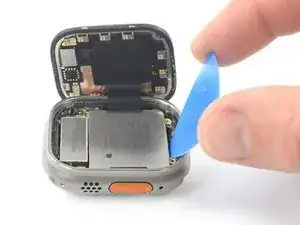
Lift the screen up and carefully pull it towards the Digital Crown.
-
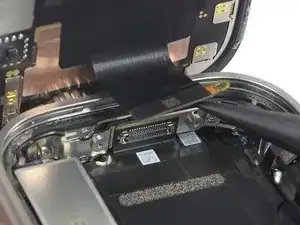
Swing the screen open to an upward position.
-
-
-
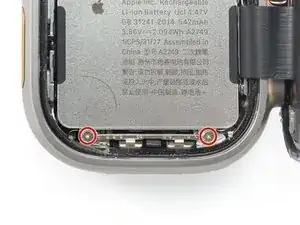
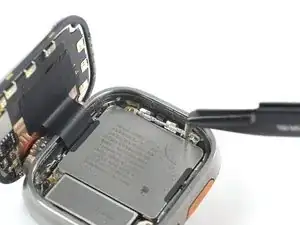
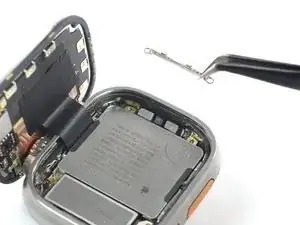
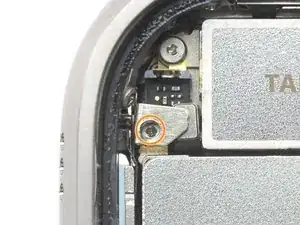
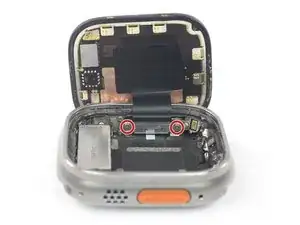
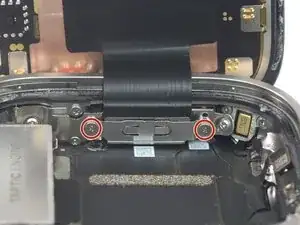
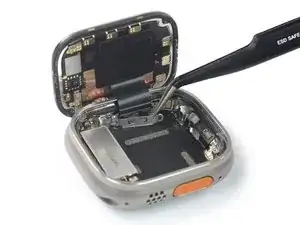
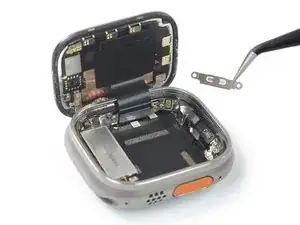
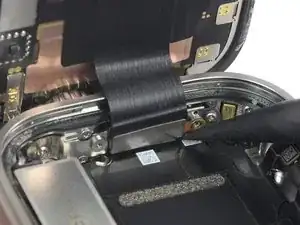
Use a Y000 driver to remove the two 2.3 mm‑long screws securing the metal connector bracket at the bottom edge of the watch.
-
-
-
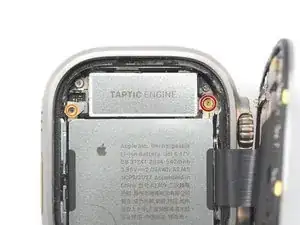
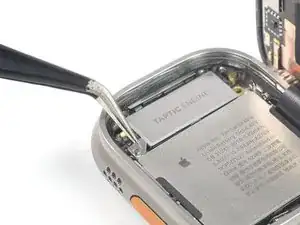
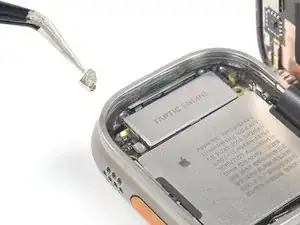
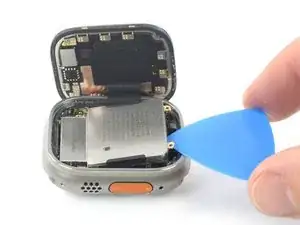
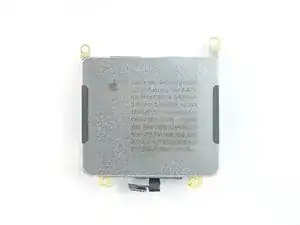
Use a Y000 driver to remove the 2.9 mm‑long screw securing the battery.
-
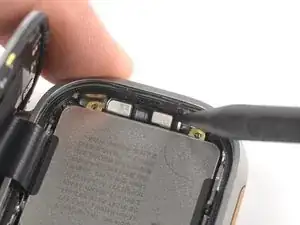
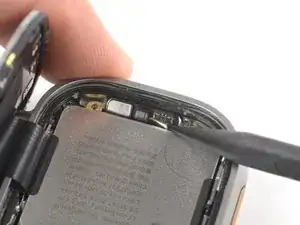
Use a Y000 driver to unscrew the 2.1 mm‑long screw that's sandwiched between the metal bracket.
-
-
-
Use a Y000 screwdriver to remove the two 1 mm‑long screws securing the display cable bracket.
-
To reassemble your device, follow these instructions in reverse order.
Take your e-waste to an R2 or e-Stewards certified recycler.
Repair didn’t go as planned? Try some basic troubleshooting, or ask our Answers community for help.
