Introduction
Use this guide to replace the Force Touch gasket in your Apple Watch Series 3. This guide shows the procedure while leaving the display connected. If you are also replacing the display, refer to this guide and replace the Force Touch gasket after having the display removed and before reconnecting the new display. This makes it a little easier to position the gasket.
If Force Touch function works correctly and you just need fresh adhesive to re-seal your display, follow the adhesive replacement guide instead.
The device shown in the photos of this guide is the GPS-only version of the Apple Watch Series 3. There are some minor differences between the GPS and the Cellular versions of the Apple Watch. If you have the Cellular version, follow all the written directions closely and pay extra attention to the warnings about discrepancies between the two devices.
Tools
Parts
-
-
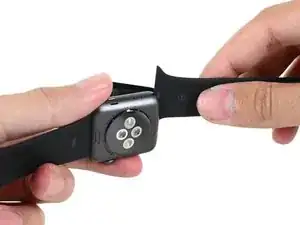
Prepare an iOpener (or grab a hair dryer or heat gun) and heat the face of the watch until it's slightly too hot to touch.
-
Leave the iOpener on the watch for at least a minute to fully heat the screen and soften the adhesive holding it to the case.
-
-
-
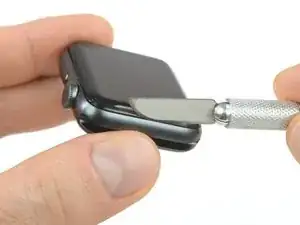
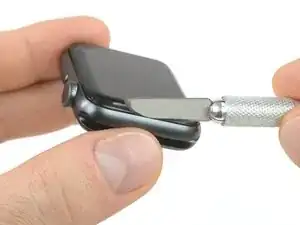
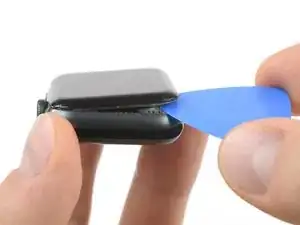
Place the edge of a curved blade into the thin gap between the display and the outer case. Start at the short side of the display, closest to the digital crown.
-
Press firmly straight down into the gap.
-
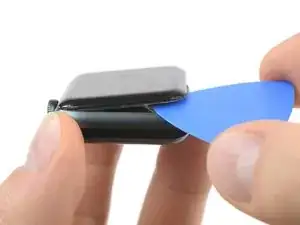
Once inserted, tilt the blade to pry the display open slightly.
-
-
-
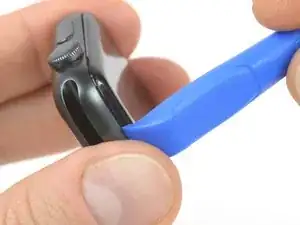
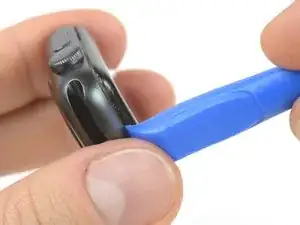
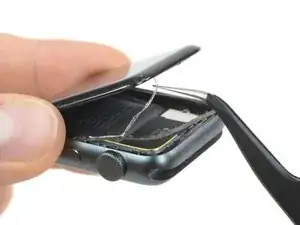
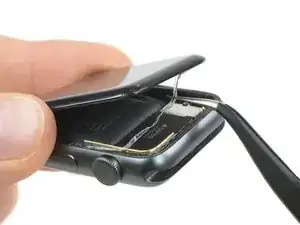
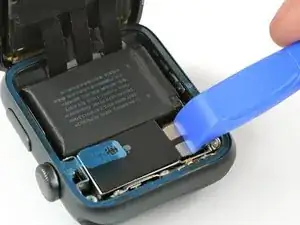
Once you've opened a small gap with the curved blade, remove the blade and insert the thinner edge of an opening tool into the gap.
-
Push the opening tool into the gap, using your thumb as a pivot to lift the display open a bit farther.
-
-
-
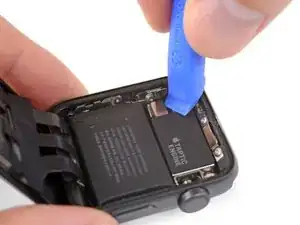
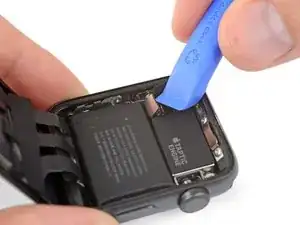
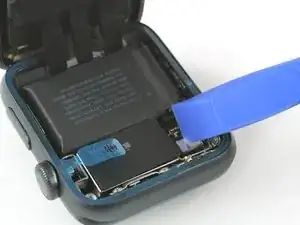
Insert an opening pick under the display and carefully separate the Force Touch gasket from the display.
-
Slide the pick around the display to separate the adhesive between the Force Touch gasket and the display.
-
-
-
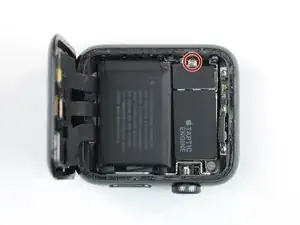
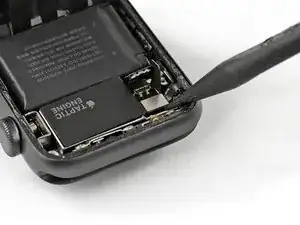
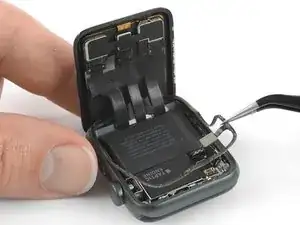
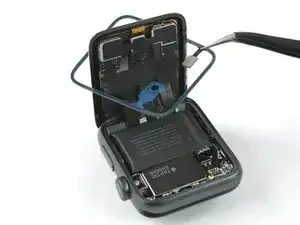
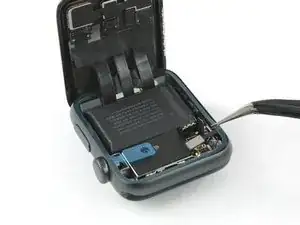
Disconnect the battery by prying its connector straight up.
-
Bend the connector up slightly to make sure it does not make contact by accident.
-
-
-
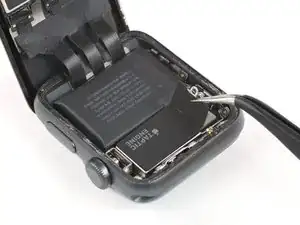
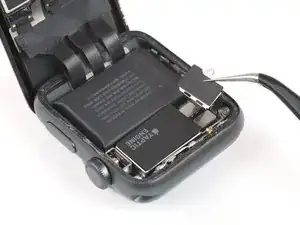
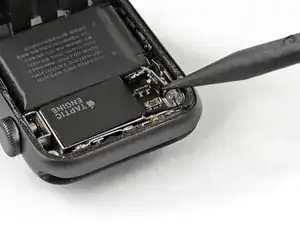
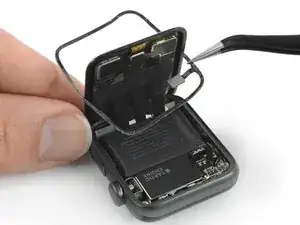
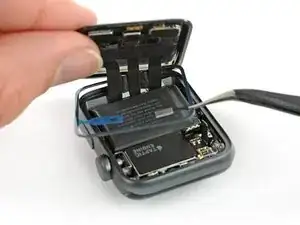
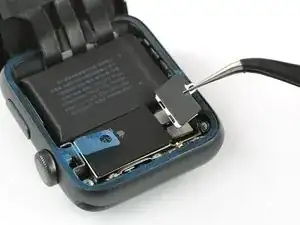
Use the point of a pry tool to disconnect the Force Touch gasket by prying its connector straight up.
-
-
-
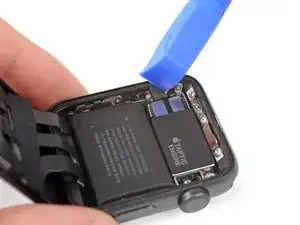
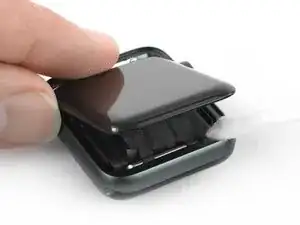
Heat your iOpener for another 30 seconds and place it on top of the Force Touch gasket to soften the adhesive underneath. (Alternatively, apply heat using a hair dryer or heat gun.)
-
-
-
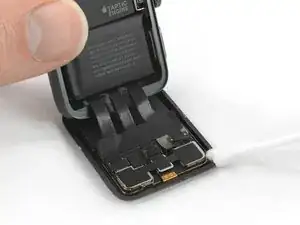
Clean all traces of adhesive (and broken glass, if any) thoroughly from the case before re-sealing your watch.
-
Scour the case using a cleaning pad, or use the tip of an opening tool or spudger wrapped in a lint-free cloth or coffee filter, along with a little isopropyl alcohol (90% concentration or greater). In a pinch, a Q-tip may also work.
-
-
-
If you are re-using your existing display, carefully clean any adhesive residue stuck to the back.
-
-
-
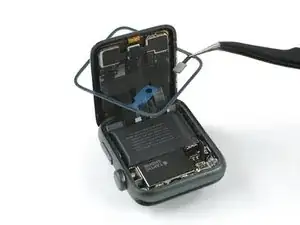
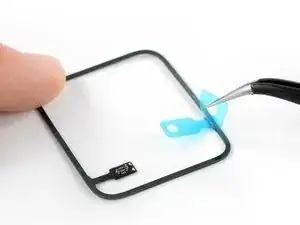
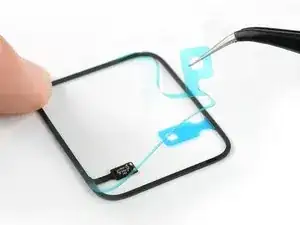
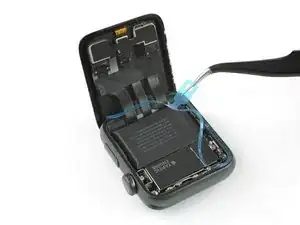
Use a pair of tweezers to carefully remove the blue protective liner from the bottom of the replacement Force Touch gasket, exposing the adhesive underneath.
-
-
-
With the exposed adhesive facing down, thread the Force Touch gasket down over the display (if connected) and set it into position in the case.
-
Slightly tilt the display forward so you can align the Force Touch gasket with the frame.
-
Make sure the connector lines up with its socket.
-
-
-
Reconnect the Force Touch gasket and battery flex cable by pressing their connectors straight down until they click into place.
-
-
-
Use a pair of tweezers to place the metal plate covering the battery connector back in its original position.
-
Install the Y000 tri-point screw.
-
-
-
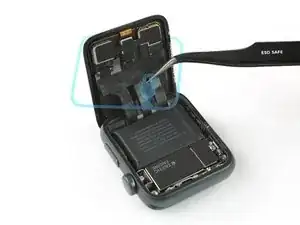
Use a pair of tweezers to gently remove the blue protective liner on top of the Force Touch gasket, exposing the last of the adhesive.
-
-
-
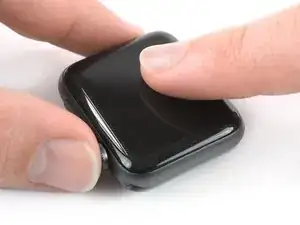
Align the screen and press it down firmly onto the adhesive.
-
For best results, apply heat from your iOpener, heat gun, or hair dryer to help set the adhesive.
-
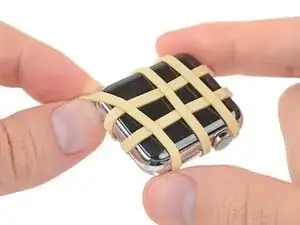
Then, apply some pressure for a few hours—wrapping the watch with a couple rubber bands, or placing it under a heavy book or two.
-
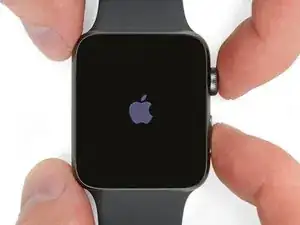
As a final check, power on your watch and make sure Force Touch works correctly—a hard press on the screen should cause the watch to vibrate, and the press should register on the display.
-


Take your e-waste to an R2 or e-Stewards certified recycler.
Repair didn’t go as planned? Try some basic troubleshooting, or search our Answers forum for help.

15 comments
very detailed teardown. however seems like the force touch sensor is a bit different on the LTE version.
The LTE parts actually looks similar to the Series 2 ones. Does anyone know if S2 and S3 force touch sensor is compatible to each other?
George -
After replacing the screen and the force touch sensor everything except the force touch works.
I have tested 4 force touch sensor flex…what can it be?
Hello I’ve got the same problem. Have you resolved it ?
Perhaps it’s necessary to reinstall watchOS ?
In my case applewatch is locked, to many error code access. And I don’t have iphone brother with me….so I can’t reset applewatch.
Reinstalling watchOS is impossible. Only Apple can do it…
my only problem is still the non-working force touch.
Same problem, replaced battery while broke the force touch gasket. After replaced a new gasket, the force touch still not working.
Patrick -
Verify your model. The back of the Cellular model just says GPS, so be sure to check the groves where the watch band goes to determine you model. I made the mistake of just reading the back of the device and since I’d been gifted the device didn’t know it was cellular. Cellular has a different type of touch force gasket, different screen, and different battery connections.
Ryan Holt -
From what I just read on Apple, the only differences in watch series 3 is 38mm and 42mm.
mcr4u2 -
As a consumer all you need to know are 38mm and 42mm
Michael Adoga -
The back will say GPS LTE if it’s the cellular version. If it doesn’t say LTE it is only the GPS version. The displays are different whether or not it is LTE(cellular).
themepark -
This alternative method only reboots the watch.
Gregg Stanley -