Introduction

This guide is for those who’ve narrowed down the problem with their connection ports (specifically in this instance USB and Micro-USB ports) being related to the hardware of the chromebook and need those connections to be replaced.

  1. Z1rAO3UOEypi6VTd
    • Flip the Chromebook over so the bottom is facing up.

  2. KQZRMo23K6n6GPKc
    • Remove all 10 screws that hold the bottom panel in place using a Phillips #1 screwdriver.

  3. EgthEUiIFuOfsAbJ
    EgthEUiIFuOfsAbJ
    LQmCJJ6KLfUGxBHi
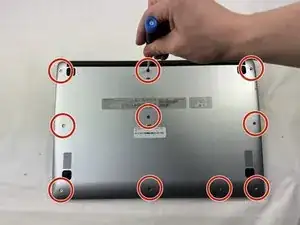
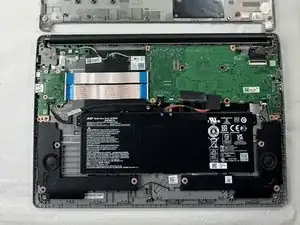
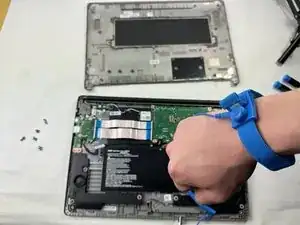
    • Use an iFixit opening tool to pry the bottom panel up and detach it from the rest of the Chromebook.

  4. DJiDqpxLPkTTMExE
    DJiDqpxLPkTTMExE
    QoI5eUjBrYIQu2sC
    • Always wear an anti-static wrist strap when working with an electronic device, as static electricity from your hand could damage it.

    • To use the anti-static strap, attach the strap to your wrist and then attach the end of the cord to something that is also metal, preferably something in your Chromebook. This strap will discharge any static electricity that you build up instead of it going into the metal parts of your computer, which could damage the components.

  5. uNKlqW6rdA3Vidyo
    • Detach the four cable connectors from the daughterboard.

  6. 6BNgtLCPlf5YTGmN
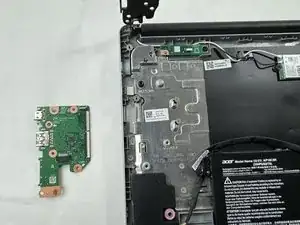
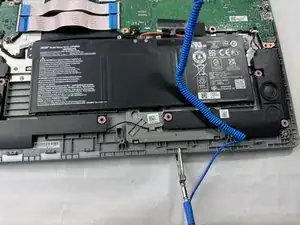
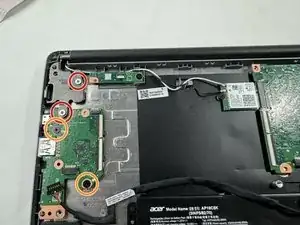
    • Remove the two silver screws with a Phillips #1 screwdriver.

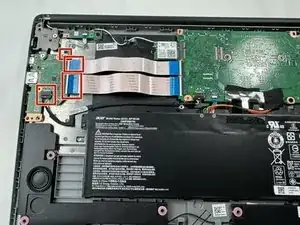
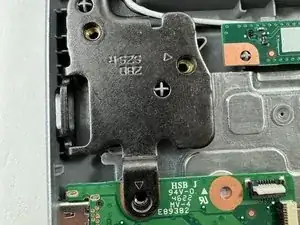
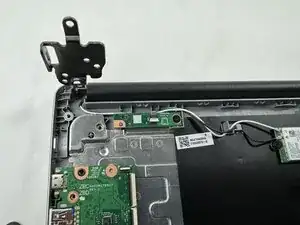
    • Remove the two black screws with a Phillips #1 screwdriver.

  7. dj5PUwGDaP1ZSqLE
    dj5PUwGDaP1ZSqLE
    KvIbWc5o2bFytprQ
    • Lift up the metal hinge.

  8. DZtQQGREWDvuLRGB
    • Remove the daughterboard from the laptop.

Conclusion

To reassemble your device, follow these instructions in reverse order.

Ethan Sylvia

Member since: 20/03/24

351 Reputation

0 comments