Introduction

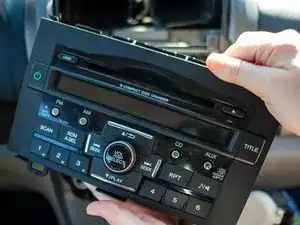
This guide demonstrates how to remove the factory AM FM radio default Radio 6 Disc CD MP3 Player 39100-SWA-A011-M1 OPT 1XN4 on the 2011 Honda CRV.

Over time, parts like the radio (also known as the car stereo or automotive head unit) in Honda cars may stop working well, even though they're usually tough. Luckily, taking out the radio panel is easy, so you can remove the radio and CD player. I'll guide you step by step to do it safely.

Your Honda CRV's stereo lets you listen to radio stations and CDs. Sometimes, it might not work due to internal issues or wiring problems.

If your 2011 Honda CRV's stereo isn't working properly, such as having trouble playing CDs or tuning to stations, this guide will help you remove the unit so you can replace your car stereo.

Before starting, make sure your car is turned off completely, in park, and don't put the key in the ignition.

  1. YRSlKBGGHYrIdv11
    • Use caution, make sure your car is completely powered off and in park before you begin the repair. Do not have the key in the ignition.

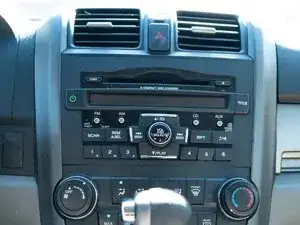
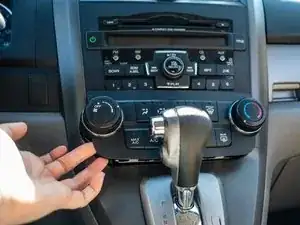
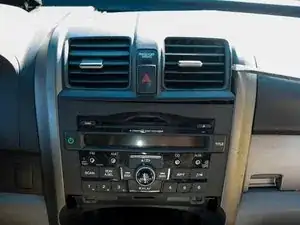
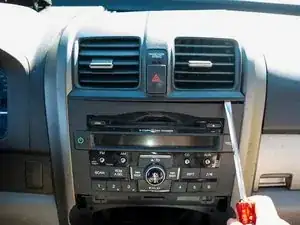
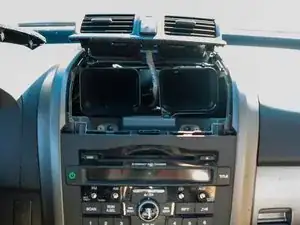
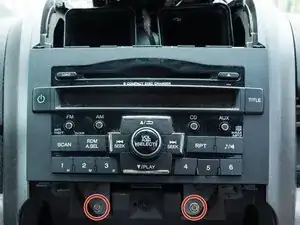
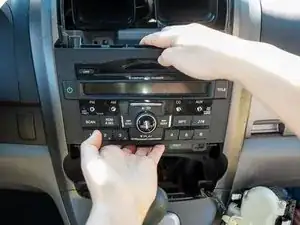
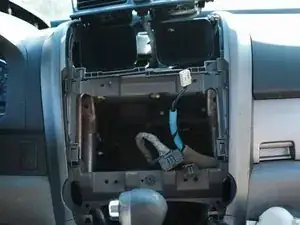
    • Find the radio panel, also known as the automotive head unit, positioned centrally on the dashboard.

  2. mKkZIqEIF4jXZrnu
    mKkZIqEIF4jXZrnu
    GGBAlik2HLxSRgOB
    GPI3JMCZdUjnYsJj
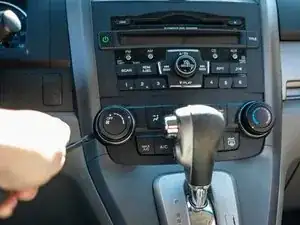
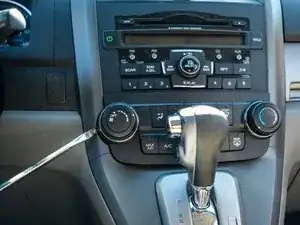
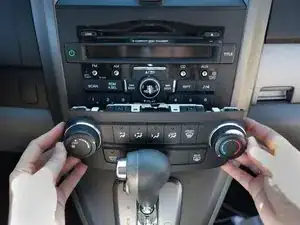
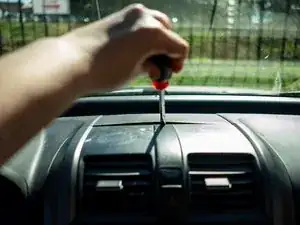
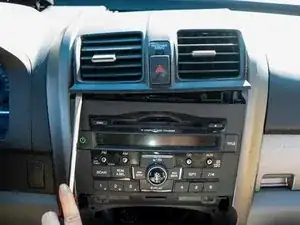
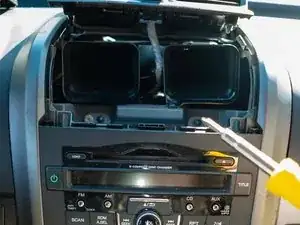
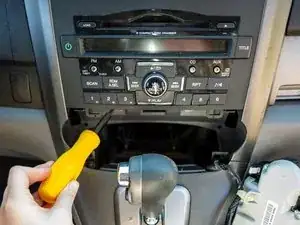
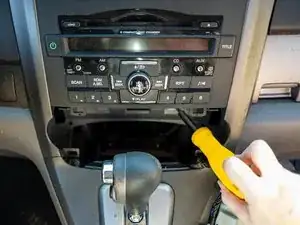
    • Use a trim removal tool to loosen and pry the AC control until it detaches from the dashboard.

  3. IOTgrosMgkJAlXd5
    IOTgrosMgkJAlXd5
    UnMLjkeUpTfgFUYF
    3tGc4vxZpkhVWjbh
    • Use your hands to pull the AC control forward and pop it out.

    • Even when loosened, the AC control may be difficult to pull out and remove. Do not be afraid to use force to remove it from the dashboard.

  4. cTtplg1tjiERPAJl
    cTtplg1tjiERPAJl
    CK5NMXHgwikO6if2
    KIsJimZCKUYBXjQj
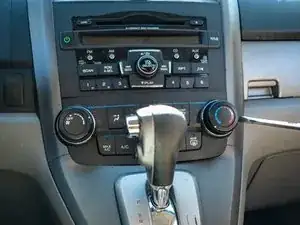
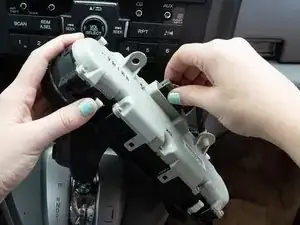
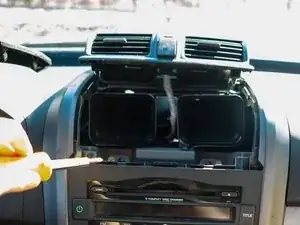
    • With the AC control out, push down on the connector tab to release the AC cable at the back of the unit.

    • Don't pull on the cable itself and don't yank the cable as excessive force may cause damage.

  5. TQkEW3rNHXNojkQQ
    TQkEW3rNHXNojkQQ
    STbCpwXn1Ay4LqDQ
    eJeTpG5MTadstxUJ
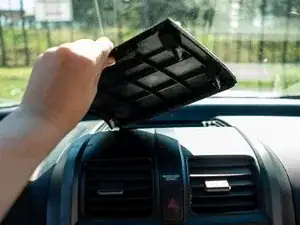
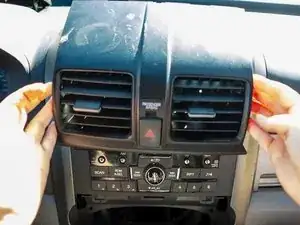
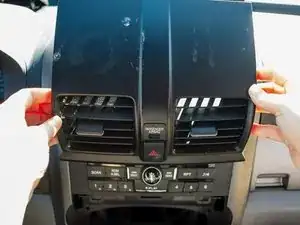
    • Use a trim removal tool to pop out the top panel above the AC vents.

    • Start in the top middle section to loosen it.

    • There is a small opening where you can place the trim tool to get started.

  6. GH5xnFtvWOCTbNRF
    GH5xnFtvWOCTbNRF
    5YjQdsTFPPitdKiJ
    EHVdGL5RYSt2VdCf
    • Use a trim removal tool to pry open the AC vent.

    • Insert the tool along the bottom and sides of the vents, gently prying until it becomes loose.

  7. 1IgqQD51TgJ51GvD
    1IgqQD51TgJ51GvD
    uC5kNpea2VSL2h1i
    aNyBcSZCVGZyNnYO
    • Pull the vents towards you from the sides.

    • The vent unit should pop out easily once it is loosened. Put it up on the dash board and out of the way.

  8. PS5JjVEHFmF6UnrZ
    PS5JjVEHFmF6UnrZ
    5CSBYFsLFcUHWY1E
    T6n2DFKpOEWwFWPZ
    • Use Phillips #2 screwdriver to remove the top two 12 mm screws.

  9. 5UxvCddcK3acNNi2
    5UxvCddcK3acNNi2
    1UVlyOFPJq4AR1bN
    cUHJSOakyOqYTeic
    • Use Phillips #2 screwdriver to remove the two 12 mm screws below the radio unit.

  10. X1LXjr6pvHfnsrQs
    X1LXjr6pvHfnsrQs
    hgnyMAWC1VCrVIiR
    J1HVCUKZmrLAZtMp
    • Wiggle and pull the radio unit forward until it is freed from the dashboard.

  11. WRVipi4oeZULlLv6
    WRVipi4oeZULlLv6
    XPsLZfDx43AtxbeH
    TcesptlSjCMWrjZh
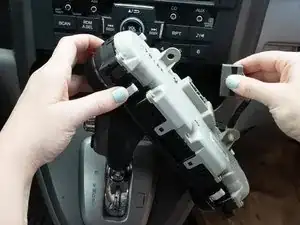
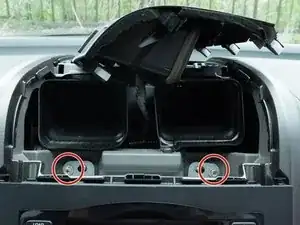
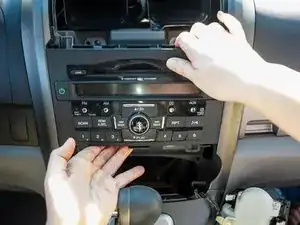
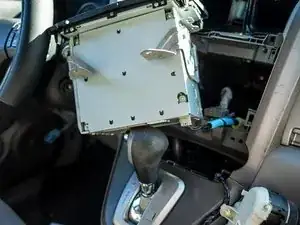
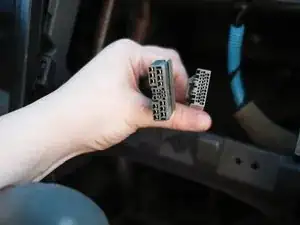
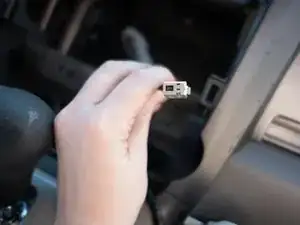
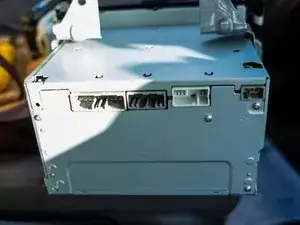
    • Press on the three cable connector tabs to release them from their sockets and remove the three gray cables from the back of the radio unit.

    • Use caution to avoid excessively stressing exposed cables during removal, making sure to exert force only on the plastic removal tabs.

  12. UvxGbJciY3IxbmBP
    UvxGbJciY3IxbmBP
    qTmTtYVeWYTGoLhn
    • Remove the car stereo from the dashboard.

Conclusion

To reassemble your device, follow these instructions in reverse order.

Christa Day

Member since: 27/02/24

205 Reputation

0 comments