Introduction

  1. oVORhBfiDYHfVBdm
    oVORhBfiDYHfVBdm
    lLhBLd5gelh4vynp
    • Remove the screws.

    • Lift the cover.

  2. qEWUTJDGRIGFjJJV
    qEWUTJDGRIGFjJJV
    y3IhCgZr11OcimCG
    • For safety reasons, the battery must be disconnected before each intervention.

    • Disconnect the battery your fingers.

    • Other components can now be replaced safely.

  3. B1bBiZJKgvcviYR1
    B1bBiZJKgvcviYR1
    iIX3vcCrsZHoNeB5
    fRUOeS3xNLWN26uA
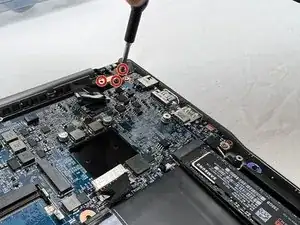
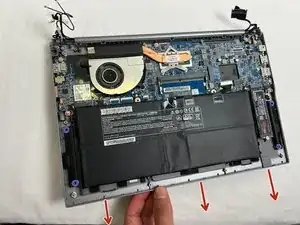
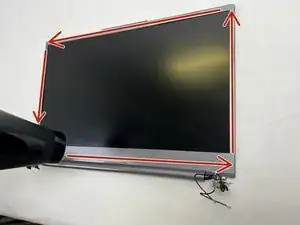
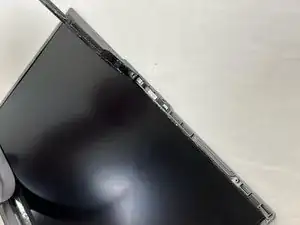
    • The orange squares indicate the zones we will focus on.

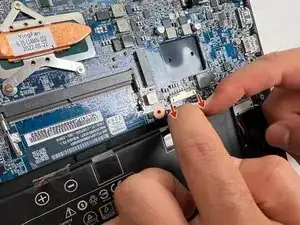
    • Unplug the screen cable.

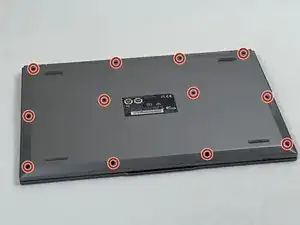
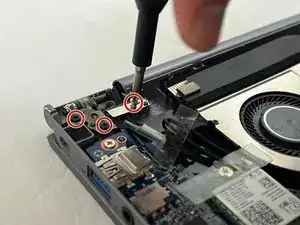
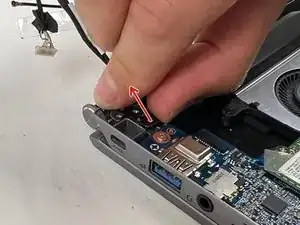
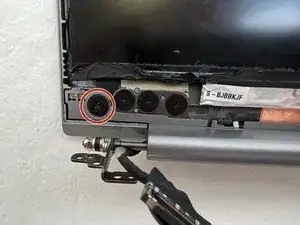
    • Unscrew the screw of the cover and those of the hinge. Remove the cover.

  4. G6PfJZjMoSXUAYQU
    G6PfJZjMoSXUAYQU
    4JOkN1BBQURC2vyf
    ZH341xFoN5VQHgNy
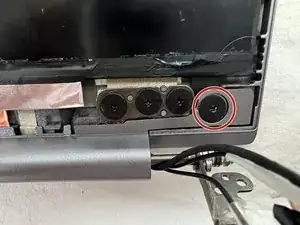
    • Unscrew the screw of the cover, and those of the hinge. Remove the cover.

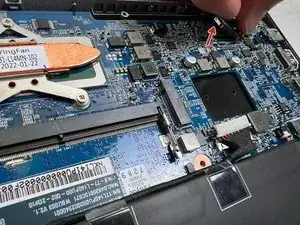
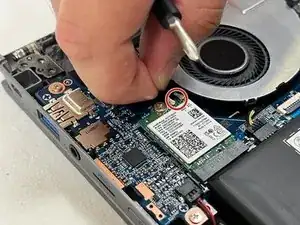
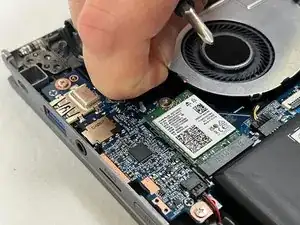
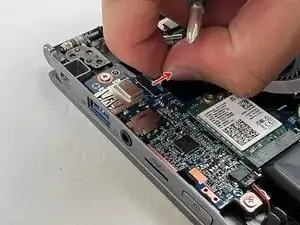
    • Unplug the Wifi cables.

  5. in62uY1amIsLmFQC
    in62uY1amIsLmFQC
    oGpyOfUckmRw42Ry
    4wETgm1fYuxJTvsy
    • Unplug the camera cable.

    • Open the two hinges.

  6. t5JGhIYubIM4IuDC
    t5JGhIYubIM4IuDC
    WGPHCggIHtLJGvbn
    etKDHBag3TglNhb6
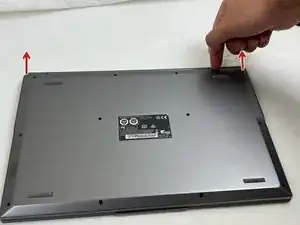
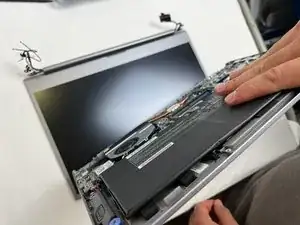
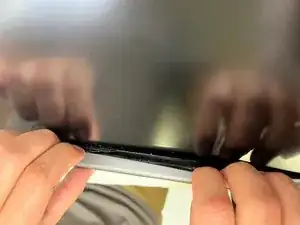
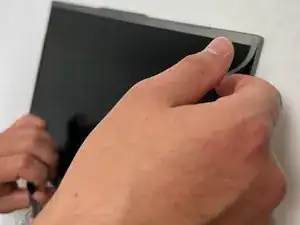
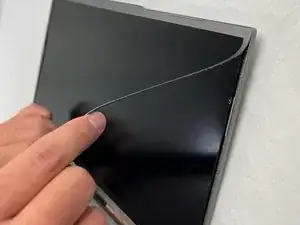
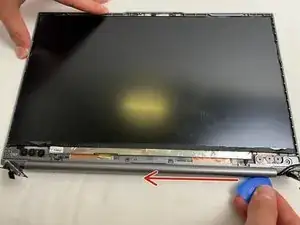
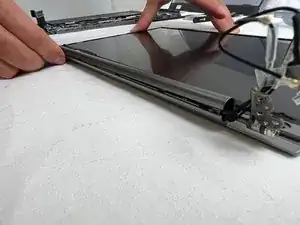
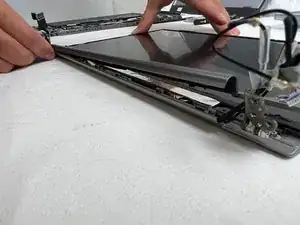
    • Remove the upper case, separating it from the screen.

    • Using a hair dryer, blow hot air around the screen to soften the frame's adhesive.

    • In order to avoid damaging components, never keep the hair dryer aimed at the same spot.

  7. SjtkBHVUlkTcLjmQ
    SjtkBHVUlkTcLjmQ
    6KKUNnZkPJxdYgUq
    kmjgkJPHAXWEoHBV
    • Separate the frame.

    • You can use the iFixit opening pick for this, or just your fingernails.

  8. vMOCDyDnNus1vI1I
    vMOCDyDnNus1vI1I
    FhUaWLVNXKknVT2w
    • Remove the upper frame of the screen.

  9. GjA6aIEJHYTAYCcU
    GjA6aIEJHYTAYCcU
    DDBBZQexaAp5EaIZ
    • Unscrew the two screws circled in red.

  10. Su1EKEbPLIp5DjKS
    Su1EKEbPLIp5DjKS
    XkBUHHyYZDp1DBnX
    KVI2VGMVoYkpRs5I
    • Detach the lower frame from the screen.

Conclusion

To reassemble your device, follow the instructions in reverse order.

Felice Suglia

Member since: 15/06/13

33313 Reputation

0 comments